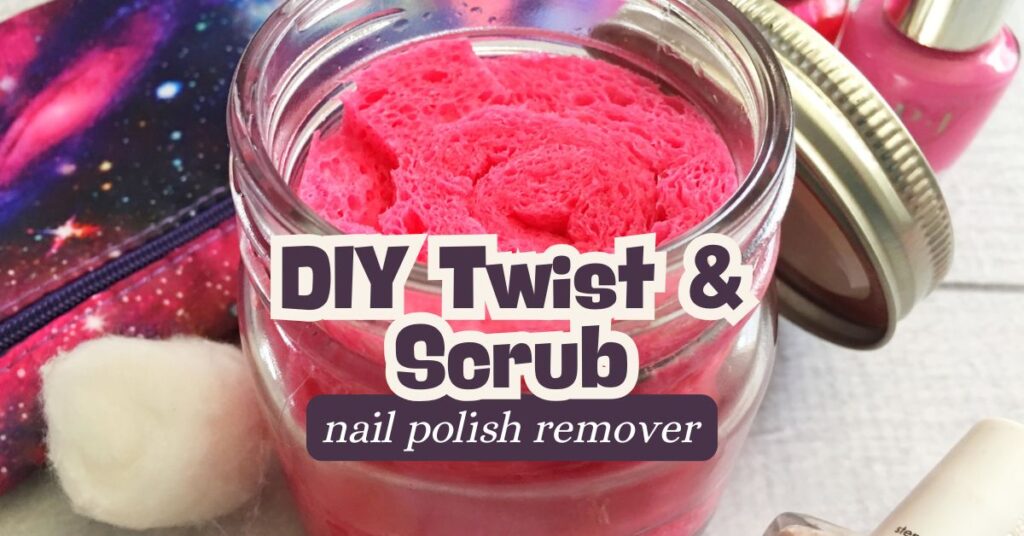
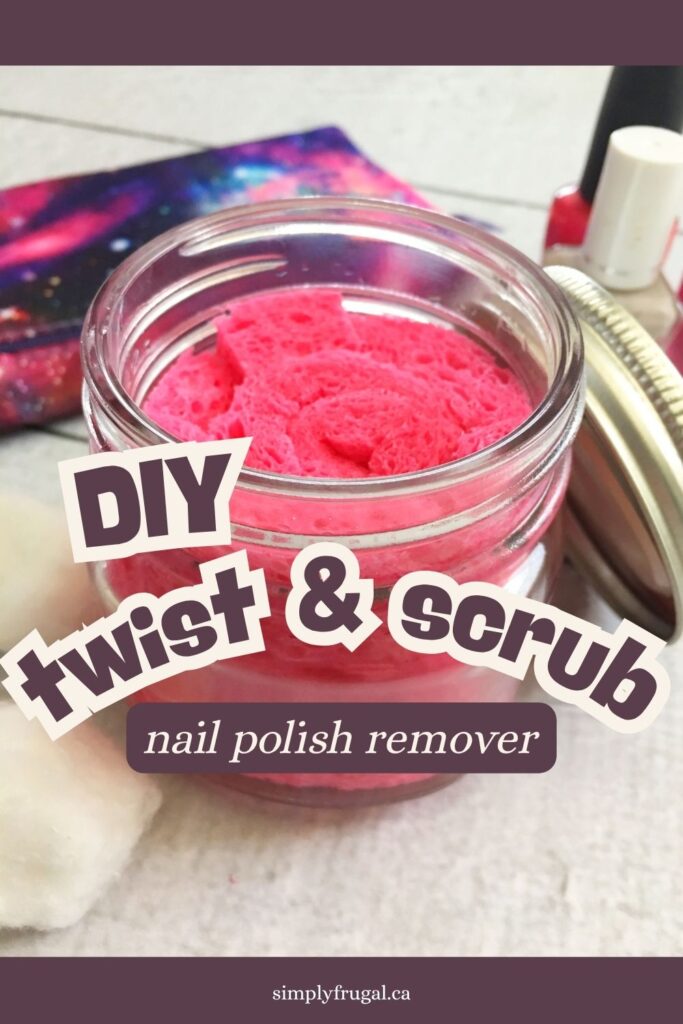
Removing nail polish isn't exactly difficult, but sometimes you just want a quick and mess-free way to get the job done—especially when you're in a hurry or have kids who want to do everything themselves!
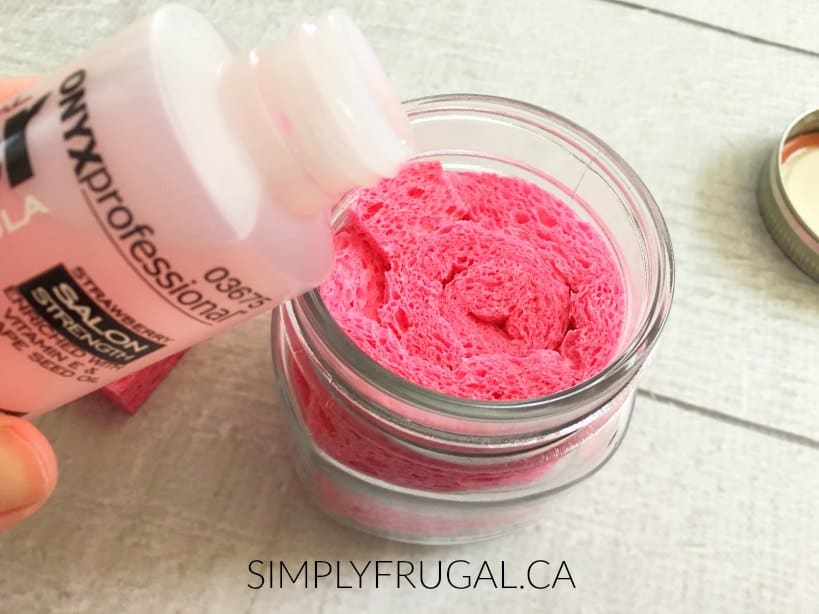
These DIY "twist and scrub" nail polish remover jars are super convenient. No cotton balls, no dripping remover, and no messy cleanup. Simply insert your finger into the centre of the sponge, twist it around a few times, and watch the polish disappear. It's a simple solution for quick polish changes at home.
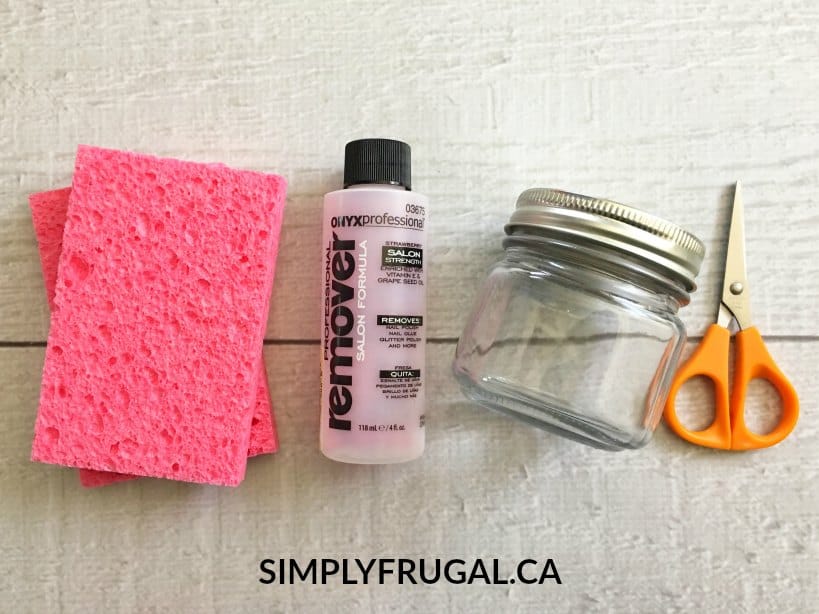
The best part? You can easily make your own version of those convenient store-bought nail polish remover jars using just a few inexpensive supplies.
Here's how to make your own quick and easy DIY nail polish remover jar:
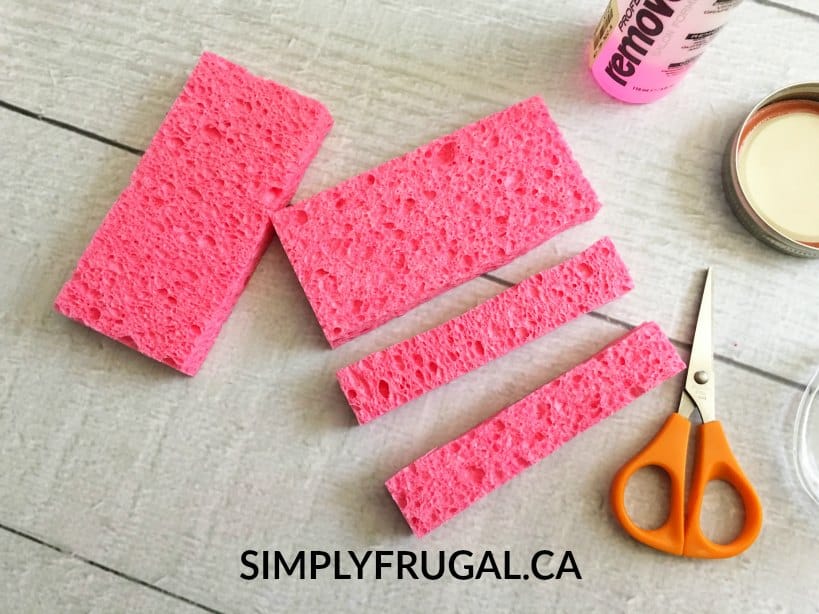
1. Cut 1/4" off the longest end of your sponges (or more if your Mason jar is shorter)
2. Roll your large sponge piece from short side to short side and place that sponge on top of your other large sponge and roll that sponge around your rolled sponge
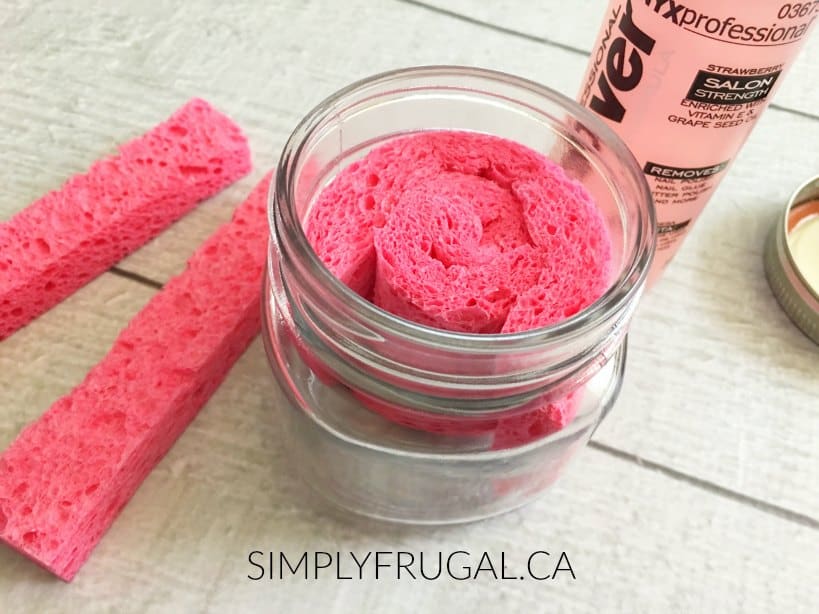
3. Push your rolled sponges into your glass jar with the rolled side facing up 4. Cut your scrub sponges small enough to fit in the empty spaces and place into the jar 5. Fill your jar halfway up with your Nail Polish remover
6. When you want use it, shake the jar with the lid on. Take the lid off and stick your polished fingers into the center and twist.
Once you've made one, you'll wonder why you didn't try it sooner! Keep your DIY twist & scrub nail polish remover jar in your bathroom or wherever you usually do your nails, and you'll always have an easy, mess-free way to remove polish when you need it. It's a small DIY that makes one of those everyday tasks just a little bit easier.
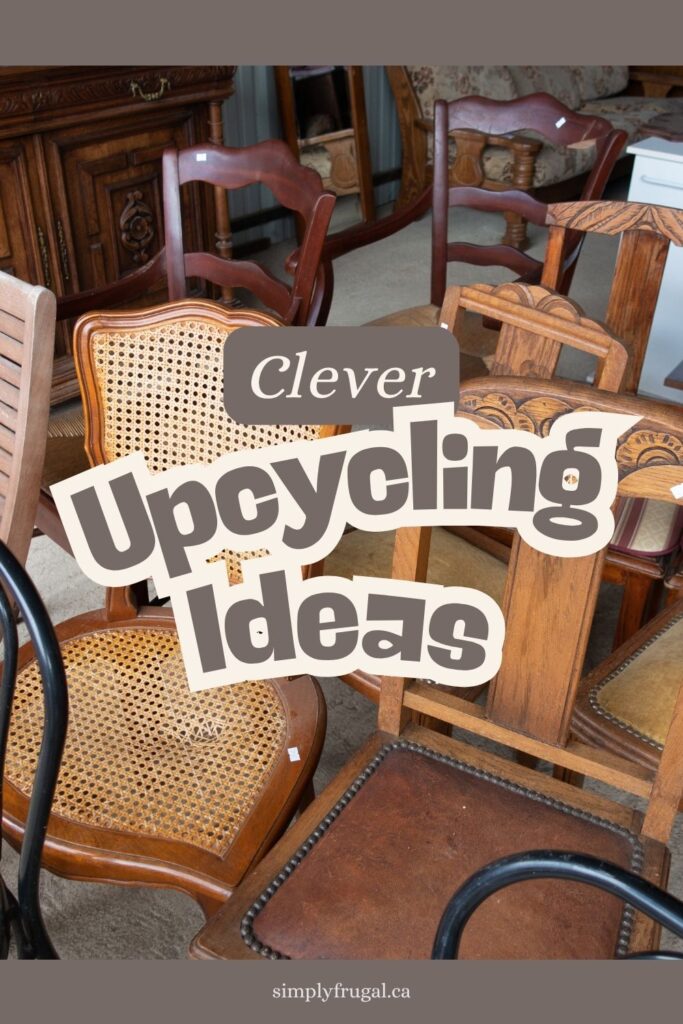
25 Clever Upcycling Ideas: New Uses for Old Things
One of the easiest ways to save money is to make the most of what you already own. Before heading to the store to buy another organizing gadget, cleaning tool, or household item, take a look around your home. You might already have something that can do the job just as well.
Learning to repurpose everyday items is a simple habit that can save you hundreds of dollars over time. Instead of throwing things away or buying something new, try looking at old items with fresh eyes. A basket can become storage, a mason jar can become a pantry organizer, and an old towel can find a whole new purpose around the house.
The more you practice this mindset, the easier it becomes to spot creative solutions using the things you already have. Not only does this help you spend less, but it also reduces waste and encourages a more intentional, frugal lifestyle.
Before you make your next purchase, ask yourself this simple question:
"Do I already own something that could work instead?"
You might be surprised by the answer.
To inspire you, I've rounded up 25 clever upcycling ideas and creative new uses for old things. I hope these ideas help you save money, reduce waste, and see everyday household items in a whole new light.
Living frugally isn't about constantly sacrificing or going without. More often, it's about getting creative with what you already own and finding new ways to make everyday items work for you. These upcycling ideas are a great reminder that many things we might otherwise throw away still have plenty of useful life left.
The next time you're about to buy something, pause for a moment and look around your home first. You might already have exactly what you need tucked away in a cupboard, closet, or storage bin. Not only can this simple habit save you money, but it also reduces waste, encourages creativity, and can even turn into a fun DIY project you'll be proud of.
Now I'd love to hear from you! Have you ever repurposed an old household item into something new? Share your favourite idea in the comments. You never know who you might inspire to save money and see their belongings in a whole new way!
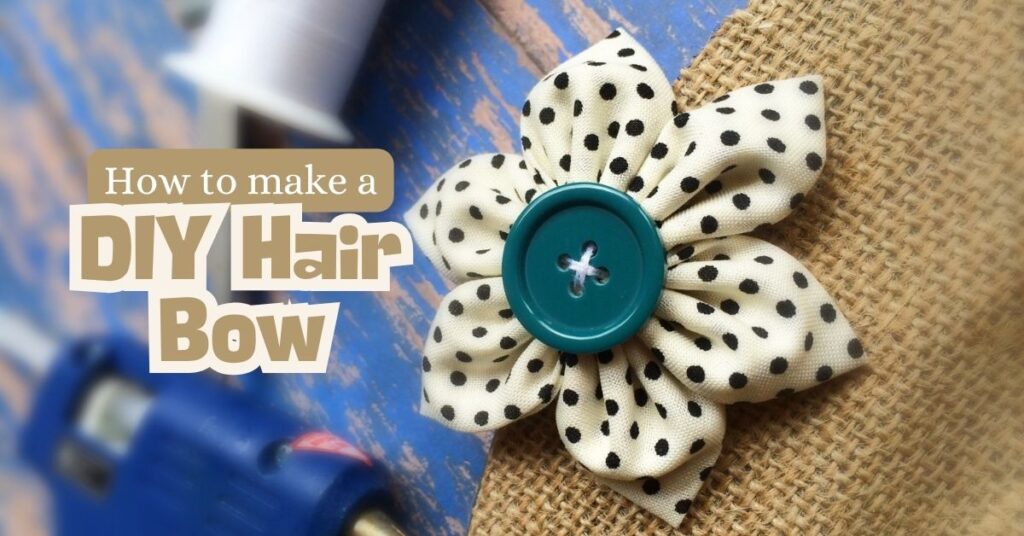
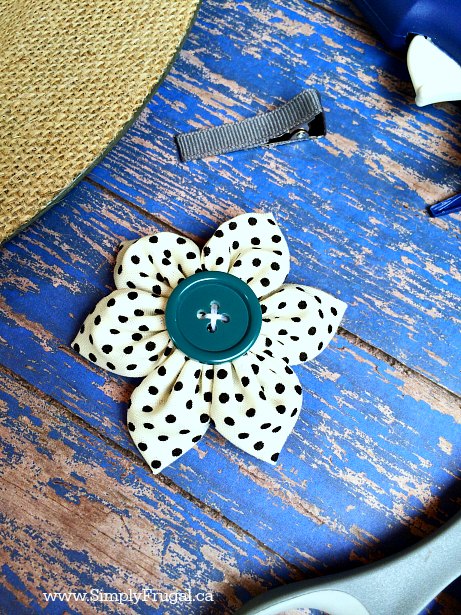
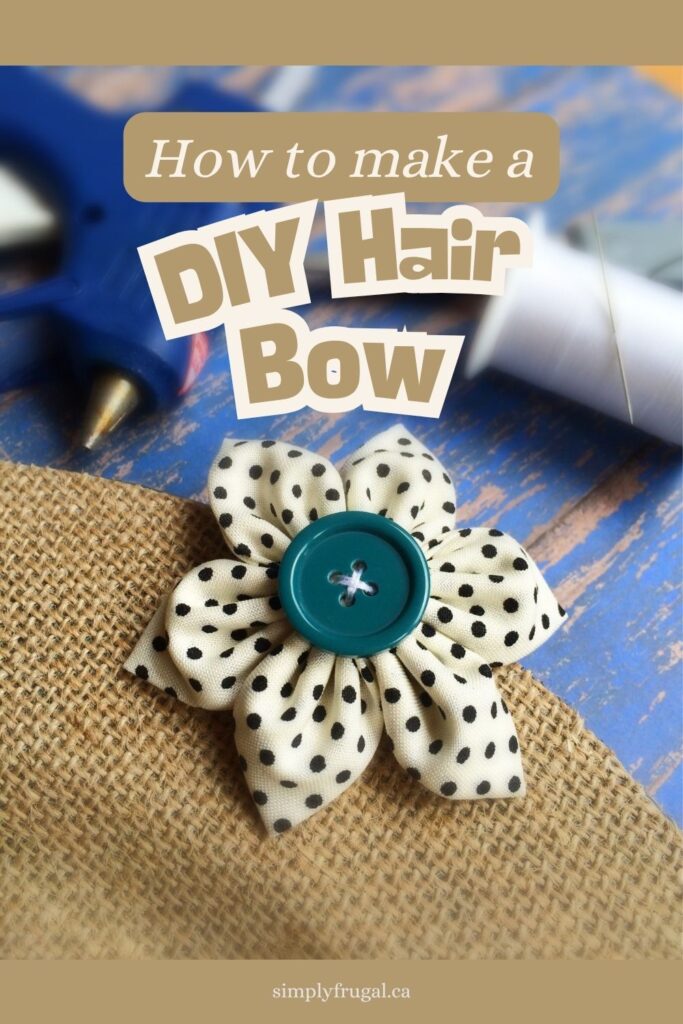
If you've ever wanted to learn how to make a DIY hair bow, you're in the right place! I'm so excited to share today's project because it's one of my favourite quick and easy DIYs.
My daughter has finally started letting me put hair clips in her hair, so I thought it would be fun to make a few custom bows just for her. Of course, if I'm feeling a little fancy, I might borrow one now and then too!
These DIY hair bows are simple, inexpensive to make, and come together in just a few minutes. They're perfect for beginners, make adorable handmade gifts, and are a fun way to create cute accessories that match any outfit. Once you see how easy it is to make a hair bow, you'll want to make them in every colour and pattern!
Here's how to make a cute DIY hair bow:
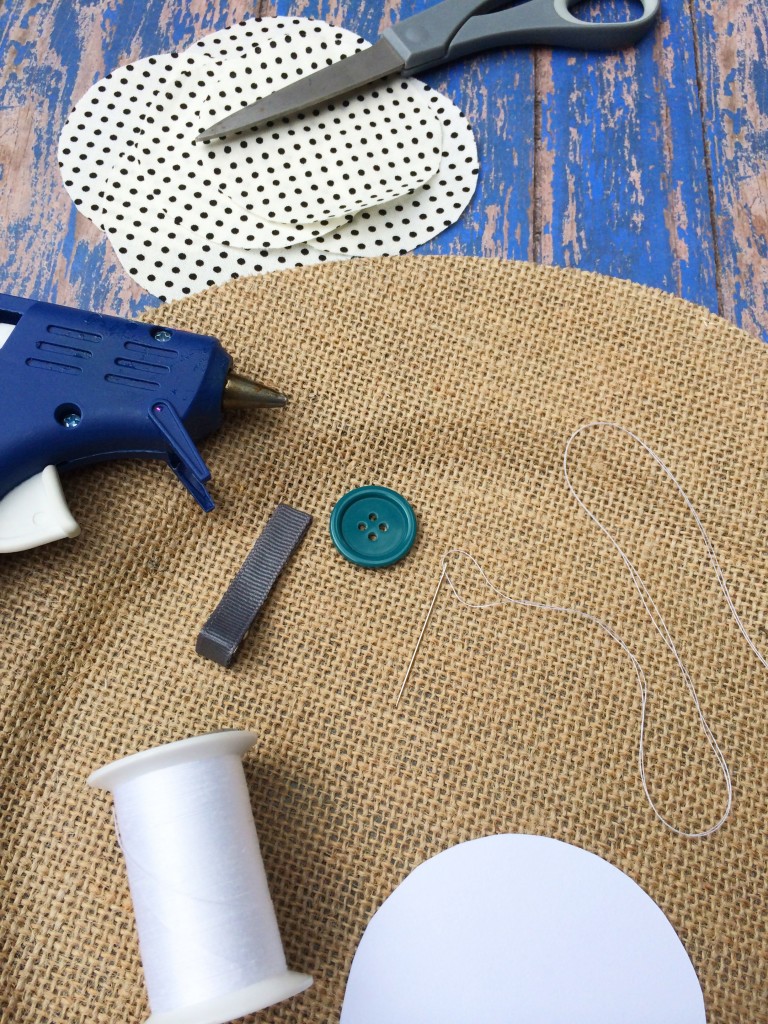
MATERIALS:
1/8 yard of any type of fabric (I typically like cotton)
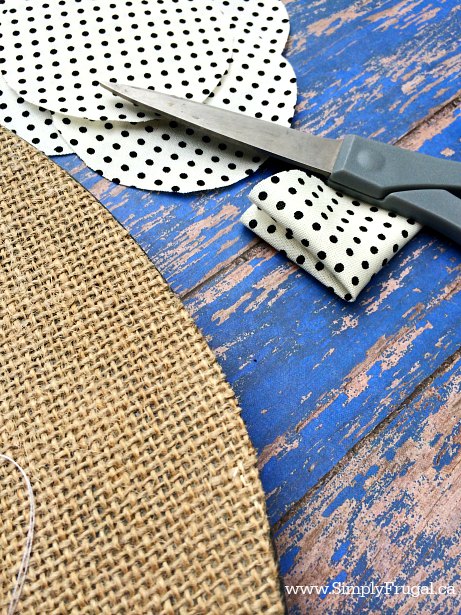
1. Trace your plastic cup top 6 times on fabric and cut your circles out (the bigger the circles, the bigger your flower) 2. Fold each circle in half twice so that they resemble a triangle. (you're going to want to do this one at a time.)
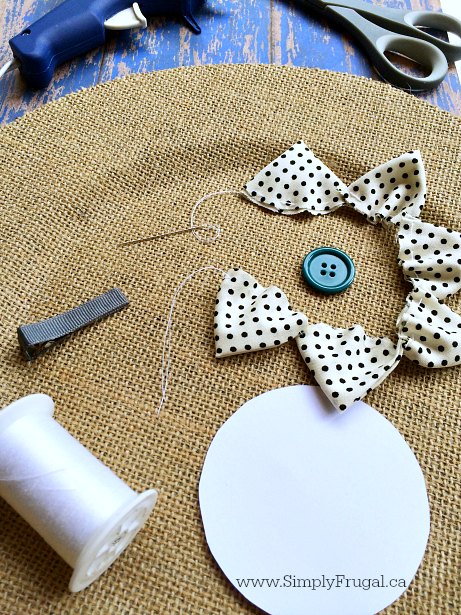
4. Weave your needle in and out along the rounded part of your triangle
5. Repeat step 4 with all 6 triangles 6. Now that you have all 6 triangle pieces on your thread you can push them all together carefully
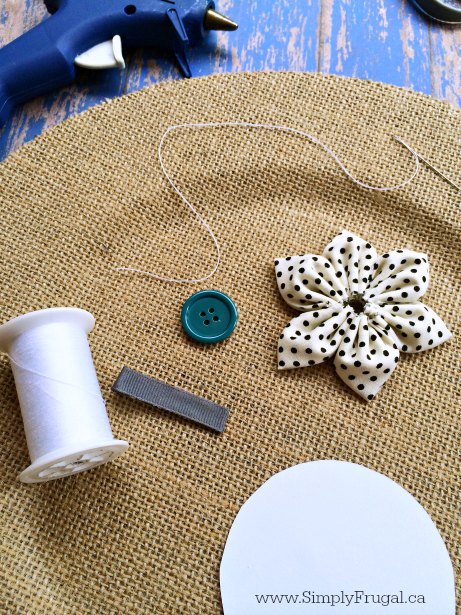
7. Tie off tightly 3 times so that your knot stays 8. Place your button of choice on top of the flower and begin sewing it to the inside of the middle of the flower
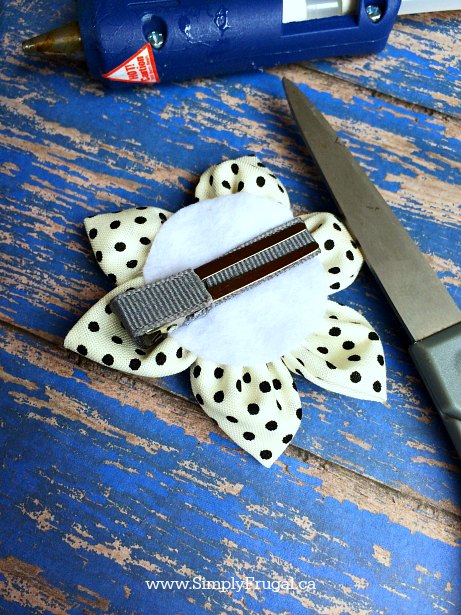
9. Now turn your flower around and hot glue your circle piece of felt (half dollar size) on the back of your flower 10. You can also glue a few small dots under your button to secure 11. Hot glue your pre lined alligator clip on the back
These DIY hair bows are such a fun and easy project, and they're perfect for all ages. Whether you're making them for your own little ones, giving them as thoughtful handmade gifts, or adding a few to your own accessory collection, they're sure to get plenty of use.
I hope you've enjoyed learning how to make a DIY hair bow and feel inspired to create your own. Have fun mixing and matching fabrics, colours, and patterns to make each bow unique. Happy crafting!
Creative Uses for Old Magazines: 22 Fun Ways to Repurpose Them
Before you toss that stack of old magazines into the recycling bin, take a look at these creative uses for old magazines. Those glossy pages can be transformed into everything from beautiful home décor and unique gift wrap to fun crafts, educational activities, and practical household items.
Whether you're looking for an easy rainy-day project, a budget-friendly DIY, or simply want to reduce waste, there are plenty of clever ways to give old magazines a second life. Repurposing magazines is an inexpensive and eco-friendly way to get creative while keeping perfectly usable materials out of the landfill.
From simple family crafts to eye-catching décor ideas, these 22 creative uses for old magazines are sure to inspire your next upcycling project. You may never look at an old magazine the same way again!
Old Magazines for Organizing
Cupboard liners - Line above your kitchen cupboards with pages to protect from the dust, then remove and replace for easy dusting!
Boot trees - Roll up a couple of magazines, then put them inside your tall boots to keep them from falling over and wrecking the leather.
Use as package filler - Shred some magazines to make protective filler for packages.
Make a bowl - Make a cute bowl to hold random items such as keys, loose change or even hair accessories!
Create a box - What a cute way to hold special little trinkets or jewelry.
Old Magazines for Gift Giving
Make a gift bag - No more gift bags in your stash? Just turn some magazine pages into arecycled gift bag!
Gift wrap - Magazines could be a cheap and interesting way to wrap gifts for fun events!
Make a gift bow - Create some gift bows for all the gifts you'll be giving with this tutorial.
Recycled Magazine Flowers - I think one of these recycled magazine flowers would look great on a gift or on a card!
Old Magazines for Crafts/DIY
Crafts - Tear out magazine pages for collage and decoupage projects to help occupy the kids. These magazine embellished bobby pins are neat too!
Make beads - Turn magazine pages into unique paper beads using these instructions.
Create an end table - Create a unique end table by stacking a big pile of magazines and gluing them together or strapping them with a belt to stop them from toppling over.
Make coasters - I was just thinking I needed a coaster for where I put my coffee in the morning. These recycled coasters are lovely.
Make Christmas Trees - Why not make some holiday décor with some old magazines by using this tutorial for magazine Christmas trees?
Make a Butterfly Garland - This butterfly garland would be a beautiful way to dress up a child's room or playroom!
Make Paper Flowers - These magazine flowers look like so much fun to make!
Make a bracelet - Making bracelets out of old magazines would be fun for the kids to do.
Make 3D Wall Art - Who says you have to spend an arm and a leg decorating your wall? This tutorial for 3D wall art is fantastic.
DIY collage art - Here's another way to add style to your walls. Create collage art.
Create a wreath - I like this twist on the more traditional wreath.
These creative uses for old magazines prove that there's no shortage of ways to give them a second life. Whether you try a simple craft, create unique home décor, or find a practical household use, repurposing magazines is a fun and budget-friendly way to reduce waste. Do you have a favorite way to reuse old magazines? Share your ideas in the comments, we'd love to hear your creative inspiration!
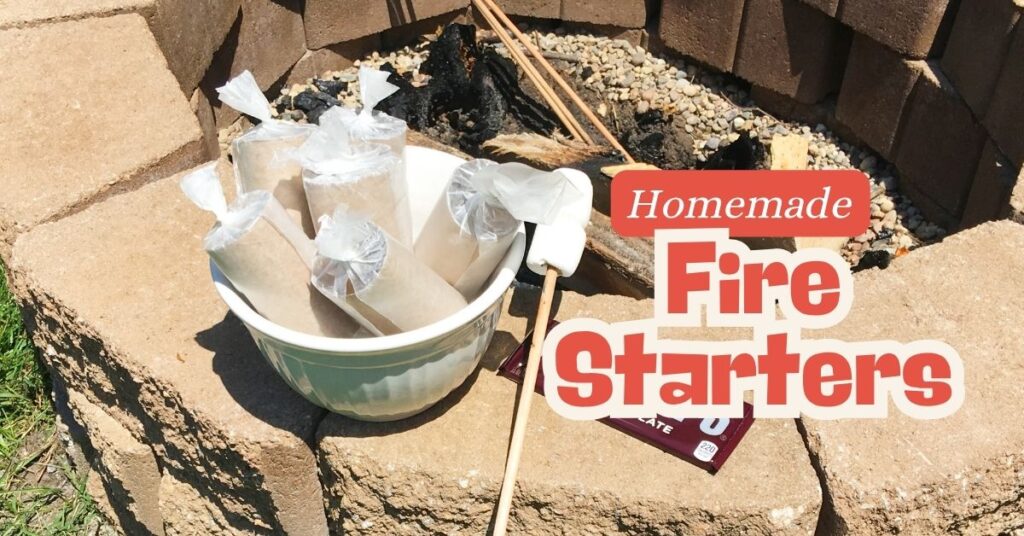
Easy Homemade Fire Starters Using Items You Already Have
Get your outdoor adventures started the easy (and inexpensive) way with these simple homemade fire starters! Whether you're planning a cozy backyard bonfire, heading out for a weekend camping trip, or gathering around the fire pit with family and friends, these DIY fire starters are a practical project that costs almost nothing to make.
Before you toss that pile of dryer lint into the garbage, think twice! It turns out that dryer lint makes an excellent fire starter, and chances are you already have everything else you need sitting around your house. By combining dryer lint with empty toilet paper rolls and a sheet of wax paper, you can create effective homemade fire starters in just a few minutes.
One of the best things about this project is that it gives new life to items that would normally end up in the recycling or trash. Instead of buying expensive commercial fire starters, you can save money by using materials you already have on hand. It's a simple, frugal solution that reduces waste while helping you get a campfire or bonfire going quickly.
These homemade fire starters are lightweight, easy to store, and convenient to pack along for camping trips, cabin weekends, beach fires, or evenings around the backyard fire pit. Make a batch at the beginning of the season and keep them in a dry container so they're always ready when you need them.
If you love finding practical ways to save money while making the most of everyday household items, this is one DIY project that's definitely worth trying. It's quick, easy, budget-friendly, and a great way to recycle materials you already have into something you'll actually use.
Here's how to make Homemade Fire Starters:
MATERIALS
Dryer lint
Toilet paper/paper towel rolls
Wax paper
Scissors
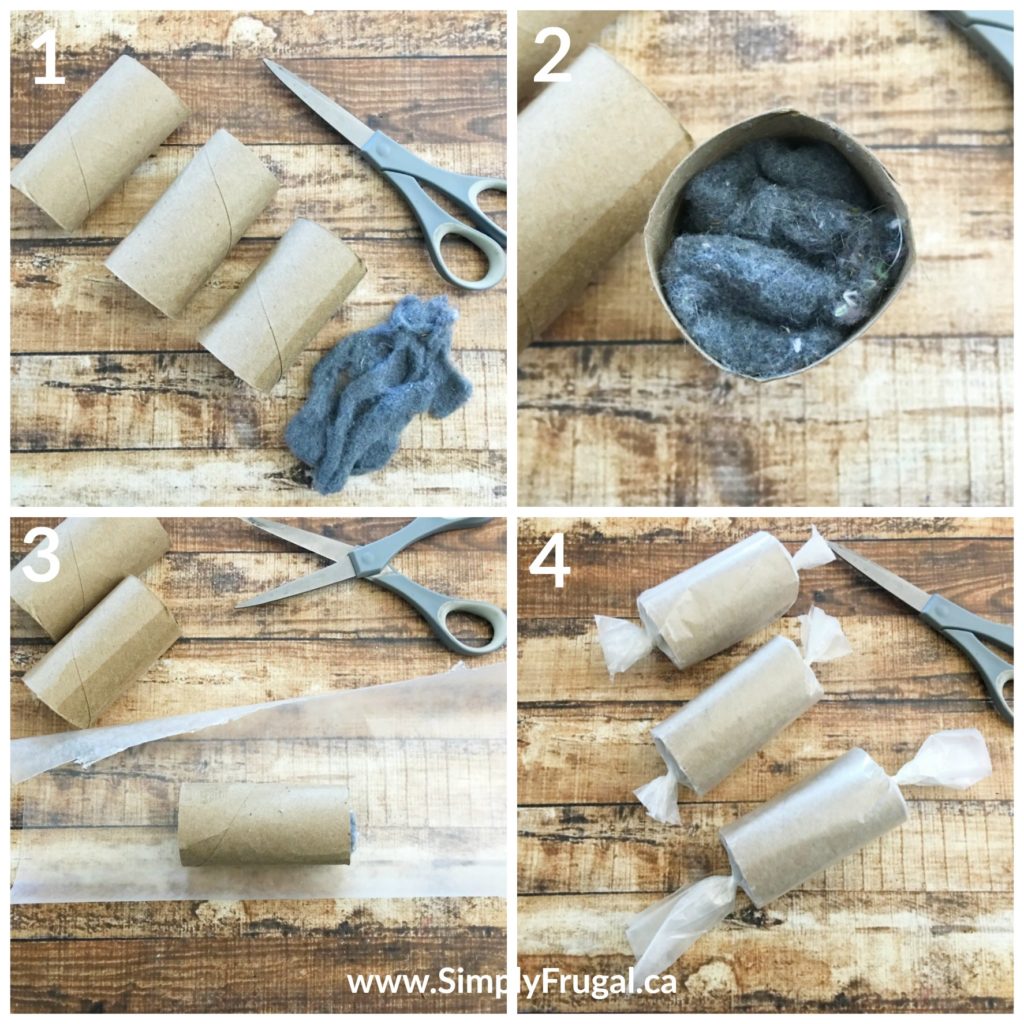
DIRECTIONS
1. Remove the lint from your dryer lint trap 2. Cut your paper towel rolls into thirds or leave toilet paper rolls whole 3. Stuff your paper rolls with the dryer lint, but don't pack it in too tight 4. Cut a 6" piece of wax paper 5. Place your paper roll in the center, wrap the long sides over each other and twist the ends 6. Trim the ends of your wax paper if you'd like
TO USE: place one of your fire starters under a few pieces of kindling and light the end of your wax paper
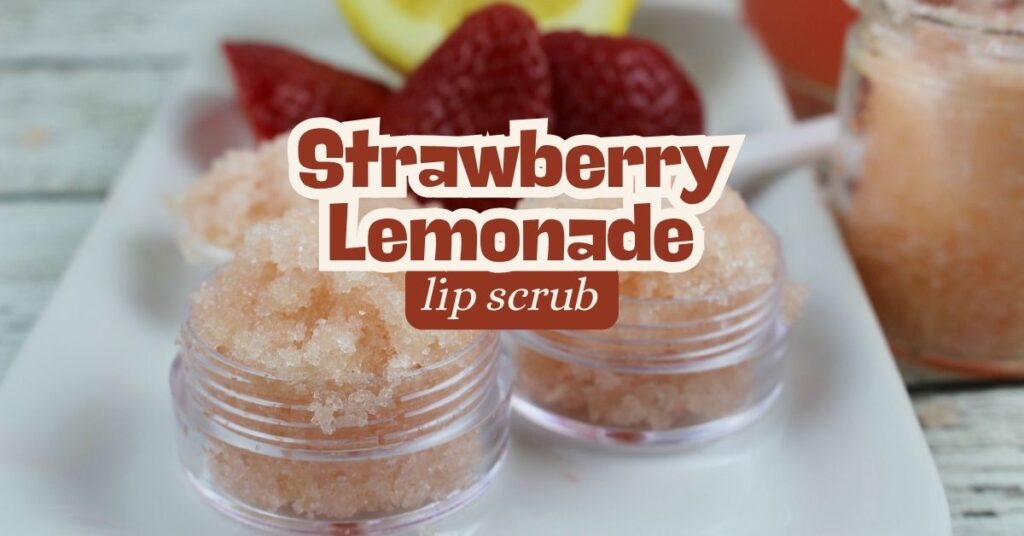
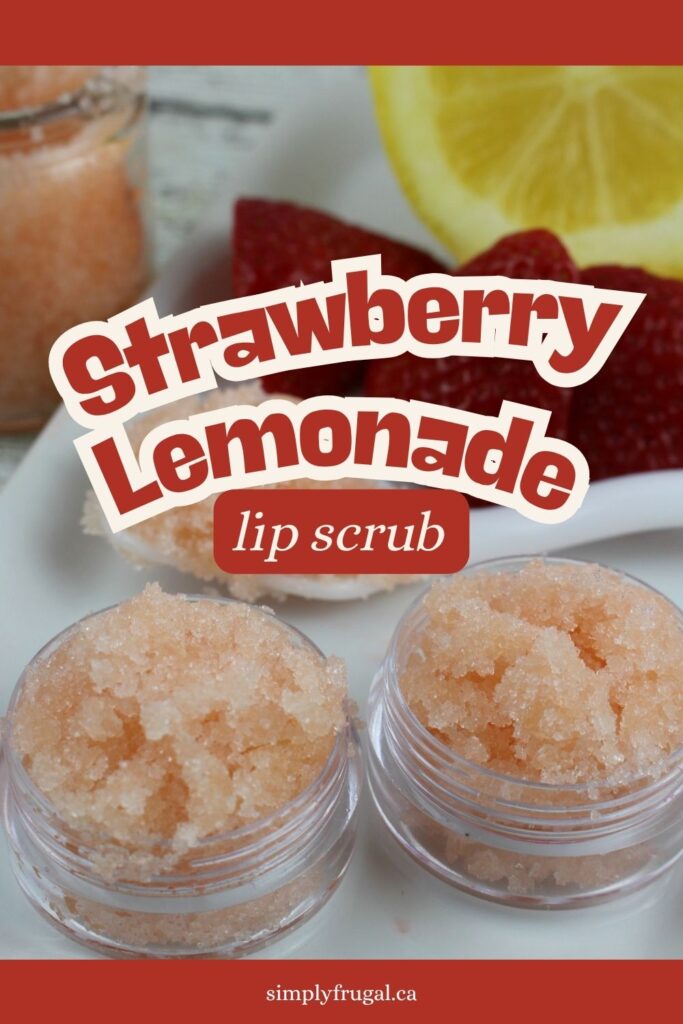
Dry, flaky lips always seem to make an appearance during the colder months, so I've started making this simple DIY lip scrub to keep them soft and smooth. It gently exfoliates away dry skin while helping to lock in moisture, and the fresh strawberry lemonade scent is an added bonus!
This homemade lip scrub is made with just four ingredients: almond oil, sugar, strawberry extract, and lemon essential oil. The sugar gently buffs away dry, flaky skin, while the almond oil helps nourish and moisturize your lips. The strawberry extract and lemon essential oil create a sweet, refreshing scent that makes this scrub feel like a little treat every time you use it.
I've included my Amazon affiliate links below if you'd like to pick up the ingredients used in this tutorial.
In a small mixing bowl, add all of the ingredients. Mix until well blended. Transfer to airtight containers.
HOW TO USE
1. Apply to wet lips and exfoliate by rubbing finger against the scrub in a circular motion. 2. Rinse with warm water and pat dry with a towel. 3. Apply your favorite lip balm.