Canning for Beginners: How to Get Started Safely and Easily
There’s something incredibly satisfying about opening a jar of homemade jam, pickles, peaches, or tomato sauce in the middle of winter and remembering that you preserved it yourself.
If you’ve never tried it before, though, canning for beginners can feel a little intimidating. There are special equipment, different canning methods, specific processing times, and a lot of information to keep straight.
The good news? You don’t need to become an expert before you get started.
With the right equipment, a reliable tested recipe, and a little patience, home canning can be a surprisingly approachable way to preserve seasonal produce and make the most of your garden, a farmers’ market haul, or a great sale at the grocery store.
Here’s what you need to know to get started.
What Is Home Canning?
Home canning is a method of preserving food by placing it in jars and processing the jars using heat.
The heat destroys microorganisms and creates a sealed environment that helps keep the food safe for storage.
Canning has been around for centuries, but modern home canning became much more practical with the development of glass canning jars and reliable sealing methods.
Today, canning is popular with gardeners, homesteaders, farmers’ market shoppers, and anyone who enjoys preserving seasonal food.
And you don’t need a huge garden to give it a try. A few baskets of peaches, a big batch of tomatoes, or a bumper crop of cucumbers can be enough to get you started.
Canning for Beginners: What Supplies Do You Need?
One of the nice things about starting with water bath canning is that you don't need a kitchen full of specialized equipment.
For a basic water bath canning project, you'll typically need:
A water bath canner with a rack, or an appropriate large pot with a rack
Canning jars in the size recommended by your recipe
You may already have some of these items in your kitchen.
And before buying everything brand new, check thrift stores, garage sales, or your own cupboards for equipment. Just be careful with used jars and other equipment: jars with chips, cracks, or damage shouldn't be used for canning.
For pressure canning, you'll also need a proper pressure canner designed for home food preservation.
The Two Main Canning Methods
There are two primary methods you'll find when you're learning about canning: water bath canning and pressure canning.
Water Bath Canning
Water bath canning uses boiling water to process jars.
It's generally used for high-acid foods, including many fruits, jams, jellies, pickles, relishes, and properly acidified tomato recipes.
If you're brand new to canning, water bath canning is often the easiest place to start.
It's relatively straightforward, and there are a lot of beginner friendly recipes to choose from.
Pressure Canning
Pressure canning is used for low-acid foods, such as many vegetables, meats, poultry, and some combination foods.
These foods require a higher processing temperature than a boiling water bath can provide. A pressure canner allows that higher temperature to be reached. Pressure canning is an excellent preservation method, but it's important to learn the process carefully and follow a tested recipe exactly.
Never substitute water bath canning for pressure canning when a recipe specifically calls for pressure canning.
Choose a Tested Canning Recipe
This is probably the most important advice for anyone learning canning for beginners: Don't improvise when it comes to canning recipes.
Canning isn't like making soup, where you can casually add another ingredient or change the proportions. The acidity, density, jar size, processing time, and processing method can all affect whether a canned food is safe.
When choosing your first recipe, look for something relatively simple. Pickles, fruit, jams, and other water bath recipes can be good introductions. Be sure to choose something you actually want to eat! There’s no point spending an afternoon canning 12 jars of something your family won't touch.
Prepare Your Jars and Equipment
Before you start, inspect your jars carefully.
Don't use jars with cracks, chips, or other damage. Pay close attention to the rim. Wash your jars, lids, and bands according to the directions provided with your recipe and the manufacturer's recommendations.
Whether jars need to be sterilized before filling depends on the recipe and processing time. Follow the instructions in your tested recipe rather than automatically boiling every jar for 10 minutes.
If your recipe calls for the jars to be kept hot before filling, you can keep them in hot water until you're ready to use them.
Fill Your Jars Carefully
Once your food is ready, use a canning funnel to make filling the jars much easier.
Your recipe will tell you exactly how much headspace to leave at the top of each jar. Headspace is the space between the surface of the food and the rim of the jar, and it plays an important role in creating a proper seal.
Don't guess at the amount. Follow the recipe.
Before putting on the lid, check the rim of the jar and wipe away any food or liquid that may have spilled onto it. Then place the lid and screw band on according to the manufacturer's directions. Avoid overtightening the band.
Process the Jars According to the Recipe
Now comes the actual canning process.
Place the filled jars into your water bath canner or pressure canner, depending on the recipe you're following.
Processing times aren't interchangeable. They can vary based on the food, jar size, altitude, preparation method, and type of canning. That's why it's so important to use the processing time and method specified in your tested recipe.
If you're water bath canning, make sure the jars are covered with the required amount of water throughout processing.
If you're pressure canning, follow the pressure, processing time, and altitude adjustments specified in your recipe.
Don't shorten the processing time because the jars look sealed or because you're in a hurry.
What About Reusing Canning Lids?
This is an area where older canning advice can cause confusion.
Traditional flat canning lids are designed for single use. Don't reuse them for another batch of shelf-stable canned food.
Screw bands, on the other hand, can generally be reused as long as they're in good condition and aren't rusty or damaged.
Always follow the manufacturer's current recommendations for the particular lids and jars you're using.
What Should You Do After Canning?
When processing is complete, carefully remove the jars using a jar lifter and place them upright on a towel or other protected surface.
Leave them undisturbed while they cool. As the jars cool, you may hear the satisfying little pop of the lids sealing. Don't press the lids down to test them while they're cooling.
After the recommended cooling period, check the seals according to your recipe or canning guide. Any jar that hasn't sealed properly should be handled according to current food-safety guidance rather than simply being stored on the shelf.
Once you've confirmed the jars have sealed, label them with the contents and date.
Start Small
If you've been intimidated by home canning, don't feel like you need to preserve an entire garden on your first attempt. Start with one recipe.
A small batch of pickles or fruit is a great way to become familiar with the equipment, filling jars, processing, and storing your finished product.
Once you're comfortable with the process, you can branch out into more recipes and eventually try pressure canning if you'd like!
A Few Important Canning for Beginners Safety Rules
Canning is a fantastic way to preserve food, but food safety should always come first.
Keep these basic rules in mind:
Use current, tested recipes from a reputable source.
Follow the recipe's ingredients, preparation method, jar size, headspace, and processing time.
Don't alter the proportions of ingredients in a canning recipe unless the source specifically says the substitution is safe.
Use the correct canning method for the food.
Never use jars with cracks, chips, or damaged rims.
Don't reuse single-use canning lids.
Make sure your pressure canner is in good working condition and follow the manufacturer's instructions.
Make appropriate altitude adjustments when required.
If you're unsure whether a recipe or technique is safe, check with a reputable food-preservation resource before proceeding.
Canning for Beginners Doesn't Have to Be Complicated
The first time you see a kitchen counter covered with jars, equipment, towels, and fresh produce, canning can look like a lot of work. But once you understand the basic process, it becomes much less intimidating.
Start with a simple tested recipe, gather the right equipment, give yourself plenty of time, and don't be afraid to learn as you go.
Maybe the best part of canning is that you're not just preserving food, you're making the most of seasonal produce, reducing waste, and putting something homemade on your pantry shelf for later!
There's nothing quite like opening a jar of summer in the middle of winter. Ahhh, yum!
If you love growing fresh herbs during the summer, you may already have spearmint, peppermint, or chocolate mint growing in your garden. Mint is incredibly versatile and can be used for everything from refreshing drinks and desserts to simple crafts and homemade household items.
But there’s another variety of mint that deserves a little more attention: apple mint.
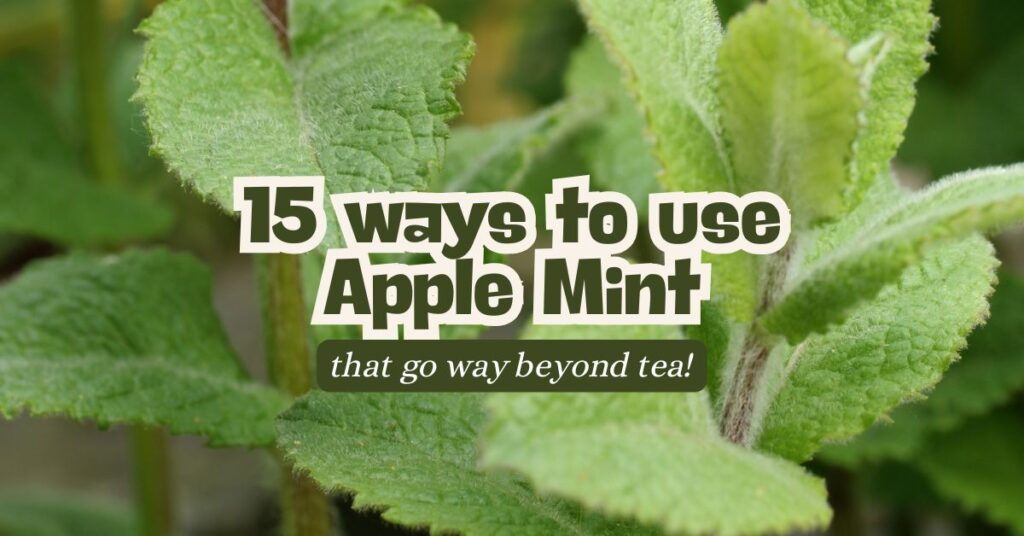
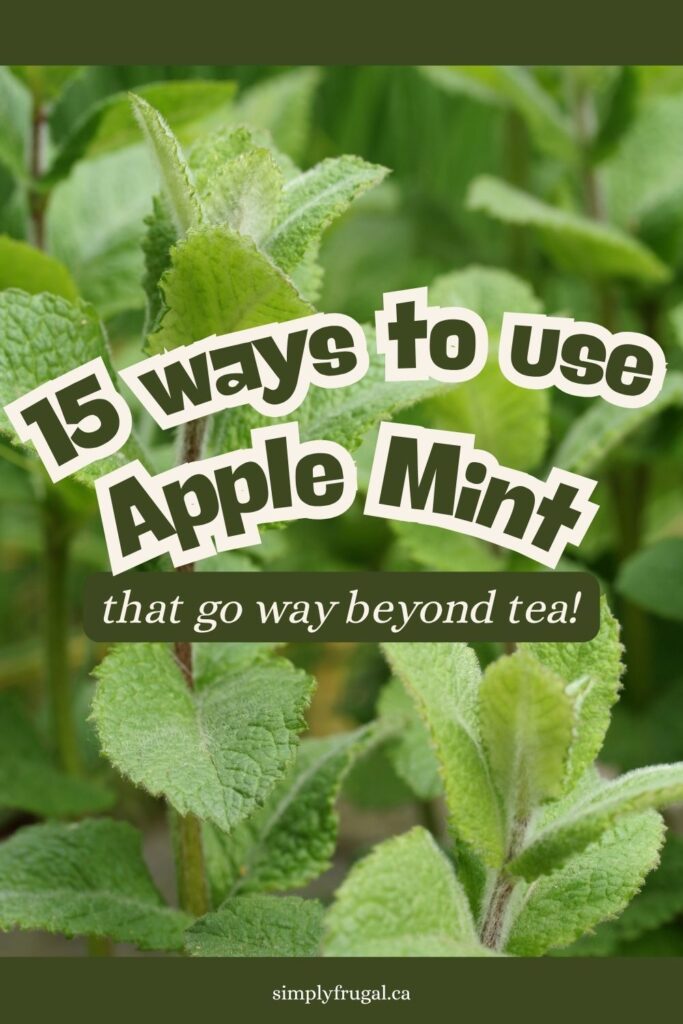
Apple mint has a fresh, fruity scent and a mild minty flavour with a hint of apple. It looks similar to other varieties of mint, but its soft, slightly fuzzy leaves make it easy to distinguish. In late summer, it can also produce pretty reddish or pinkish flowers that add a little extra interest to the garden.
And just like other types of mint, apple mint is surprisingly useful around the house.
If you've recently picked up an apple mint plant and aren't sure what to do with it, don't worry. There are plenty of ways to use apple mint, from making refreshing summer drinks to adding it to desserts, salads, and homemade household items.
Growing Apple Mint
Apple mint is a perennial herb that can grow in full sun or partial shade. It prefers well-drained soil and regular watering, especially during hot, dry weather.
Like other mint varieties, apple mint can spread quickly, so you may want to grow it in a container if you don't want it taking over your garden. If you plant it directly in the garden, give each plant plenty of room to grow.
Because apple mint is a perennial, it can return year after year in suitable climates. If you're growing it in a container, however, you'll need to consider your local winter conditions and whether the plant can survive outdoors.
Once you have a healthy plant, you'll have plenty of fresh leaves to experiment with.
15 Ways to Use Apple Mint
Wondering how to use apple mint once your plant starts producing lots of fresh leaves? Here are 15 simple ideas to try.
1. Add Apple Mint to Tea
One of the easiest ways to use apple mint is to make a simple cup of mint tea.
Rinse a few fresh leaves, add them to a mug, and pour hot water over them. Let the leaves steep for several minutes, then remove them and enjoy. You can also combine apple mint with other herbs for different flavour combinations.
2. Make Flavoured Water
Apple mint is perfect for making plain water feel a little more special.
Add a handful of rinsed leaves to a pitcher of cold water along with sliced lemon, lime, cucumber, berries, or apples. Let it chill in the refrigerator for a few hours before serving.
3. Add It to Lemonade
Give homemade lemonade a fresh twist by adding a handful of apple mint leaves.
You can gently muddle a few leaves before adding them to the pitcher or simply use whole leaves as a garnish.
4. Make Mint Ice Cubes
This is a great way to use up extra apple mint.
Place small leaves into an ice cube tray, fill with water, and freeze. Add the minty ice cubes to water, lemonade, iced tea, or sparkling water.
They're also a simple and pretty addition to summer drinks when you're entertaining.
5. Add It to Fruit Salads
Apple mint pairs really nicely with summer fruit.
Try chopping a few leaves and tossing them with strawberries, watermelon, blueberries, peaches, pineapple, or cantaloupe. The fresh mint adds another layer of flavour to an otherwise simple fruit salad.
6. Make Apple Mint Syrup
Fresh apple mint can be used to make a simple syrup for drinks and desserts.
Just add 1 cup of water and 1 cup of white sugar to a saucepan. Heat over medium heat, stirring occasionally, until the sugar has dissolved. Remove from heat and add 1 packed cup of fresh apple mint. Cover and let the mint steep for 20 - 30 minutes. Strain the syrup through a mesh strainer, pressing gently on the mint leaves to release the liquid. Let the syrup cool completely before transferring it to a clean jar or bottle. Store in the refrigerator and use within about 2 weeks.
Use your homemade syrup to flavour lemonade, iced tea, sparkling water, mocktails, fruit salads, or desserts.
7. Add It to Desserts
Fresh apple mint makes a nice garnish for desserts.
Add a few leaves to ice cream, fruit crisps, cakes, cupcakes, pudding, or a bowl of fresh berries. You can also finely chop the leaves and experiment with adding a small amount to fruit-based desserts.
8. Make Minty Fruit Popsicles
Blend your favourite summer fruit with water or juice and add a few finely chopped apple mint leaves.
Pour the mixture into popsicle molds and freeze.
Watermelon and mint, strawberry and mint, or peach and mint are all refreshing combinations.
9. Add It to Salads
Don't limit apple mint to drinks and desserts!
Finely chop a few leaves and add them to green salads, cucumber salads, grain salads, or salads made with fresh summer vegetables.
10. Make Homemade Salad Dressing
Apple mint can add a fresh twist to homemade salad dressings.
Try combining chopped mint with lemon juice or vinegar, olive oil, and a little honey. You can adjust the ingredients to create a dressing that works with your favourite summer salads.
11. Add It to Marinades
Fresh mint can also be used in homemade marinades.
Try combining chopped apple mint with lemon juice, olive oil, garlic, and your favourite herbs and spices. It can work especially well with chicken, vegetables, or lamb.
12. Make Fresh Herb Butter
Soften some butter and mix in finely chopped apple mint along with a little lemon zest and salt.
Refrigerate it and use it on vegetables, corn on the cob, potatoes, or warm bread.
You can even freeze small portions so you have some ready whenever you need it.
13. Dry Apple Mint for Later
If your apple mint plant is producing more leaves than you can possibly use, don't let them go to waste.
Harvest the leaves and dry them using your preferred herb-drying method. Once completely dry, store them in an airtight container away from heat and direct sunlight.
Use the dried mint later for tea, cooking, or homemade herbal blends.
14. Make a Simple Homemade Air Freshener
Apple mint has a naturally fresh scent, making it useful for adding fragrance to your home.
Bundle a few stems together and hang them somewhere like a pantry, mudroom, or closet where they can dry naturally.
You can also place dried leaves in a small fabric sachet and tuck it into a linen closet or drawer.
15. Use Apple Mint in Summer Decorations
Apple mint is pretty enough to use as part of a simple summer centerpiece.
Add fresh stems to a vase with flowers, tuck a few sprigs around a serving platter, or place a small bunch beside each place setting.
It's an inexpensive way to add greenery and fragrance to your summer table using something you grew yourself.
More Ways to Use Apple Mint
If you have a really productive plant, don't stop at these 15 ideas. Here are a few more ways to use apple mint:
Add fresh leaves to iced tea.
Use it as a garnish for fruit platters.
Add chopped leaves to homemade salsa.
Mix it into a yogurt-based dip.
Add a few leaves to sparkling water.
Make mint-infused vinegar for salad dressings.
Add fresh mint to homemade fruit compotes.
Freeze chopped leaves in small portions to use later.
Add fresh mint to smoothies.
Use it to flavour homemade fruit sauces.
Don't Let Your Apple Mint Go to Waste
One of the best things about growing herbs like apple mint is that you don't need to use everything immediately. If your plant starts producing more mint than you can keep up with, harvest some and preserve it for later.
You can dry the leaves, freeze them in ice cubes, or make something such as mint syrup that you can enjoy after the growing season is over.
So the next time you see apple mint at your local garden centre, don't overlook it. It's a pretty, useful herb that can provide you with fresh flavour, fragrance, and lots of inexpensive ways to enjoy what you've grown.
And if you're already growing apple mint, hopefully these 15 ways to use apple mint have given you some new ideas for putting that plant to good use!
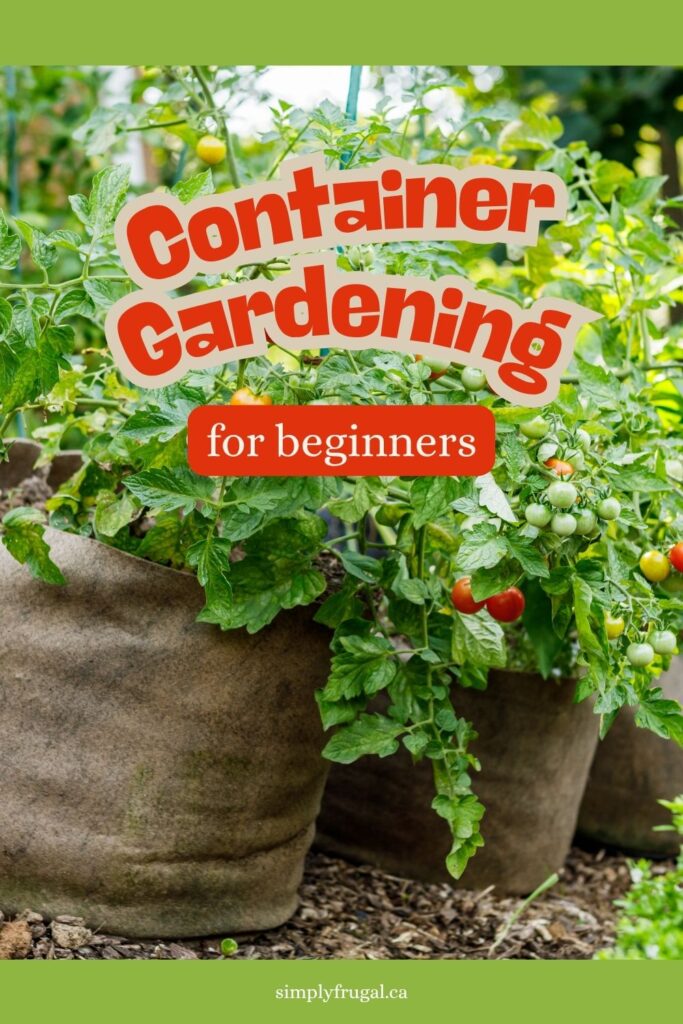
Container Gardening for Beginners: How to Start Container Gardening
Not everyone has access to a large backyard or plantable land, which is why container gardening for beginners is such a great option. Growing fruits, vegetables, and herbs in pots allows you to enjoy fresh, healthy produce all summer long. Even if you only have a patio, balcony, or small outdoor space!
For where I’m currently at in life, container gardening has been the perfect solution. It’s much more manageable than a traditional garden because there’s very little weeding involved and no need to till up the ground. Really, the biggest maintenance task is simply keeping everything watered regularly!
Not only is container gardening convenient, but it can also help save money, which is especially important with grocery prices constantly increasing. Even growing a few vegetables at home can help stretch your food budget during the summer months.
While I’m definitely not an expert, I’ve picked up a few helpful tips along the way that can make container gardening for beginners feel a lot less overwhelming.
The first year I tried container gardening, I got a little too ambitious. Instead of starting with just a few plants, I bought nearly every variety labeled for small spaces. At first I was excited, but as the summer went on, it became harder to keep up with everything and many of my plants ended up neglected.
Since then, I’ve learned that one of the best container gardening tips is to start small. Think honestly about how much time and energy you’ll have to care for your plants throughout the season. Starting with just a few containers is a great way to build confidence and enjoy the process without feeling overwhelmed.
Buy your seeds and plants
One of the great things about container gardening for beginners is that it’s become incredibly popular, which means there are now a lot of seed and plant varieties specifically designed for compact spaces.
I’ve found special “Urban Garden Collection” seeds that are meant for pots and small gardens, and there are plenty of compact vegetable varieties available at garden centres as well. Even Amazon Canada carries seeds now, making it easier than ever to get started.
If you’re unsure what grows best in pots, vegetables like lettuce, herbs, radishes, peppers, tomatoes, peas, and beans are all popular choices for container gardens. For a more in depth look at the types of plants that do best in containers, see my post The Best Vegetables for Container Gardening.
Get the right pots
Starting a container garden doesn’t have to be expensive. In fact, many of my containers were free! I used large black 5-gallon buckets that trees and shrubs originally came in. Garden centres and greenhouses often sell used containers cheaply, and you can also check places like Facebook Marketplace for affordable options.
Grow bags are another excellent option for beginner gardeners because they’re lightweight, inexpensive, and easy to store during the off-season.
When choosing containers, make sure they’re large enough for the plants you want to grow. Larger vegetables like tomatoes, peppers, potatoes, peas, and beans need deeper pots with lots of room for roots. Smaller plants like lettuce, herbs, onions, and radishes can grow well in shallower containers.
Find the right light
Sunlight is one of the most important factors in successful container gardening. Most vegetables need several hours of direct sunlight each day in order to thrive.
I keep most of my containers on our back patio where they receive lots of afternoon sun. However, I place my lettuce containers in a cooler area that only gets morning sun because lettuce tends to struggle in extreme heat.
Always check your seed packets or plant labels to see how much sunlight each plant prefers.
Use good potting soil
One of the biggest mistakes beginners make is using regular garden soil in containers. For healthy plants, it’s important to use a good quality potting mix instead. Potting soil is specially designed to provide proper drainage and airflow, which helps prevent root rot and other problems.
If you’re filling large containers, the cost of soil can add up quickly. To save money and reduce the weight of heavy pots, try filling the bottom portion with lightweight materials like crushed pop cans, empty milk jugs, packing peanuts, or old plastic nursery pots before adding soil on top.
Plant, Water, Wait
Now comes the fun part. Planting! Follow the directions on your seed packets or plant labels for spacing and planting depth. Once everything is planted, water your containers thoroughly.
For tiny seeds like lettuce, using a spray bottle or gentle watering can help prevent seeds from washing away.
After that, all that’s left to do is keep watering regularly, enjoy watching your plants grow, and wait for harvest time!
I hope these simple tips for container gardening for beginners help you feel more confident about starting your own garden this year! Have you ever tried growing vegetables in containers? What would you love to plant first?
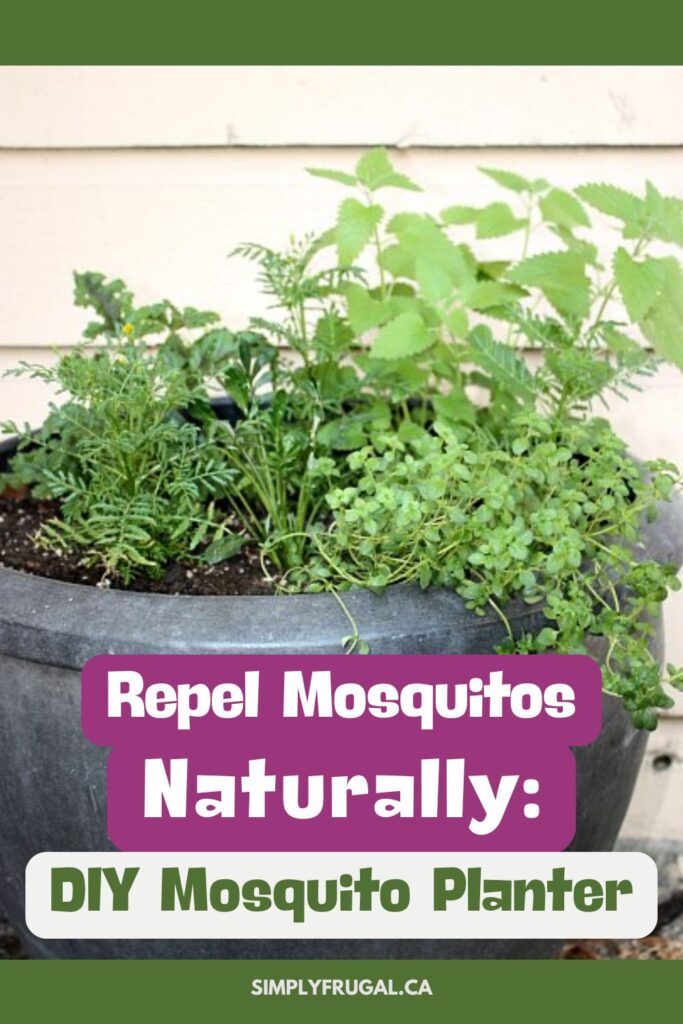
How To Make Your Own DIY Mosquito Planter. If you're tired of battling mosquitos, a DIY mosquito planter might be the solution you've been waiting for!
I mentioned in my first container garden update that I would do a separate post detailing the plants I have in the planter I deemed my 'DIY Mosquito Planter'. While we don't get a ton of mosquitoes, we do live by a creek (damp) so we do see them around and they are not my favourite bug to live with. In one of my Pinterest escapades, I discovered that I could create a container full of plants that mosquitoes don't like. Namely, plants of the citrus scented variety.
Not only does the scent of the plants keep mosquitoes at bay, I can even tear off a leaf and rub it on my skin if I'm finding they're getting too close. I may even bring a leaf or two along on any hikes we might be doing!
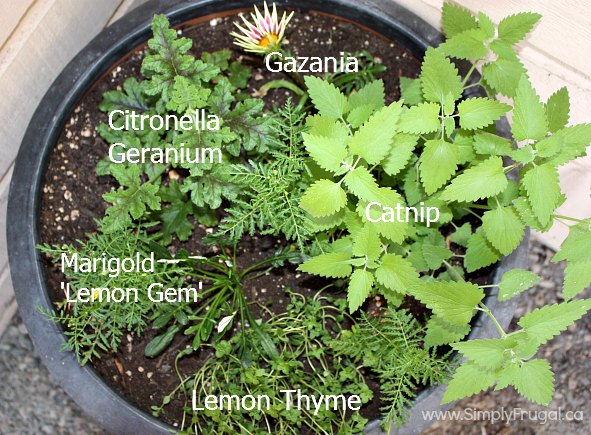
Here's what I put in my DIY Mosquito Planter:
Citronella Geranium (I would use these leaves on my skin)
Marigold 'Lemon Gem'
Catnip
Lemon Thyme (can be used in cooking too!)
Gazanias (only because I had extra from another flower pot)
I was looking for lemon grass but I couldn't find any before I got tired of driving to all our local nurseries.
You could also try:
Citronella Grass
Lavender
Lemon Balm
Basil: Especially the lemon and cinnamon varieties.
I'm excited to see how this works as the summer goes on. I hope it fills out nicely and that pretty flowers appear!
Have you ever made a DIY Mosquito Planter? Did it help ward off the mosquitoes?
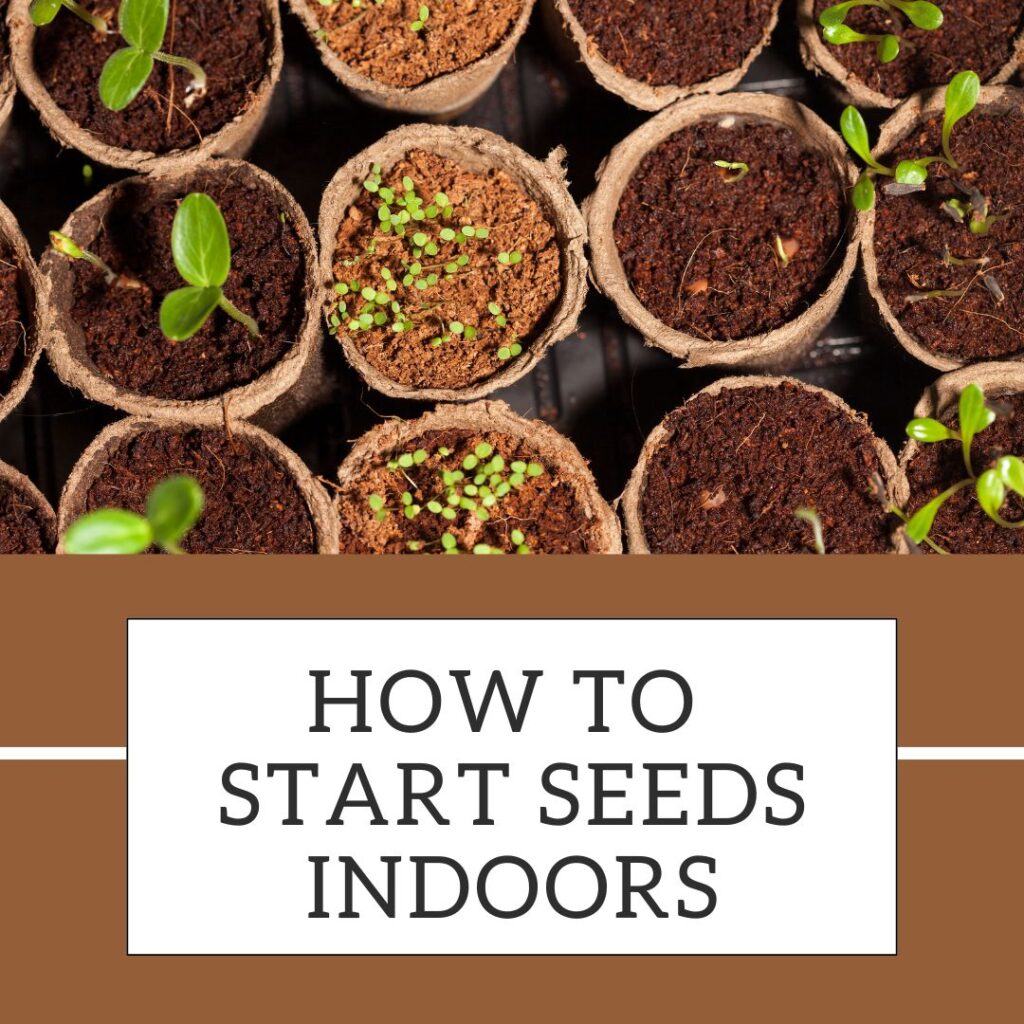
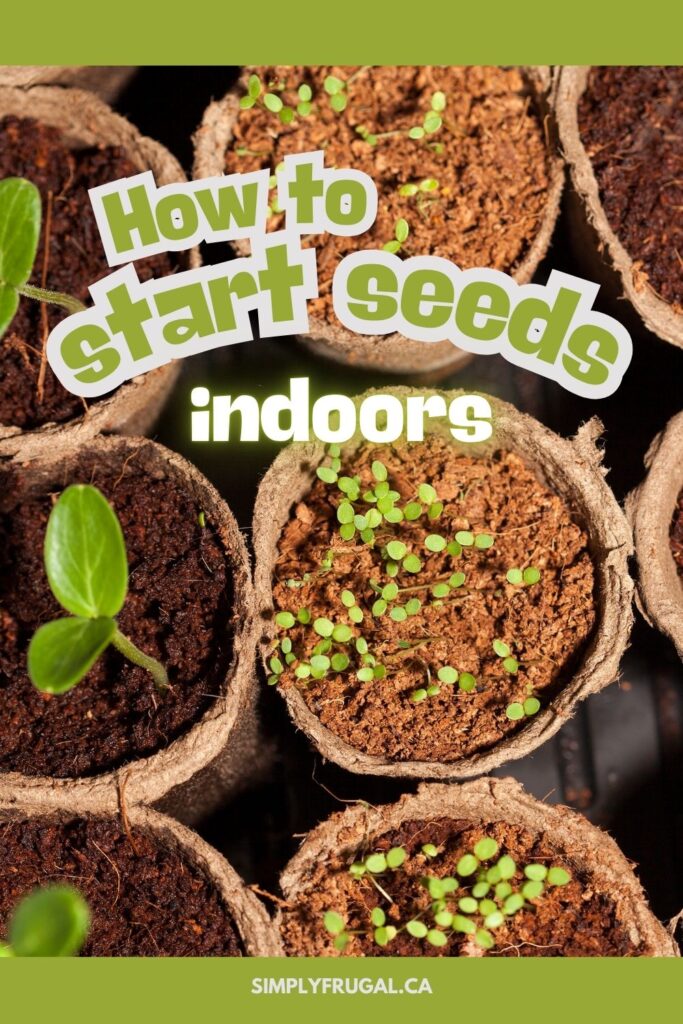
You might be itching to get your garden going, but chances are the outdoor sowing season is still a ways away. Well no worries, here's how to start seeds indoors several weeks before the final frost of the season!
By starting your seeds indoors, you can get a jump on the growing season while saving some money in the process. Here is what you need to know on how to start seeds indoors.
I've linked to some items on Amazon for convenience, but you can gather supplies from anywhere to fit your budget.
A good rule of thumb for when to start your seeds is 4 weeks before the last frost of the season. This will vary depending where you live, so consult The Farmer’s Almanac to find out when the perfect planting time is for you.
DIRECTIONS:
Begin by placing the seed starter cups on the cookie sheet or tray. This way, the surface under the cups is protected and you can easily move them if you need to. Also, make sure the containers you choose have drainage holes.
Fill each cup 3/4 of the way full with nutrient rich potting soil. Seedlings need a light, airy soil mix that drains well. You can buy a seed starting mix at a garden center or make your own by mixing equal parts peat moss, vermiculite, and perlite.
Plant the seeds: Follow the instructions on the seed packet for planting depth and spacing. In general, plant the seeds twice as deep as their diameter.
Cover the seeds with soil and mist the area with your spray bottle. Misting is easier and cleaner than a watering can, plus it will keep you from over watering.
Use the wood craft sticks and marker to make plant markers for the seedlings so you know what they are once they start growing.
Pull a sheet of plastic wrap over the top of the seed starters. This will allow light in but will help the plants retain heat. NOTE: You will need to remove the plastic wrap every few days to mist the soil to keep it moist. Just be sure to return the plastic when you are done.
Place your seed starters in a window where they will get at least 6 hours of sun per day. If you don’t have an area where this is possible, a sun lamp will work.
As soon as you see sprouting, remove the plastic wrap. Continue to water every few days and keep the soil moist at all times.
In just a few weeks, your seeds will be seedlings and soon they will be ready to get transplanted outside. Be sure the threat of frost has passed and you follow package directions when transplanting.
See how simple starting seeds indoors can be? Give these tips a try and get a jump on the growing season now!
Are you hoping to add some new vegetable gardening books to your library this year? If you are, I've rounded up a great selection of the best vegetable gardening books for those of us in Canada! These are must-haves if you are looking for inspiration for growing the best vegetable garden, no matter what size of space you are working with!
10 of the Best Vegetable Gardening Books
This book by veteran Canadian garden writer Doug Green is full of information that will educate Canadian gardeners in all aspects of planning, installing, planting, and caring for their new garden. Gardeners will learn how to ensure their garden is eco-friendly and how to save money by storing, canning, or freezing the bounty of the garden. With hundreds of full colour pictures, Guide to Canadian Vegetable Gardening is sure to be the standard for Canadian gardeners for years to come.
When he created the "square foot gardening" method, Mel Bartholomew, a retired engineer and efficiency expert, found the solution to the frustrations of most gardeners. His revolutionary system is simple: it's an ingenious planting method based on using square foot blocks of garden space instead of rows. Gardeners build up, not down, so there's no digging and no tilling after the first year. And the method requires less thinning, less weeding, and less watering.
The first frost used to be the end of the vegetable gardening season — but not anymore! In The Year-Round Vegetable Gardener, Nova Scotia–based gardener and writer Niki Jabbour shares her secrets for growing food during every month of the year. Her season-defying techniques, developed in her own home garden where short summers and low levels of winter sunlight create the ultimate challenge, are doable, affordable, and rewarding for gardeners in any location where frost has traditionally ended the growing season.
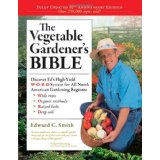
Smith’s legendary high-yield gardening method emphasizes wide rows, organic methods, raised beds, and deep soil. Succeed with fussy plants, try new and unusual varieties, and learn how to innovatively extend your growing season. With thorough profiles of hundreds of popular varieties, The Vegetable Gardener’s Bible provides expert information and an inspiring roadmap for gardeners of all skill levels to enjoy abundant homegrown vegetables.
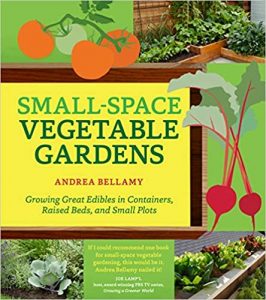
Small-Space Vegetable Gardens explains the basics of growing a bounty of edibles in a minimal amount of space. Andrea Bellamy shares all the knowledge she’s gained from years of gardening small. You’ll learn how to find and assess a space, how to plan and build a garden, and how to sow, grow, and harvest the 60 best edible plants. This hardworking and enthusiastic guide will help you take advantage of the space you have—whether it’s a balcony, a patio, a plot in a community garden, or even a small yard—to create the food garden of your dreams.
Vertical solutions deliver more yield in fewer square feet, especially perfect for the urban gardener. They're less work, too, so you can forget all-day weeding and watering. Some vegetables, such as tomatoes and pole beans, have been grown vertically for a very long time, but those who need to maximize space can grow almost any type of plant vertically—from melons and squash to carrots, peppers, and pears. Vertical Vegetable Gardening is your thorough guide for growing all types of leafy, root, and other vegetables vertically.
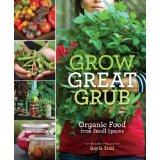
Your patio, balcony, rooftop, front stoop, boulevard, windowsill, planter box, or fire escape is a potential fresh food garden waiting to happen. In Grow Great Grub, Gayla Trail, the founder of the leading online gardening community (YouGrowGirl.com), shows you how to grow your own delicious, affordable, organic edibles virtually anywhere. Whether you’re looking to eat on a budget or simply experience the pleasure of picking tonight’s meal from right outside your door, this is the must-have book for small-space gardeners—no backyard required.
Savor your best tomato harvest ever! Craig LeHoullier provides everything a tomato enthusiast needs to know about growing more than 200 varieties of tomatoes, from planting to cultivating and collecting seeds at the end of the season. He also offers a comprehensive guide to various pests and tomato diseases, explaining how best to avoid them. With beautiful photographs and intriguing tomato profiles throughout, Epic Tomatoes celebrates one of the most versatile and delicious crops in your garden.
With Lasagna Gardening for Small Spaces - you can create the garden of your dreams, no matter how limited your growing space is. Pat Lanza's proven lasagna gardening method produces amazing results in pots and small plots. Even in beds just 4 inches wide, you can grow bountiful, beautiful gardens with no digging, no weeding-- no kidding!
Homegrown Pantry picks up where beginning gardening books leave off, with in-depth profiles of the 55 most popular crops — including beans, beets, squash, tomatoes, and much more — to keep your pantry stocked throughout the year. Each vegetable profile highlights how many plants to grow for a year’s worth of eating, and which storage methods work best for specific varieties. Author Barbara Pleasant culls tips from decades of her own gardening experience and from growers across North America to offer planting, care, and harvesting refreshers for every region and each vegetable.
What are the best vegetable gardening books that you can recommend?