Have you ever made Sun Tea? It's my favourite way to enjoy iced tea in the summer! The taste of real brewed tea and endless flavour options is what gets me really excited about brewing a batch.
Sun Tea is a method of brewing tea slowly by using the heat of the sun to steep tea bags. I find it fascinating to watch the water in the glass jar slowly change colour as the sun works its magic on the tea bags. 🙂
Sun Tea is really easy to make and is very adaptable to your own personal flavour preferences.
Place in the direct sun for 3 - 5 hours, or until desired strength is reached. Remove tea bags.
Place in the fridge.
To serve: add sliced lemons, fresh mint, sweetener (honey, simple syrup, agave...etc.) if desired.
For the batch I brewed pictured below, I used 2 Ginger Peach tea bags and 6 Orange Pekoe tea bags. I added some of the Simple Syrup I featured the other day until I was happy with the sweetness. I think it tastes pretty darn good, but if I had some lemons on hand I would have added a few slices to make it perfect!
Love Everything Bagel Seasoning, but don't love the cost of buying it at the store? Everything Bagel Seasoning is super easy to make at home and costs way less than buying it already made!
With just 6 ingredients, you can simply toss them together, and eat it on everything your heart desires.
Most of these ingredients are likely already in your pantry. Plus, you can tweak it to your personal taste.
Combine all ingredients in a small bowl and mix well.
Store in a sealed container, like a mason jar, in the pantry, for up to 2 months or more.
Tips:
If you can’t find black sesame seeds, you can swap them out for more white sesame seeds. They taste the same, it will just look a little different.
Be sure you use the black toasted sesame seeds as they sell an untoasted option as well. The toasted option is much better.
This recipe is easily cut in half or doubled to make as much as you need.
Be sure to give the seasoning a shake before you use it, as some of the smaller seasonings like to settle more to the bottom. It will give you a more even flavor.
Great as a snack topping!
Perfect for keto.
In conclusion, this is the BEST Everything Bagel Seasoning! It will be a favorite spice blend, perfect on toast, dips, soups - anywhere you want a little crunch.
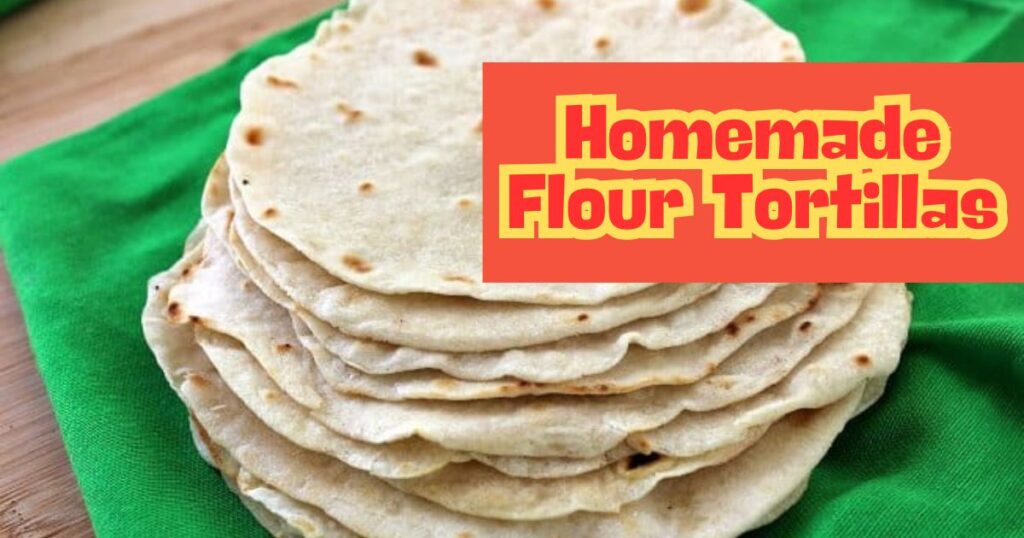
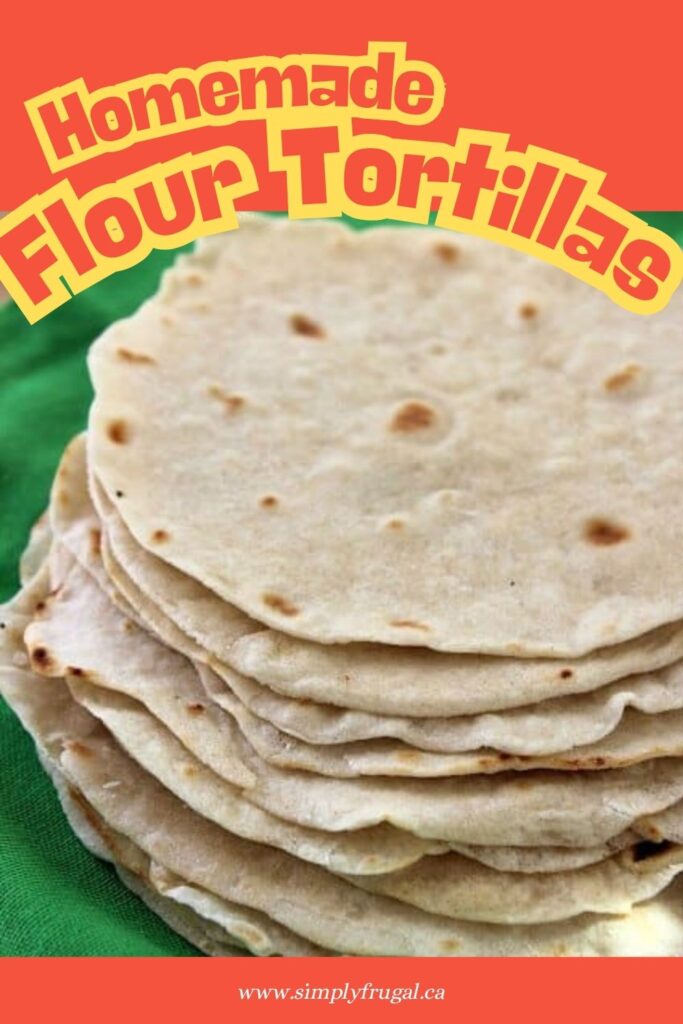
We go through quite a few tortillas in our home. Between quesadillas, burritos, tacos, cream cheese & meat rollups and even pizzas, it feels like I'm always buying a pack of tortilla shells. That can really add up when a package costs $4 or more!
I knew it was possible to make homemade flour tortillas so I thought I'd try. Let me tell you, they are so easy to make and delicious! (Especially when you eat them when they're still fresh and warm.)
Making homemade flour tortillas at home is really inexpensive and you most likely have everything in your pantry already. Flour, oil, baking powder and some salt. It will take a bit of time to cook your tortillas but it is still easy. If you think you will be making homemade flour tortillas regularly, you may want to consider purchasing a tortilla pressto make the process easier.
INGREDIENTS
3 cups Flour
1 tsp Salt
1 tsp Baking Powder
1/2 cup Vegetable Oil
1 cup Warm Water
DIRECTIONS
Step 1: Using a stand mixer, whisk dry ingredients until combined. Add water and oil and mix, scraping down the sides as needed until ball forms. Mix for two more minutes until dough is smooth.
Step 2: Turn out onto floured work surface and divide into 16 pieces and roll each into a ball. Allow to rest for 10 minutes. Preheat skillet over medium heat.
Step 3: Roll out each ball into a 6" circle.
Step 4: Cook each tortilla on first side for about a minute, until brown spots form, then flip and cook other side for about 20 seconds. (Or use a tortilla press.)
Stack cooked tortillas and wrap in a clean towel to cool.
If not being used immediately, store in a zip lock bag.
These homemade tortillas were so easy and so much better than store bought. I'll be making these on a regular basis over here. They're perfect for snacks and for meals. What do you use tortillas for in your house?
Valentine's Day is fast approaching! That means it's time to show some love and appreciation to our valentines. Sweet treats are a great way to show some appreciation, but I happen to think homemade treats are extra special!
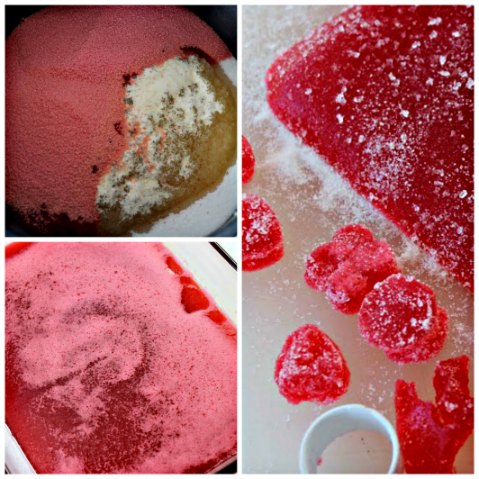
Today I want to show you how fun and easy these Valentine gum drops are to make. Get the kids involved with cutting out the shapes too. This set of heart shaped cookie cutters has a variety of sizes to choose from, but any small shaped cookie cutter will work!
Normally I make Oreo Truffles using regular Oreos, but this year I found Gingerbread flavoured Oreos! Of course I had to try making them into Gingerbread Oreo truffles using my regular recipe. Boy, oh boy, are they ever delicious! If these gingerbread oreos are going to be a regular holiday staple each year, I’ll be using them for truffles instead of the regular oreos! Don’t get me wrong, the other truffles are tasty too, they’re always a hit whenever I bring them to gatherings. 🙂
I thought the gingerbread flavour suited white chocolate best and I finished them off with a sprinkle of nutmeg!
Crush the Oreos into fine crumbs with a food processor or use a Ziploc bag with a rolling pin/hammer/rock… 🙂
Add the crumbs to a big bowl with the softened cream cheese. I use my Kitchenaid mixer to mix until it was all well incorporated.
Roll the cream cheese Oreo mixture into 1" balls (or whatever size you’d like) Place on a cookie sheet with waxed paper.
Chill in the fridge for about 1 hour.
When your truffles are almost finished chilling, start melting the chocolate slowly. (in the microwave or on the stove)
Drop one or two truffles into the melted chocolate and use a fork to remove them, letting the excess chocolate drip. Place them back on the waxed paper.
Now is when you want to add the toppings, before the chocolate hardens.
Looking for a recipe for delicious Whipped Shortbread Cookies? Well, here you go. This is it! I usually have to make this recipe several times over the Christmas season as my husband and daughters love them! The best part about this shortbread is that it's so easy to make and only needs three ingredients!
How to make Whipped Shortbread Cookies:
INGREDIENTS:
1 cup softened butter
1 1/2 cups all-purpose flour
1/2 cup powdered sugar (icing sugar)
Maraschino cherry pieces, if desired
DIRECTIONS:
Preheat oven to 350 degrees.
Place softened butter in a bowl, whip with a hand mixer or Stand mixer for one minute.
Add flour 1/2 cup at a time, whipping after after each addition until well incorporated.
Add the powdered sugar and whip again for about 5 minutes (or more).
Place by teaspoonfuls on cookie sheets. Decorate with maraschino cherries, if desired.
Bake in oven for 10 - 11 minutes, or until bottoms are lightly browned.
If you find your cookies are coming out like pancakes, you will need to mix even more. These are not like a regular chocolate chip cookies where you only mix until everything is incorporated. The "secret" to these whipped cookies, is actually the amount of time you spend whipping them. Or if your dough is still powdery/flourlike, you will have to keep mixing. The dough will change from yellowish to more white when it's ready. I have only ever had one batch not turn out and I'm sure it's because I got lazy and didn't whip them long enough.