
I have got the cutest DIY project for you today. It's festive, ridiculously easy to put together and the kids are sure to love it. A No Sew Snowman shirt! Look how amazing it is:

How fun would this shirt be to pull out of the Christmas boxes every year? I've got a shirt for my oldest, now I've got to make one for my youngest!
Here's how you can put together the No Sew Snowman Shirt:
SUPPLIES NEEDED:
- White t-shirt
- Crafting felt in black and orange
- Fabric glue
- Iron (optional)
- Scissors
DIRECTIONS:
1. Begin by ironing out your shirt as well as the felt sheets. This step is optional, but it may help you apply your snowman face. If you choose to iron, just use a low heat and no steam.
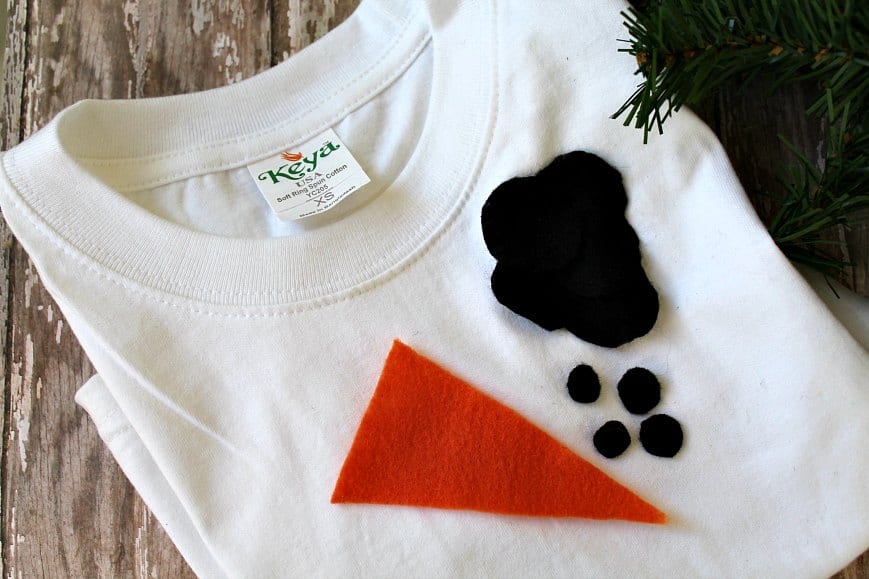
2. Cut out the shapes you will need to create the snowman face. I cut out a large triangle for a nose using the orange felt. Then, I cut out a few large circles from the black fabric to use as the eyes and buttons. For the mouth, I cut out smaller but uniform black circles.

3. Add a small dab of fabric glue (it will help the felt adhere better than hot glue, plus it will keep the pieces together in the washing machine) to the back of the felt pieces. Assemble the face of your snowman. Press the two large circles for eyes first, then the carrot nose, then the coal mouth. Finish by adding a few large buttons under the mouth.
4. Hold the felt pieces in place until secure. Try hanging your shirt on a hanger so it has plenty of space to dry and not be bothered.
5. Once dry, your shirt can be worn and enjoyed! Wash on a gentle cycle and never machine dry. Turn inside out before washing and your shirt should last for seasons to come!
