Links Worth Sharing – Week of August 17, 2013
Here are the interesting links I came across on my travels around the web this week! Enjoy and have a great weekend!

Here are the interesting links I came across on my travels around the web this week! Enjoy and have a great weekend!

Tomorrow only, all Rockstar jeans are on sale for $19 i-store at Old Navy!
Valid August 17 and in-store only.

Heading back to university? Or simply wanting a deal on some necessities? Check out the University bundles on sale for 40% off at Well.ca! There’s a female and a male bundle.
For females: (was $78.33, now only $47)
For Males: (was $85.23, now only $51.14)

Save 25% off all Crocodile Creek toys online at Chapters.Indigo.ca!
The sale even includes some cute backpacks and lunch bags!
Sale ends August 19, 2013. Shop online at Chapters.Indigo.ca.
Today only, save 50% off pillow and duvets online at Hudson’s Bay!
Offer valid August 14, 2013 only.
This post contains affiliate links. Read my disclosure policy here. If you purchase this offer using the links provided, I’d like to thank you for supporting Simply Frugal!

Get a 1 year subscription to Style At Home or Canadian Gardening (or both) from WagJag for only $9.99! That’s a saving of 60%!
Get your magazine subscription now.
This post contains affiliate links. Read my disclosure policy here. If you purchase this offer using the links provided, I’d like to thank you for supporting Simply Frugal!

This following is a frugal tip from Simply Frugal reader, Lorraine!
I thought I would simply drop you a line about how I try to stretch the clothing budget. Rather than buy clothing at the beginning of a season when items are at the highest prices, we wait until the very last two weeks of the season when clothing goes on sale for 80% – 90% off. We shop the quality clothing stores and although we do not spend a fortune, we are well clothed with items that last a few years. We also tend to buy mostly classic styles that are fashionable for many years and build onto the basic wardrobe of dark slacks and dresses and add a touch of colour in the tops or jackets. For instance, I purchased two jackets lately. One was marked at a regular price of $195.00 and the other was marked at the regular price of $145.00. I got the first one for $39.99 and the second one for $19.99. I purchased slacks that were originally priced at $110.00 for $29.99. Last March, I purchased a value of $899.00 worth of clothing for the frugal sum of $215.00 with tax. The secret is to drop into the store often and keep an eye on a piece of clothing that you need and wait until it is the best price it will be during that season. Then, ask the store manager if you can get a further reduction later on if the item is further reduced. Many stores will give you the lowest price within a certain time frame. The store I deal with has a two week grace period, so I drop in once every week during that period and check to see if the item is further reduced and take advantage of further reductions if they apply.
I pretty well use the same concept for all of our purchases and shop when the sale cycle for items is in effect. By having a good stockpile, this allows me to wait out the sales and stretch our budget further and be able to treat ourselves to occasional wants versus needs.
I hope this information helps your readers as I am sure that most of them are in the same boat as most Canadians just trying to live on a budget while still enjoying life’s little pleasures.
Thanks Lorraine!

Someone loves corn on the cob!
Most of the meals actually got made last week! I only have one meal that I’m carrying over and the cheesecake dessert. You know what else I love about menu planning? Impromptu guests. We had Jesse’s Dad over for dinner one night and I didn’t even panic because I had plenty of food to feed us all and knew exactly what I was making. That also, makes menu planning worth it!
Here’s what I’ve got in mind for this week:
Pesto Pepperoni Pizza, salad
Cheesy Chicken Orzo, steamed veggies
BBQ Pulled Pork Sandwiches (Slow Cooker), corn on the cob, Southwest salad (minus the chicken)
Cheesy Beef & Rice, steamed veggies, salad
Out for Dinner
Dessert: Lemon Cheesecake Bars with Raspberries
Once again, I did my grocery shopping first so you can see what I bought and paid!


Total paid: $56.52
What’s on your menu this week?
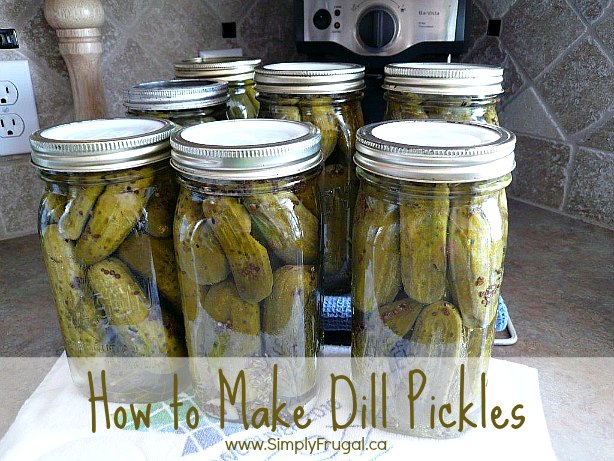
My all-time favourite dill pickles when growing up were my Gramma’s dill pickles. She would have them on the table before we sat down to eat. By the time we were actually seated and ready to eat, they were all gone! So, she would go back to the pickle jar and take some more out so we could devour them some more! Everyone loved Gramma’s dill pickles. I am so happy that she actually had the recipe written down, so I can carry on creating the best dills!
The recipe is simple; however, I have tried to explain all the steps needed to create these wonderful dill pickles.
What you will need:
Equipment:
Ingredients:
Pickling Brine:
Here are the instructions in picture format (below the pictures are the written instructions):
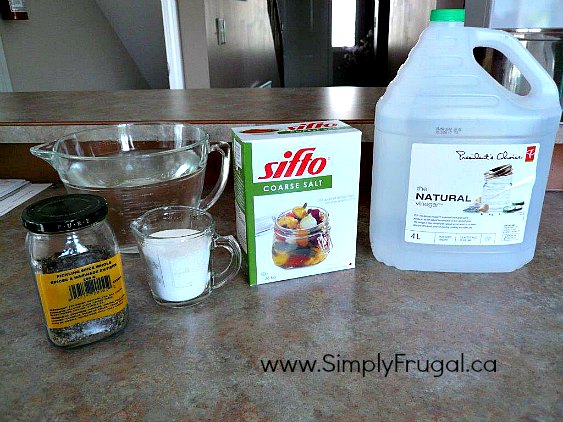
Here are the ingredients needed to create the pickling brine.
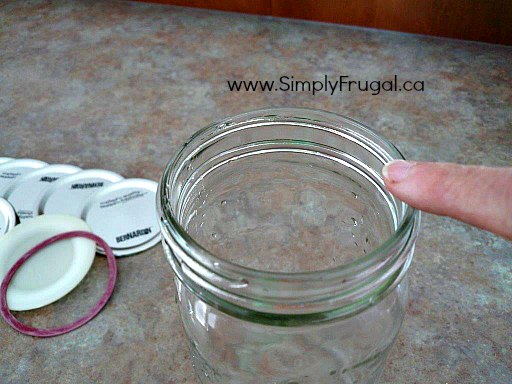
Check each jar for imperfections by running your finger along the rim.
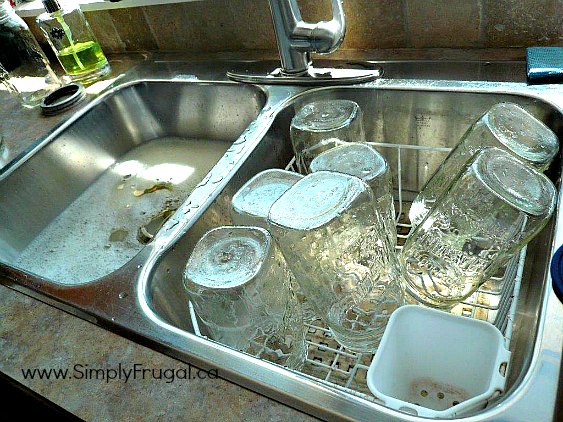
Wash and rinse the jars, lids and screw band metal rings.

Fill the canner about ½ full with water and start to heat it up. Place clean jars filled with water in the canner. Bring water to a boil, and boil for 10 minutes. This sterilizes the jars. Place the lids in a small sauce pan or pot filled with water to cover. Bring the water to a boil for a few minutes, and then lower the temperature, making sure the water stays hot. Combine the pickling brine ingredients and heat until the salt and the sugar is dissolved. Lower the temperature and simmer until finished.

Remove empty jars and place upside down on a clean towel.
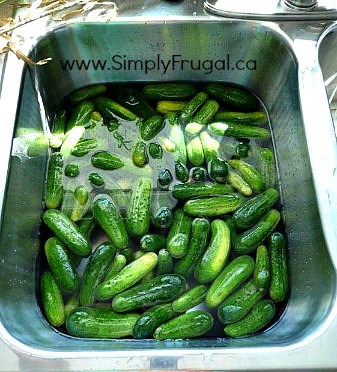
Wash and trim the cucumbers.

At the bottom of the sterilized jars, add dill and garlic. Pack in the cucumbers as tight as you possibly can. Fill the jars with the heated pickle brine to ½ inch (1 ½ cm.) from the top.

Wipe the top of the jar clean and dry.
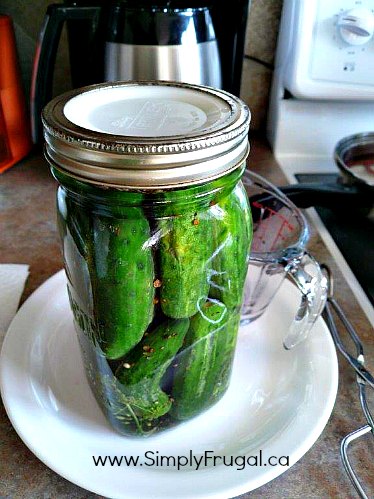
Place the sterilized lids on, and then secure the rings until finger tight.
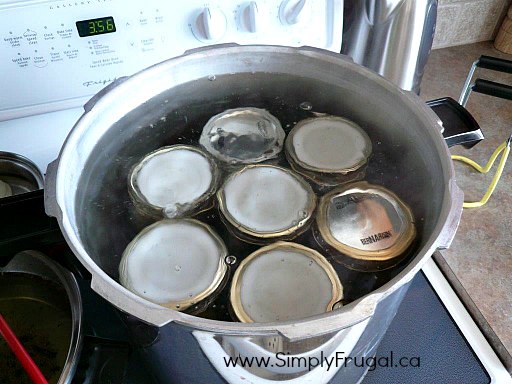
Gently place the jars, using the jar lifter, into the boiling water bath, so they are covered with about 2 inches (5 cm) of water. Bring the water bath canner to a boil, then turn off the heat and let the jars sit in the hot water for 8 – 10 minutes.
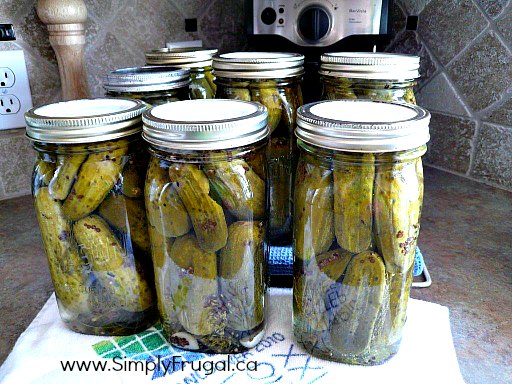
Once the timer goes off, using the jar lifter, lift one jar at a time and place gently on the towel (or heat resistant cutting board). Check to see if the outer rings are still secured on, and tighten any that are loose. Make sure the jars sit undisturbed, not touching each other until they are cooled. (Usually overnight) When they are completely cooled, check to see if the lids have sealed. Unscrew the rings and wash and dry them. Wipe clean the jars around the rings.
Before Canning:
The Canning Process:
Finally, stand back, look at those amazing canned pickles, congratulate yourself for doing something domestic and making your own dill pickles and knowing the ingredients you have used!
Just don’t look at the big mess you made until after you had your coffee/tea break! Then you will be able to tackle the tidying and cleaning up!
Hope you enjoy these pickles as much as our family has!

Today only, save 20% off soap & body wash from Well.ca!
Offer valid August 12, 2013 only.
