
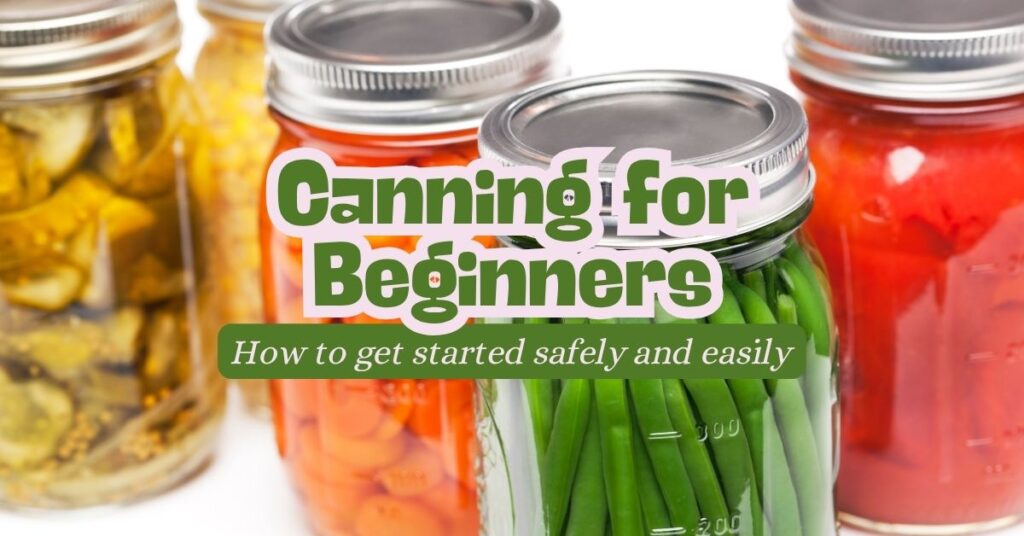
Canning for Beginners: How to Get Started Safely and Easily
There’s something incredibly satisfying about opening a jar of homemade jam, pickles, peaches, or tomato sauce in the middle of winter and remembering that you preserved it yourself.
If you’ve never tried it before, though, canning for beginners can feel a little intimidating. There are special equipment, different canning methods, specific processing times, and a lot of information to keep straight.
The good news? You don’t need to become an expert before you get started.
With the right equipment, a reliable tested recipe, and a little patience, home canning can be a surprisingly approachable way to preserve seasonal produce and make the most of your garden, a farmers’ market haul, or a great sale at the grocery store.
Here’s what you need to know to get started.
What Is Home Canning?
Home canning is a method of preserving food by placing it in jars and processing the jars using heat.
The heat destroys microorganisms and creates a sealed environment that helps keep the food safe for storage.
Canning has been around for centuries, but modern home canning became much more practical with the development of glass canning jars and reliable sealing methods.
Today, canning is popular with gardeners, homesteaders, farmers’ market shoppers, and anyone who enjoys preserving seasonal food.
And you don’t need a huge garden to give it a try. A few baskets of peaches, a big batch of tomatoes, or a bumper crop of cucumbers can be enough to get you started.
Canning for Beginners: What Supplies Do You Need?
One of the nice things about starting with water bath canning is that you don't need a kitchen full of specialized equipment.
For a basic water bath canning project, you'll typically need:
- A water bath canner with a rack, or an appropriate large pot with a rack
- Canning jars in the size recommended by your recipe
- New two-piece canning lids and screw bands
- A jar lifter
- A canning funnel
- A non-metallic spatula or bubble remover
- Clean kitchen towels
- A ladle for transferring food into jars
You may already have some of these items in your kitchen.
And before buying everything brand new, check thrift stores, garage sales, or your own cupboards for equipment. Just be careful with used jars and other equipment: jars with chips, cracks, or damage shouldn't be used for canning.
For pressure canning, you'll also need a proper pressure canner designed for home food preservation.
The Two Main Canning Methods
There are two primary methods you'll find when you're learning about canning: water bath canning and pressure canning.
Water Bath Canning
Water bath canning uses boiling water to process jars.
It's generally used for high-acid foods, including many fruits, jams, jellies, pickles, relishes, and properly acidified tomato recipes.
If you're brand new to canning, water bath canning is often the easiest place to start.
It's relatively straightforward, and there are a lot of beginner friendly recipes to choose from.
Pressure Canning
Pressure canning is used for low-acid foods, such as many vegetables, meats, poultry, and some combination foods.
These foods require a higher processing temperature than a boiling water bath can provide. A pressure canner allows that higher temperature to be reached. Pressure canning is an excellent preservation method, but it's important to learn the process carefully and follow a tested recipe exactly.
Never substitute water bath canning for pressure canning when a recipe specifically calls for pressure canning.
Choose a Tested Canning Recipe
This is probably the most important advice for anyone learning canning for beginners: Don't improvise when it comes to canning recipes.
Canning isn't like making soup, where you can casually add another ingredient or change the proportions. The acidity, density, jar size, processing time, and processing method can all affect whether a canned food is safe.
Start with recipes from a trusted, reputable source, such as a current canning guide from a recognized food-preservation authority. The Ball Complete Book of Home Preserving and Bernardin Complete Book of Home Preserving are useful resources for Canadian home canners.
When choosing your first recipe, look for something relatively simple. Pickles, fruit, jams, and other water bath recipes can be good introductions. Be sure to choose something you actually want to eat! There’s no point spending an afternoon canning 12 jars of something your family won't touch.
Prepare Your Jars and Equipment
Before you start, inspect your jars carefully.
Don't use jars with cracks, chips, or other damage. Pay close attention to the rim. Wash your jars, lids, and bands according to the directions provided with your recipe and the manufacturer's recommendations.
Whether jars need to be sterilized before filling depends on the recipe and processing time. Follow the instructions in your tested recipe rather than automatically boiling every jar for 10 minutes.
If your recipe calls for the jars to be kept hot before filling, you can keep them in hot water until you're ready to use them.
Fill Your Jars Carefully
Once your food is ready, use a canning funnel to make filling the jars much easier.
Your recipe will tell you exactly how much headspace to leave at the top of each jar. Headspace is the space between the surface of the food and the rim of the jar, and it plays an important role in creating a proper seal.
Don't guess at the amount. Follow the recipe.
Before putting on the lid, check the rim of the jar and wipe away any food or liquid that may have spilled onto it. Then place the lid and screw band on according to the manufacturer's directions. Avoid overtightening the band.
Process the Jars According to the Recipe
Now comes the actual canning process.
Place the filled jars into your water bath canner or pressure canner, depending on the recipe you're following.
Processing times aren't interchangeable. They can vary based on the food, jar size, altitude, preparation method, and type of canning. That's why it's so important to use the processing time and method specified in your tested recipe.
If you're water bath canning, make sure the jars are covered with the required amount of water throughout processing.
If you're pressure canning, follow the pressure, processing time, and altitude adjustments specified in your recipe.
Don't shorten the processing time because the jars look sealed or because you're in a hurry.
What About Reusing Canning Lids?
This is an area where older canning advice can cause confusion.
Traditional flat canning lids are designed for single use. Don't reuse them for another batch of shelf-stable canned food.
Screw bands, on the other hand, can generally be reused as long as they're in good condition and aren't rusty or damaged.
Always follow the manufacturer's current recommendations for the particular lids and jars you're using.
What Should You Do After Canning?
When processing is complete, carefully remove the jars using a jar lifter and place them upright on a towel or other protected surface.
Leave them undisturbed while they cool. As the jars cool, you may hear the satisfying little pop of the lids sealing. Don't press the lids down to test them while they're cooling.
After the recommended cooling period, check the seals according to your recipe or canning guide. Any jar that hasn't sealed properly should be handled according to current food-safety guidance rather than simply being stored on the shelf.
Once you've confirmed the jars have sealed, label them with the contents and date.
Start Small
If you've been intimidated by home canning, don't feel like you need to preserve an entire garden on your first attempt. Start with one recipe.
A small batch of pickles or fruit is a great way to become familiar with the equipment, filling jars, processing, and storing your finished product.
Once you're comfortable with the process, you can branch out into more recipes and eventually try pressure canning if you'd like!
A Few Important Canning for Beginners Safety Rules
Canning is a fantastic way to preserve food, but food safety should always come first.
Keep these basic rules in mind:
- Use current, tested recipes from a reputable source.
- Follow the recipe's ingredients, preparation method, jar size, headspace, and processing time.
- Don't alter the proportions of ingredients in a canning recipe unless the source specifically says the substitution is safe.
- Use the correct canning method for the food.
- Never use jars with cracks, chips, or damaged rims.
- Don't reuse single-use canning lids.
- Make sure your pressure canner is in good working condition and follow the manufacturer's instructions.
- Make appropriate altitude adjustments when required.
- If you're unsure whether a recipe or technique is safe, check with a reputable food-preservation resource before proceeding.
Canning for Beginners Doesn't Have to Be Complicated
The first time you see a kitchen counter covered with jars, equipment, towels, and fresh produce, canning can look like a lot of work. But once you understand the basic process, it becomes much less intimidating.
Start with a simple tested recipe, gather the right equipment, give yourself plenty of time, and don't be afraid to learn as you go.
Maybe the best part of canning is that you're not just preserving food, you're making the most of seasonal produce, reducing waste, and putting something homemade on your pantry shelf for later!
There's nothing quite like opening a jar of summer in the middle of winter. Ahhh, yum!

I have been canning with a water bath & pressure canner for many years. Always looking for new ideas and recipes. Thanks!