Easy DIY: Turn a Cupboard Door into a A Serving tray

Craft Nest has a neat idea I’d like to try one day! Turn a salvaged cupboard door into a serving tray!

Craft Nest has a neat idea I’d like to try one day! Turn a salvaged cupboard door into a serving tray!
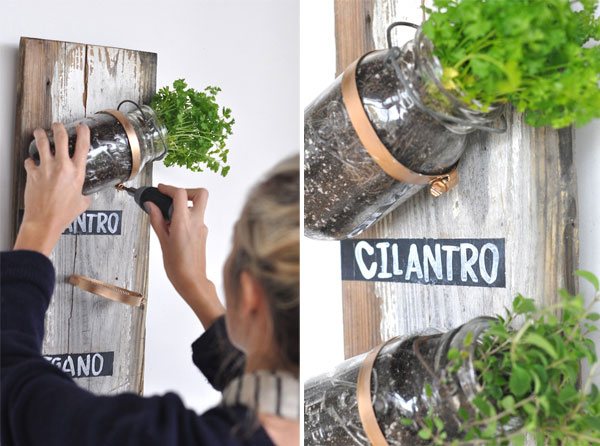
I quite like this space saving idea for those that would like to grow herbs! Hang some mason jars on a piece of wood inside near a sunny window. Plant your herb seeds in the jars. I’m sure this would work just as well outside!
Visit Camille Styles to see the tutorial for this mason jar herb garden.

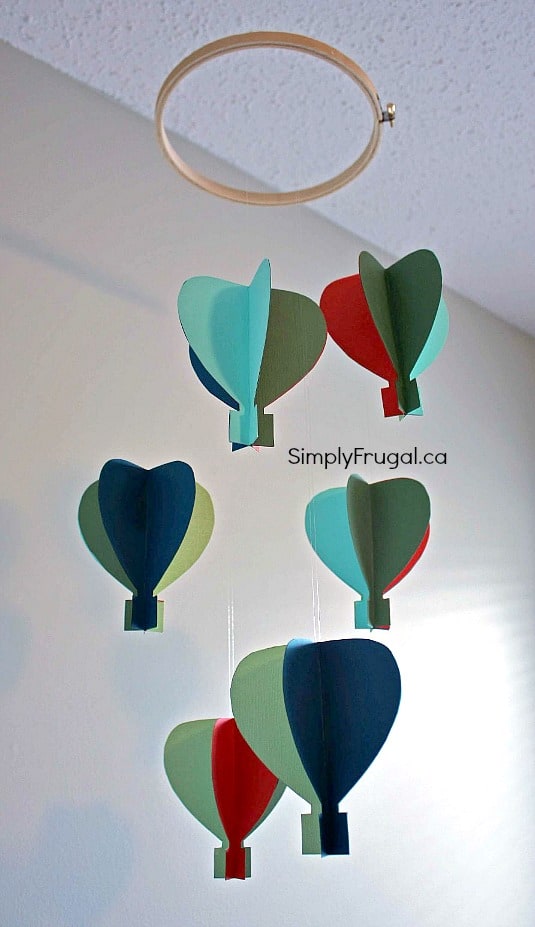
This final project for the baby’s room was definitely the most time consuming. But I think it’s the cutest! It has a more boyish feel, but I don’t think a baby girl will care much! (We don’t know the gender of this little one)
Using fishing line, an embroidery hoop, card stock in 5 colours, and tape, here’s how I made the mobile:


The most time consuming part was tracing and cutting out each balloon. I used 5 different colours to coordinate with the curtains I made, but you could use as many colours as you’d like.
I hope you enjoyed my projects! I had a lot of fun making them since I don’t often have time for crafty things 🙂 I’m just waiting on something I ordered online from Etsy to come in, and once it does, I’ll be showing you the entire room all together!
Here are the other two art projects I completed for the nursery:
For this project, I was inspired by this idea I found on Pinterest. I knew I didn’t want to use that quote as it didn’t really belong in a baby’s room so I altered the quote I found from this photo on Pinterest.

This project again, was very simple and only needed four things:
All I did was, glued the foam letters on to the canvas, then spray painted over the entire thing in white spray paint! The only thing I wish I had done differently was to not use coloured foam letters. The letters I used were red and they were quite hard to cover with the spray paint since I opted to use white!

If you were to make something like this, what quote would you use?
Here’s the link to my first project: Butterfly canvas art
I’ve been having fun working on some artwork for the baby’s room and I’d love to share with you! The projects have been very easy to do and cheap!
First up, is one of the canvas projects I did. (Pictured below) The only materials I used for this project were a 12×12 art canvas, white spray paint, twine, scrapbook paper and a butterfly punch. I had everything on hand already except the art canvas (used a 50% off coupon at Michaels) and the white spray paint (about $4.50 at Walmart).
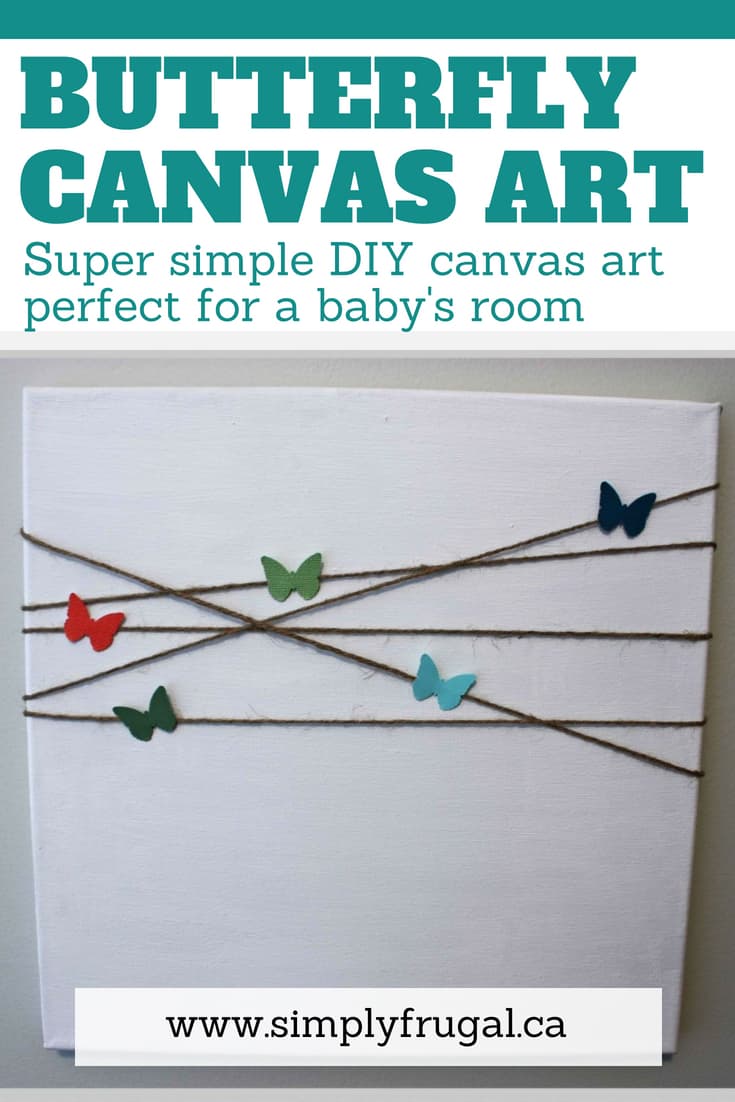
Here’s how I did it:
Simple! Here’s what the back looks like. (I tied the twine in a knot in the back.)

I’ll be sharing my other projects over the next week or so. I’ll also be doing a “reveal” post on the entire baby room which I completed quite cheaply near the end of the month for those interested! 🙂
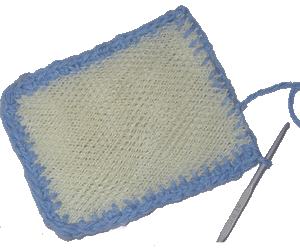
I like this idea to turn an old onion bag into a dish scrubber! I think it’s quite brilliant actually!
I don’t know how to crochet, but I think even I could stitch a seam around the edge to hold it all together.
