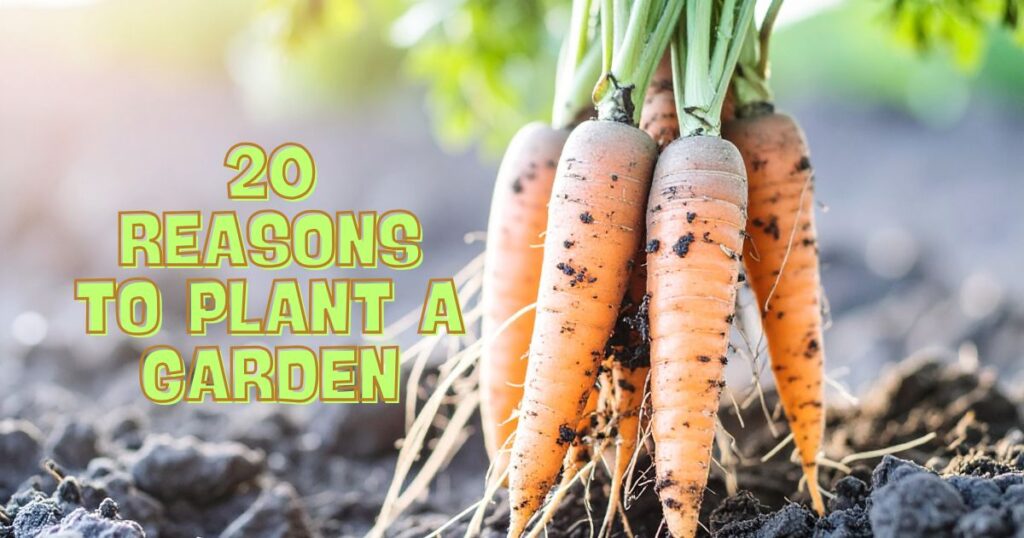
Spring is here, which means it’s the perfect time to start thinking about planting a garden! There are so many wonderful reasons to grow a garden. Whether you want fresh produce, a little exercise, or just a relaxing way to spend your time, it’s a win all around.
If you’ve never planted a garden before, there’s no better time to begin than right now.
Need a little extra motivation? Here are 20 reasons to plant a garden and you will discover just how rewarding it can be. Trust me, it offers so much more than just fresh tomatoes. Let’s dive in!
1. You can enjoy chemical free food.
When you grow a garden, you can enjoy produce that is grown without chemicals or pesticides if you choose. It's a great way to know what is in your food so you can enjoy safe and natural food choices.
2. You know where your food comes from.
Do you really know where your food comes from when you buy it from a grocery store? When you garden, you know exactly where it comes from because you grow it and pick it yourself.
3. Children will enjoy assisting with gardening tasks.
Children love digging in the dirt, and will enjoy helping you with your gardening tasks. They can pull weeds, plant seeds, and even help pick the harvest when you have a backyard garden.
4. Your meals will be made with the freshest produce around.
Do you love fresh soups and salads? When you grow your own garden, you will have the freshest produce choices around. Enjoy fresh recipes each night thanks to your garden. Who wouldn’t love that?
5. Gardens bring about beautiful wildlife.
You will notice that gardens bring all sorts of wildlife to the yard. This means hummingbirds, bees and butterflies especially. It is fun seeing all the colors, sights, and sounds come to your yard as they investigate your plantings and take sips from your plants.
6. Gardens provide a chance to meet your neighbors.
When you grow a garden, you spend more time outdoors. This might mean being more visible to your neighbors and striking up a conversation or two. You might even find another neighbor who gardens, and get the chance to trade produce or plant starts.
7. You can assist people in need with your produce.
Chances are you will grow more produce than you need. You can always donate your extra produce to local soup kitchens or shelters where they can serve it to people in need. That's a great reason to plant a garden!
8. Gardening tasks provide exercise.
Digging, weeding, watering, and planting can all provide some amazing exercise. If you need to be more physically active, gardening is a great way to do it.
9. Gardening provides quiet time for reflection.
Many gardeners love planting a garden because it provides them some time for reflection and meditation. If you need a little down time in your life, gardening may provide the perfect opportunity.
10. Gardening provides a chance to learn something new about nature.
When you grow a garden, it gives you the chance to learn new things about the plants you are growing. We are never too old to learn, and gardening gives the opportunity to let that happen!
11. You can enjoy active and fun gardening communities.
Online, you will find many active gardening groups, where gardeners exchange tips and tricks of the trade. You might also find local gardening groups, perfect for making friends and learning more.
12. You will always have fresh flowers for your home.
You don't have to grow vegetables to have a garden! Enjoy fresh flowers in every room of your house when you grow a flower garden. Picking your own flowers each day will be fun and add so much color to your décor.
13. Gardening provides inexpensive gifts for family and friends.
Gardens provide the materials you need to make homemade jams, salsa, and so many other homemade gifts. This is a great way to provide inexpensive gifts for family and friends.
14. Gardening provides aromatherapy.
The smells of a garden can help you feel more relaxed and at ease. Forget lighting a candle for aromatherapy, just go to the garden.
15. Gardening is inexpensive.
You don’t need to be rich to plant a garden. Most of the items you need can be found around the house or even at your local dollar store. Seeds, soil, and pots can be found for cheap, which means you can grow so much food for less.
16. You can save money on your weekly grocery bill.
When you grow your own food, you will be saving heaps of money on your weekly grocery bill. You can grow items like tomatoes and cucumbers at pennies per pound, which is way less than most markets.
17. A garden can be an extension of your home.
A garden can feel like another room of your home. Place a small bistro table and chair in your garden so you can enjoy dinner or drinks in it.
18. Fresh food can be grown well into the Fall months.
Some plants can thrive well into the cool months. This means eating fresh and saving money even as winter approaches.
19. Gardens add curb appeal.
A garden can make your landscaping look nicer and add some curb appeal to those passing by.
20. Gardening helps the planet.
Flowers in your garden can help bees and butterflies pollinate our planet and keep it looking lush and beautiful!
In the end, planting a garden is about so much more than what you grow, it’s about how it makes you feel. From the satisfaction of nurturing something from seed to harvest, to the simple joy of stepping outside and seeing your hard work come to life, gardening offers rewards that go far beyond the surface.
Whether you start small with a few pots or go all in with a full backyard garden, every effort counts. So grab your tools, get your hands a little dirty, and give it a try. You might discover a new favorite way to save money, reduce stress, and enjoy the little moments of everyday life.
Odds are, when you started your garden you were not thinking about how you could earn money from it. Over time you may have seen a bit of potential and started to think about how you could make money from your garden. Even a small thriving garden can earn a bit of extra money. If you are skilled or have plenty of space you can earn even more.
Today, I'd love to outline some ways that you can Earn Money from your Garden.
Sell extra produce
Often, the first issue that makes you think about how you could earn money from your garden is an overabundance of produce. You may be wondering just how you could ever use up that many tomatoes. Selling that extra produce is a great way to earn some cash and help save someone else some money. First, offering the produce for sale to friends and family will definitely help you reduce your overabundance. If you still have produce leftover, post a sign in front of your yard advertising produce for sale. You may have many neighbors stopping by!
Selling canned goods
Check your Province or city's food laws to see if you can earn money from your garden by canning extra produce and selling the jars. Selling homemade jams, jellies, and other canned goods just might be the answer for you. Due to law, your sales are often limited to a few thousand a year, but that's perfect for using up the extra food from your garden. Homemade canned jams and jellies make great gifts around the holidays and can end up selling very well.
Sell plants
Are you a whiz at getting seeds to sprout into strong thriving seedlings? Do you have plants in your garden or pots that need to be thinned out? Selling plants to other gardeners in your neighborhood is a great way to earn extra money from your garden. If you do not have plants to sell how about seeds? Cuttings from that prize plant your neighbors all love?
Teaching others gardening skills
Have you been gardening for years and have a beautiful thriving garden that neighbors admire? Why not offer to teach gardening classes in your home garden or even at the local library for a small fee? Depending on local interest, you can earn a good bit of money running classes on the topics of caring for plants, propagating cuttings, and keeping plants alive for the not so green thumbs. Often a bit of education is all that stands in the way of a thriving garden. Many parents are looking for summer activities for their children and learning to garden could be a great use of time and energy.
The important part of making money with your garden is to not allow the focus on earning to take the joy out of your garden. If you lose the joy that made your garden thrive in the first place, your garden will suffer. So start out small, have fun, and make the most of the opportunities that come your way.
Have you tried making some extra money from your garden? How did you do it?
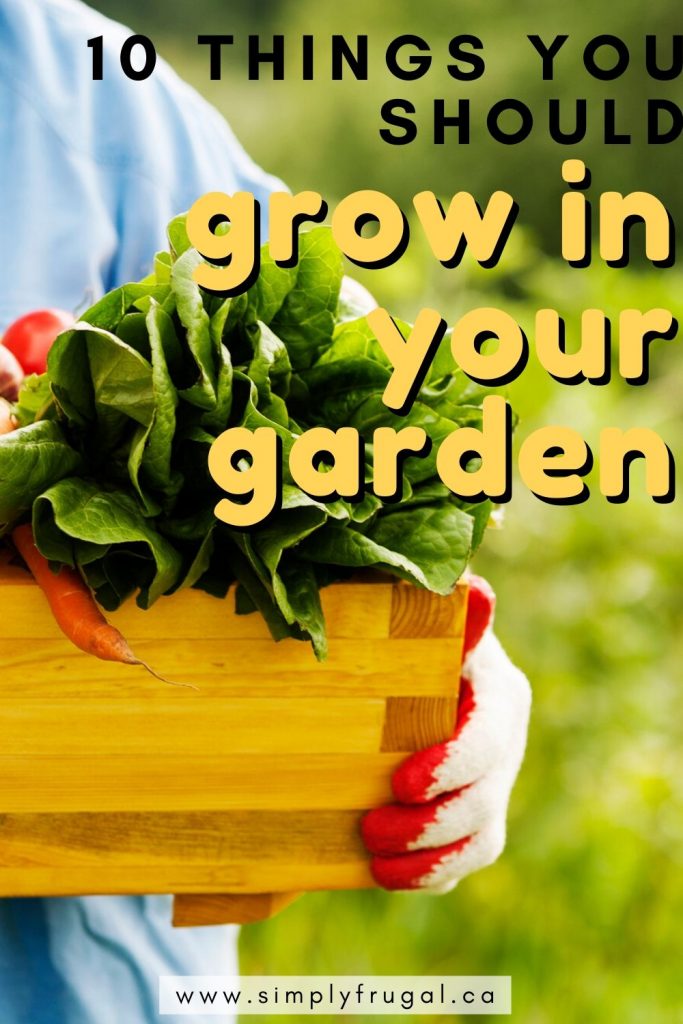
As spring rolls in, the garden can go in with it! This year, start your garden off right by planning for success. Some plants are a must for a productive garden that you will love as you feed your family from your own hard work.
Here are 10 things you should grow in your garden this year:
Lemon Grass.
Lemon Grass should be at the top of your list for your garden this year. This ornamental plant can be grown nearly anywhere in a pot. It keeps bugs away, bringing you peace from those pesky things. It can also be used to season and add flavor to foods. This Fresh Lemongrass Tea looks so refreshing!
Tomatoes.
This versatile plant can be used for so many dishes and even as a snack. (Sprinkled with salt and pepper…yum!) Tomatoes are packed with vitamins and are easy to grow. I especially like growing cherry tomatoes in containers.
Bell peppers.
With more vitamin C than an orange and plenty of flavor, bell peppers are a great addition to your garden and freeze well for later.
Bush beans.
Bush beans can be grown under plants that grow tall. Beans put nitrogen into the soil making them perfect companion plants to Carrots, Beets, Broccoli, Brussel sprouts, Cauliflower, Celery, Corn, Cucumbers, Eggplant, Kale, Peas, Potatoes, Radishes, Strawberries and Swiss Chard.
Pumpkin.
Pumpkins make a great ground covering plant that can shade the roots and stems or taller plants helping them thrive in the summer heat while providing you with great food in the fall harvest.
Basil.
This herb repels bugs and other pests helping to protect your garden while providing you with a tasty food for your table. Basil also makes a great edible edging plant for flower beds, helping maximize space. This Cold Pesto Pasta Salad is a great way to put basil to use.
Strawberries.
You will find in most areas the selection of fruit you can grow is limited. Strawberries are a great fruit that will grow nearly anywhere making it the perfect addition to your garden. They keep coming back better year after year and make a great potted plant.
Spinach.
If you’re looking for a green filler plant for your garden, spinach is just the plant for you. Spinach is high in vitamins and minerals, grows well in shaded areas with just a few hours of sun per day, and has nearly limitless ways to use in the kitchen.
Oregano.
Oregano is a classically Italian herb packed with medicinal qualities as well as a potent flavoring for your favorite dishes from pasta to pizza. This plant also makes a good filler plant that provides great food for your family.
Radishes.
When it comes to quick growing veggies that can help feed your family in less time, radishes are a great way to go.
I’d love to know what you like to grow in your vegetable garden every year. Let me know in the comments below!
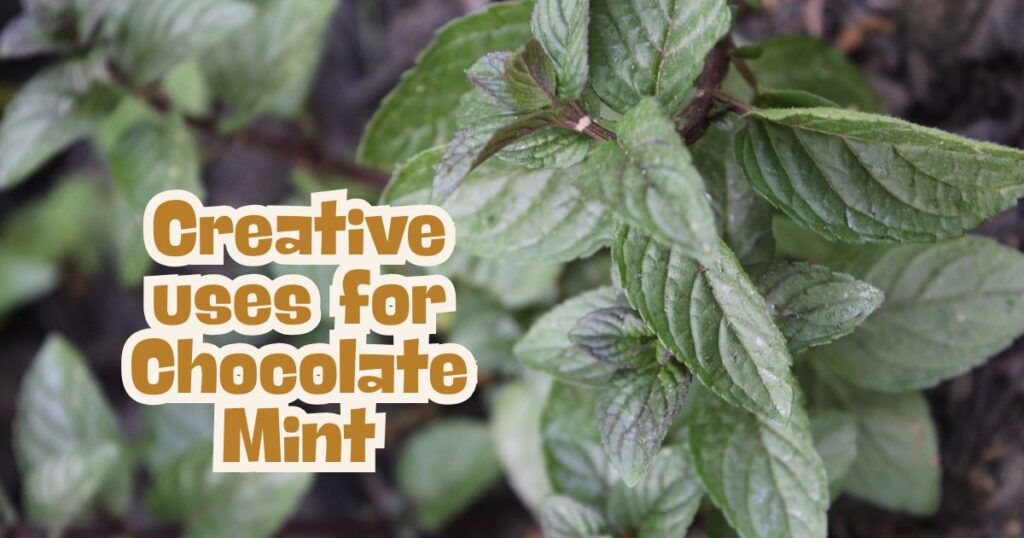
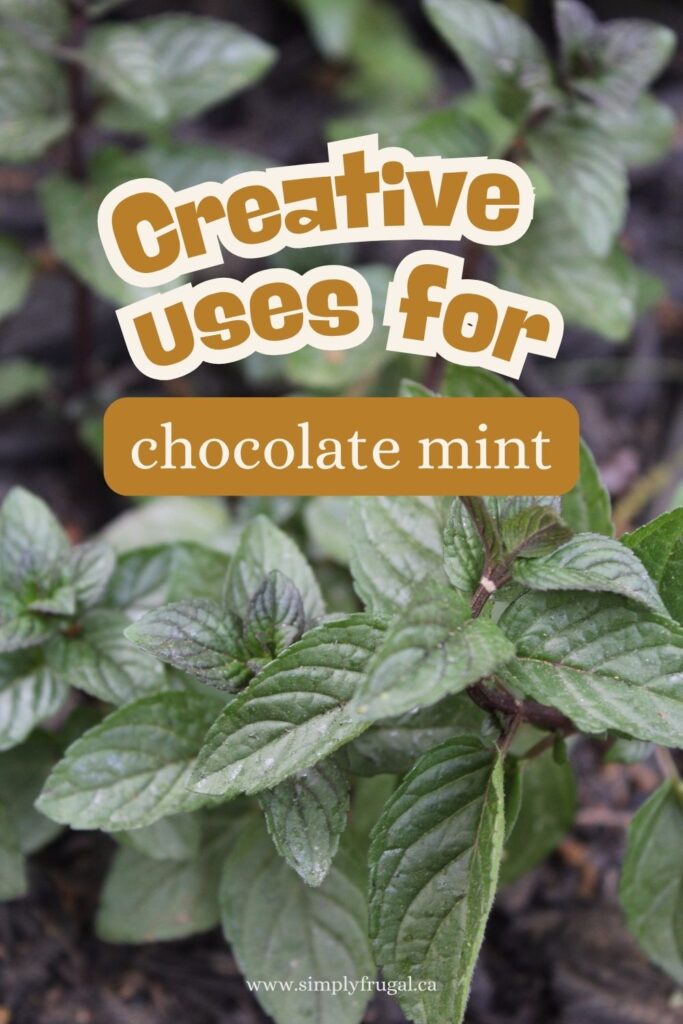
Chocolate mint is one of those herbs that’s almost impossible not to love. This easy-to-grow perennial spreads quickly, meaning once you plant it, you’ll likely have plenty to enjoy year after year. With its refreshing minty scent mixed with rich chocolate notes, it smells just as delicious as it sounds!
Whether you already grow chocolate mint or are thinking about adding it to your garden, there are so many fun and practical ways to use it. From recipes and drinks to homemade treats and more, this versatile herb can quickly become a favourite in your kitchen and garden.
Here are 8 creative uses for chocolate mint that you’ll definitely want to try!
1. Use it as a dessert garnish.
Chocolate mint makes a beautiful garnish for cakes, cupcakes, brownies, and cookies. Not only does it add a pop of fresh green color, but it also gives desserts a subtle minty-chocolate aroma that smells absolutely amazing.
2. Add it to shakes and ice cream.
Chocolate mint is delicious blended into homemade milkshakes, smoothies, and ice cream recipes. The natural oils in the leaves add a refreshing mint flavour with a hint of chocolate that tastes incredibly decadent. Just be sure to give it a good rinse before using.
3. Freeze it in ice cubes.
Want to make your drinks feel extra fancy? Freeze chocolate mint leaves into ice cubes! They add beautiful color to beverages while slowly releasing flavour as the ice melts. These are perfect for summer parties, garden gatherings, or even homemade popsicles.
4. Add it to your cocktails.
Chocolate mint is a fun twist on traditional mint in drinks like mojitos, iced teas, lemonades, or sparkling water recipes. Muddle a few fresh leaves into your drink for a refreshing flavour boost, or simply use a sprig as a garnish to make any beverage feel a little more special.
5. Make mint infused oil.
You can easily make your own chocolate mint infused oil by soaking fresh leaves and stems in almond oil or coconut oil. The finished oil can be used in homemade beauty products, massage oils, or even certain dessert recipes and fruit salads. Keep in mind that mint can create a cooling or tingling sensation on the skin.
6. Mix it in with your homemade bath products.
Chocolate mint works wonderfully in DIY bath and body products. Add crushed or dried mint leaves to homemade sugar scrubs, bath salts, body butters, or soaps for a refreshing scent and soothing feel. It’s an easy way to make homemade products feel extra luxurious.
7. Dry it for crafting.
Dried chocolate mint can also be used in all kinds of crafts and homemade creations. Add it to candles, potpourri, sachets, lotions, or other DIY projects for a fresh scent and natural touch of color.
To dry your mint, simply gather it into small bundles and hang it upside down in a cool, dry place until fully dried.
8. Use it in warm beverages.
Fresh or dried chocolate mint makes a refreshing herbal tea that tastes lightly sweet and minty without needing much added sugar. IT would also taste amazing added to coffee or hot chocolate! Steep a few leaves in hot coffee, lattes, or homemade hot chocolate for a cozy mocha-mint flavour.
Chocolate mint is such a fun and versatile herb to grow, and once you start using it, you’ll probably find yourself wanting even more of it in your garden. Which of these creative uses for chocolate mint are you excited to try first?
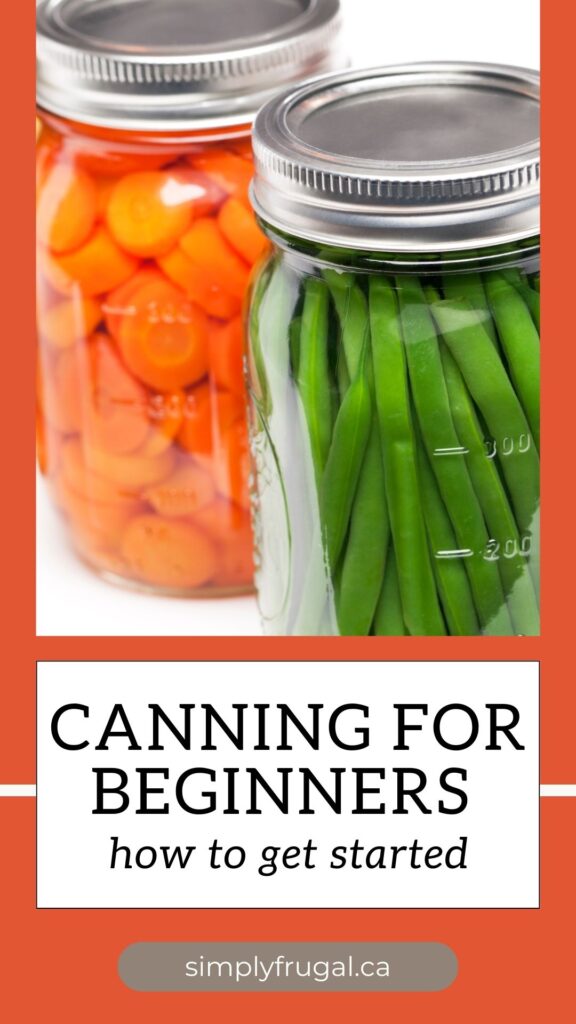
Canning for Beginners: How to Get Started with Canning
Home canning is a fun and healthy way to preserve the summer harvest. Although canning was first discovered in the 1700's, it wasn’t made popular until the late 1850's when John Mason invented a jar with a screw top lid. Interest steadily grew until the 1950's, when supermarkets became widespread.
In recent years, canning has started making a comeback. Gardening is fast becoming a popular hobby, and farmer’s markets are plentiful. Families are more mindful about the chemicals in food and preservation, and home canning makes it simple to know exactly what your family is eating.
Home canning can seem overwhelming to a beginner, but there are recipes and techniques for all skill levels. You won’t need many supplies and they can be inexpensive. Here are the answers to frequently asked questions that will make canning for beginners less intimidating. What canning supplies you need, where to find recipes and how to get started with canning!
Canning Supplies
Large Stock Pot or Water Bath Canner with Rack (for water bath canning only)
Water bath canning, sometimes called boiling water canning, is the easiest and least time consuming method. This method applies to high acid foods, such as fruit, tomato based, and pickled recipes.
A pressure canner is used to can low acid foods, such as corn, green beans, and soups. It maintains a higher internal temperature which is required to destroy the bacteria that more acidic fruits and vegetables destroy on their own.
When making your selection, consider skill level, seasonal produce and additional ingredients. Although jams and jellies are relatively easy to make, they can be expensive and delicate. So when it comes to canning for beginners, tomatoes, pickles and fruit like peaches or cherries are typically the best.
Preparing your Supplies for Canning
Once you’ve selected a recipe, you will need to prepare your supplies. A water bath canner should be inspected thoroughly for corrosion, dents, and pinholes. Any of these can affect the distribution of heat, resulting in an unsafe can.
Wash the rings and lids with warm soapy water. Allow the rings to dry thoroughly and place the lids in a pot of simmering water. They must maintain a temperature of 180°F. Although you can reuse rings until they begin to rust, you should never reuse the lid. The food safe compound seal is only good for one use.
Inspect your jars thoroughly for any cracks, chips, or scrapes. Wash with warm soapy water and rinse. If there is a film or residue on the jars, soak them in a mixture of 1 part vinegar to 10 parts water. Wash with a soft cloth and rinse.
Place jars in a pot of simmering water for no less than 10 minutes. Jars must be hot when filled.
Alternatively, you can skip the handwashing and boiling the jars by running them through the dishwasher. As soon as it’s finished, you can begin removing the jars one by one to fill. Make sure to keep the dishwasher closed between fillings to keep the jars warm.
Keeping Canning Safe
If possible, always use a funnel to fill your jars. You can pick up a canning funnel for less than $2 in stores and it will help prevent burns and messes. This also keeps food from the rims of the jars, which will result in a bad seal. If you spill food on the edge, wipe the edges with a warm, damp towel.
You may be lucky enough to have had a pressure canner gifted to you or handed down from a family member or friend. Before using, take the canner to a hardware store and have it tested. The seals can deteriorate over time and the pressure gauge can malfunction, so annual testing is recommended.
Canning for beginners should never be feared. If you follow the proper techniques and keep your supplies clean, you will provide your family with healthy, delicious produce for years to come.
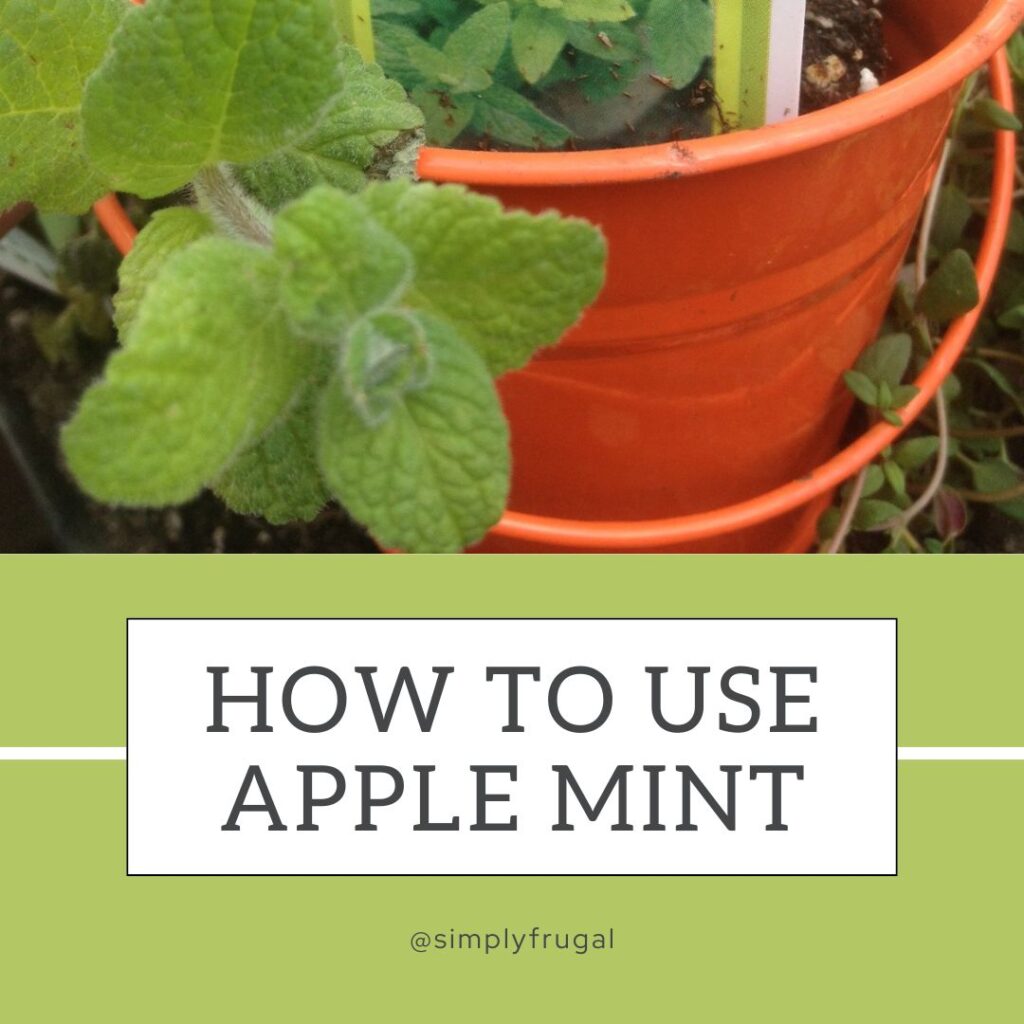
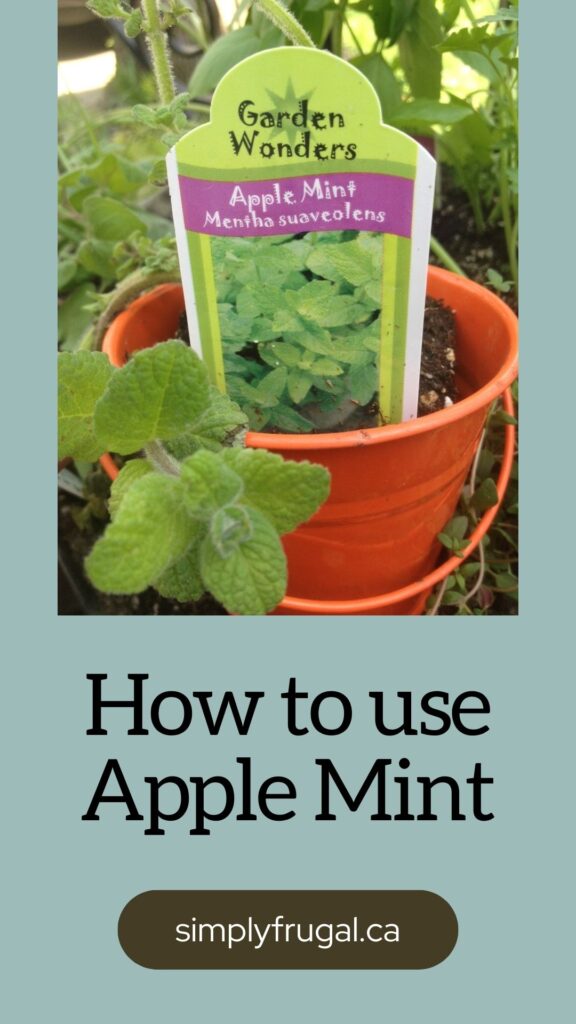
You may know that many varieties of mint can be grown and enjoyed during the summer months. Spearmint, chocolate mint, and peppermint can all be grown and used in centerpieces, tea, desserts, and even in your crafting. But did you know that there is another mint often overlooked than can be just as fun and useful? Apple mint can be found at your local garden center, and it too has many uses you can enjoy. Take a look below at everything you need to know about apple mint and how to use apple mint.
First, let’s explore the basics of apple mint:
Apple mint has a fruity flavor and apple scent, which is not surprising since it is named after an apple, a quite popular fruit! Apple mint looks like most other mint varieties with a green stem and green foliage. What makes it a little different is that it has a light fuzz on it. It also produces reddish blooms in the late summer months and can be quite attractive.
Apple mint likes to grow in full sun or part shade. Like other mint plants it needs well drained soil. It does like having its own space, so be sure to space each plant a good foot apart from the next. Apple mint is a perennial so it will grow back. However, if you plant it in pots, you will need to bring the pot in over the winter or plant a new plant each year.
Uses for Apple Mint:
Now that you know the basics about apple mint, here is how to use apple mint at home:
1. Add leaves to your tea.
Simply rinse them and add them to your cup. Allow a few minutes for the mint oils to permeate the liquid. Some people think apple mint helps with promoting relaxation and a good night’s sleep.
2. Make your own air freshener.
You can bundle stems of apple mint with a piece of string and hang it from closets. It will add freshness to the space and make it smell great.
3. Pain relief
Find pain relief when you soak an apple mint leaf in water and then place the wet leaf on the wound. This is perfect for bites and stings.
4. Make tasty water
You can infuse your water by placing a few leaves in a gallon jug and filling it with water. Let is sit for 24 hours. Strain the leaves and enjoy the cool beverage!
5. Use to make a marinade
Make your own marinade when you add a few apple mint leaves to vinegar and let the meat soak in the mixture for a few hours.
There you have it! How to use apple mint. See what a terrific plant this can be? Grab your own apple mint and enjoy all of these uses, and more!