Are your herbs growing faster than you can use them? A flourishing herb plant is a good thing, however having so many that waste occurs, is not. The good news is, there are plenty of ways to preserve your herbs and get a longer life out of them. This is especially helpful if you live in an area where you can’t grow herbs year round. Take a look below at some helpful ways to preserve your herbs and have them available to you all year long.
Tips for Preserving Herbs
Freeze them.
To freeze your herbs all you need to do is break them apart while fresh and place them in ice cube trays. Add a little water, filling the tray about half way full. Freeze the tray and when you need some herbs in your cooking, all you need to do is pop a cube out and toss it in. Cool!
Press them.
You can press herbs between pieces of wax paper and store them in a cool place if you wish. While they don’t last as long this way as they would if you froze them, it will still help extend their life. This way is especially helpful if you want to use the herb in its original leafy form, such as in a salad or dip.
Dry them.
You can always take the old fashioned route and dry your herbs. Gather them into a small bouquet and tie them with string at the end. Hang them upside down in a cool and dark place until dry. This can take anywhere from 10 days to 2 weeks. To use, just crumble and toss in your favorite dish.
Add them to oil.
You can take fresh herb sprigs and toss them directly into your bottle of olive oil to create infused oil. This works especially well with basil. In no time the flavor will spread throughout the oil giving it a gourmet taste!
Infuse your beverages.
If your herbs are about to go bad and you need to use them quickly, you can infuse your beverages with them. Just clean the herbs and toss them into your teas, lemonades, and fruit drinks. They will infuse the beverage and even stay good for several days this way. See this post for 7 Infused Water Recipes.
Don’t let those herbs go to waste. Give these tips a try and prolong their life easily!
You may not have a great deal of land to plant on, or perhaps you don’t have the best soil conditions on the land you have. No worries. Did you know that you can still grow herbs indoors and enjoy the fresh taste and health benefits all year long? Growing your own herbs indoors is easy. Just take a look below at some helpful tips to get you started. In no time, you will have fresh and tasty herbs right at your fingertips.
Tips for Growing Herbs Indoors
Find a sunny spot.
You will want to place your herbs in a spot that gets a good 6 hours of sunlight a day. Take a few days to observe where the sun likes to settle in your home. That way, when your pots are ready you will have the perfect home for them. You also want to be sure the spot is away from heavy traffic or heat vents that can cause drying and damage.
Pick the perfect pots.
You can use various sized pots for your herbs, but your best bet is to keep one plant per pot. A 6-8 inch pot for each herb is perfect. Put some pebbles at the bottom of the pot for drainage and be sure your pots are placed on a saucer so catch any water drips.
Choose hardy plants.
Find plants that have strong stems, bright greenery, and are not withered or yellow. You also want to pick plants that have a moist yet tough root base. By choosing strong plants, you can make sure they are off to a strong start.
Pick easy to grow varieties.
If you are new to growing herbs indoors, try easy to grow varieties such as oregano, basil, and rosemary. All of these are quite hardy, don’t take up a great deal of space, and are easy to tend to. Chances are, they are also ones that you will use in your cooking most often!
Tend to your plants properly.
Always remove dried or spent foliage so the plant can use its energy elsewhere. Water as needed, keeping the soil moist at all times. Chances are you won’t need to weed your pots, but if you notice any weeds sprouting up be sure to grab them. You can add a few fertilizer pellets if you wish, being sure to follow package directions. To use your herbs, always take the foliage from the bottom of the plant, leaving the newer, younger greenery at the top to keep growing.
See how simple it can be to grow your own herbs indoors? Give these tips a try and you are sure to have herbs at your fingertips all year long.
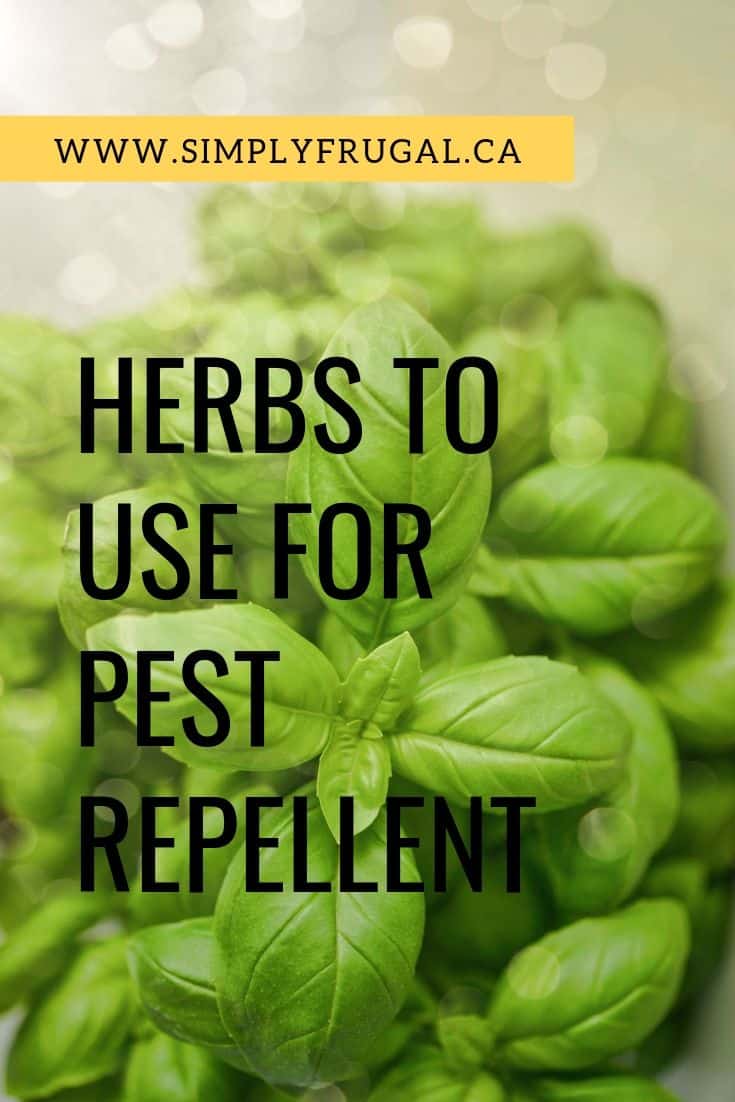
If you have children, or just want to live a more natural lifestyle, you may not be interested in using chemical filled pest repellents. Instead, why not give herbs a try? Herbs pack some serious pest repelling power and can do the job without the risk of chemicals. Take a look below at how to get started using your own herbs to keep those pests at bay.
Herbs to Use for Pest Repellent:
1. Lemon Balm
Lemon balm smells great and it is perfect for keeping bugs at bay. Plant it around your patio or keep a pot of it on your picnic table. Mosquitoes will stay clear of it and you will be protected. You can also rub the lemon balm directly onto your wrists for extra protection.
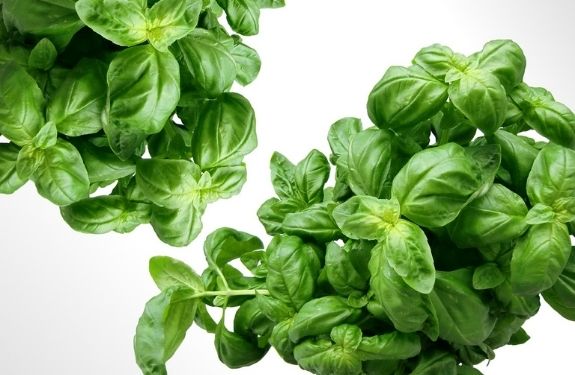
2. Basil
Flies hate basil! Plant a little basil in your flowerpots that decorate your patio or other social areas of your yard. This way, the flies will go elsewhere and let you entertain in peace.
3. Chives
Chives are not only tasty, but they repel a great deal of pests as well. Japanese beetles and aphids won’t come near them, so plant a plug or two of chives near the flowers you wish to protect from these pests.
4. Fennel
Fennel is tasty in your salads, but slugs and snails hate it. Plant a little fennel around blooms that these critters would otherwise devour. They won’t come near. It seems as though few plants repel slugs and snails, so this is one to try if these critters pose a problem in your yard.
5. Dill
You might plant some dill for your pickling needs, but it is great for pests too. Aphids and spider mites don’t stand a chance when dill is around. Tuck a plant or two in your potted plants and flower beds and never worry about them wreaking havoc on your yard.
Stop losing the battle with pests in your yard. Give these plants a try and enjoy a pest free yard the natural way!
Have you ever wondered how much money you can save when you grow your own herbs? The truth is, you can save a significant amount by growing your own as opposed to buying them at your local grocery store. And just think, with all of that money you save, you can buy that new patio chair you wanted, or perhaps some more flowers to beautify the yard. Take a look below at how the savings can break down for you and how much you can pocket after just one growing season.
First, let’s look at the cost of fresh herbs via your grocery store:
At my local grocery store, a small package of fresh basil is about $3. The cost of a basil plant at my local farmer’s market or greenhouse is $2. As it grows throughout the season, I can easily pick off three times that amount of leaves. So to buy 30 leaves fresh at my grocer it would be $9. Growing it on my own it costs $2.
Now, let’s look at the costs associated with growing your herbs:
To grow your herbs you will need some pots or land, soil, and fertilizer if you desire. You will also need to water regularly. While these supplies do cost money, they are not necessarily expensive and a little goes a long way. You can rest assured that growing your own herbs is inexpensive and does not take any real chunk of money out of your budget.
And remember, you only pick what you need:
When you grow your own herbs, you don’t pick them until you need them and you only pick what you need. This way, you avoid waste. If you bought a package of fresh herbs at your grocery store, you may not get to them all at once and some will certainly end up in the garbage. That’s like throwing money away! When you grow your own, you avoid this and only pick and use what you need for a particular recipe.
Over the course of a growing season, suppose you planted five herb plants at $2 each. For about $10, those five plants can easily grow $30 or more of fresh herbs. That is a wonderful investment and return on your money.
Try growing your own herbs and you will not only eat fresher, you will save money in the process.
Here’s how to create a lasagna garden in a container:
Making homemade marinara sauce for your lasagna from fresh herbs and vegetables right out of the garden is a must in authentic Italian cuisine. Making a red sauce that is amazing comes from growing herbs and vegetables in your own backyard so you may pick them at their absolute ripest. Growing a Lasagna Garden in a Container is a great use of space and allows you to grow a themed garden even if you don’t have that huge backyard garden.
The tomato which is the star of the show is the Roma tomato and it grows amazingly well in a container garden. Romas are known for their thick pulp and hearty tomato flavor and they cook down very easily into a sauce. The main herbs found in traditional marinara sauce include basil, thyme, oregano, parsley, and garlic.
Use a large container
Plant the tomato plant into the center of a large container – the bigger the better for this container garden. No smaller than 18 inches around or less than 10 gallons. Both tomatoes and basil can get to be big plants and are heavy nutrient feeders. Thyme and oregano are great to plant on the edges of the container as they will trail over and their root balls don’t spread out too much. Parsley can also grow larger if it has room to grow and it is best to plant between the oregano and thyme.
Use quality potting soil
The key to a successful lasagna garden is in the quality of the potting soil and the amendments you add to it. Amend the potting soil with a fertilizer like Miracle Grow so that your plants get their much needed nutrients. Add this fertilizer every 3 weeks or so to your watering can and water away. When you first plant your lasagna garden, give your plants a long drink of water or until you see water coming out the bottom of the container. After you have watered the plants, grab a stick and stick it into the soil to see how far down the water went. You need the stick to be wet at least 6 inches deep, if not, keep watering!
Plant garlic chives
Growing garlic is more on the difficult side of gardening. If it won’t grow in your area, then grow garlic chives instead. They have a great garlic flavor and their bright green stems give a pop of color in your sauce. The best part is that they can grow on the edge of the container very easily.
Find sunlight
Make sure your lasagna garden is receiving at least six hours of sunlight a day. If needed, pull your container into the shade if you have overly hot summers. I will often put my container gardens on planter wheels so I can roll them around the garden based on where the sun is at that part of the year.
Enjoy your lasagna garden and happy container gardening!