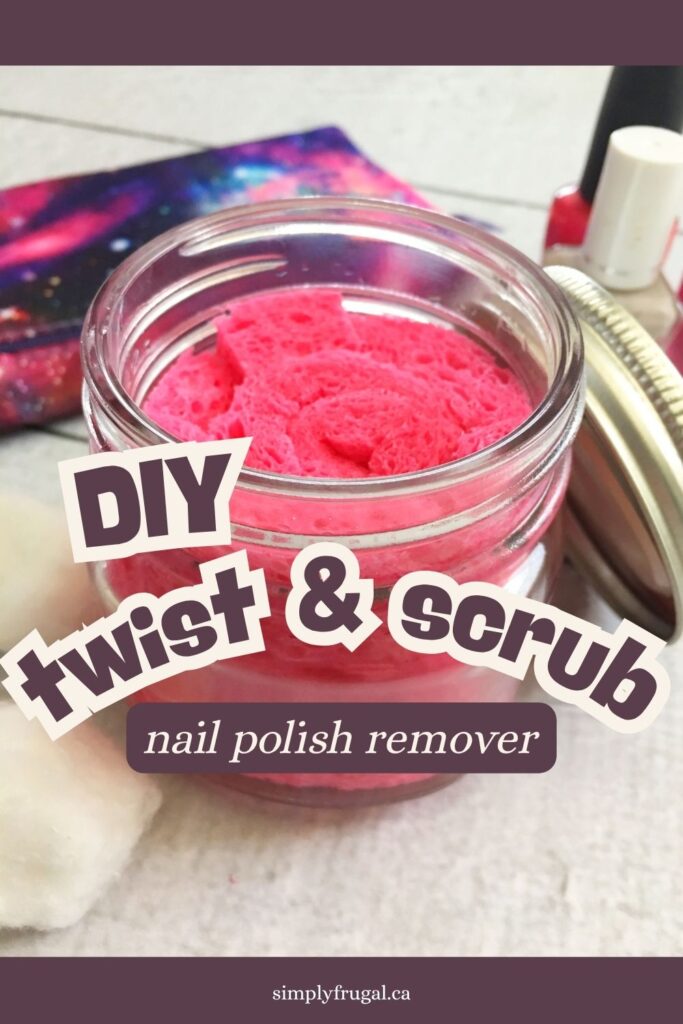
DIY Twist & Scrub Nail Polish Remover
Removing nail polish isn't exactly difficult, but sometimes you just want a quick and mess-free way to get the job done—especially when you're in a hurry or have kids who want to do everything themselves!
These DIY "twist and scrub" nail polish remover jars are super convenient. No cotton balls, no dripping remover, and no messy cleanup. Simply insert your finger into the centre of the sponge, twist it around a few times, and watch the polish disappear. It's a simple solution for quick polish changes at home.
The best part? You can easily make your own version of those convenient store-bought nail polish remover jars using just a few inexpensive supplies.
Here's how to make your own quick and easy DIY nail polish remover jar:
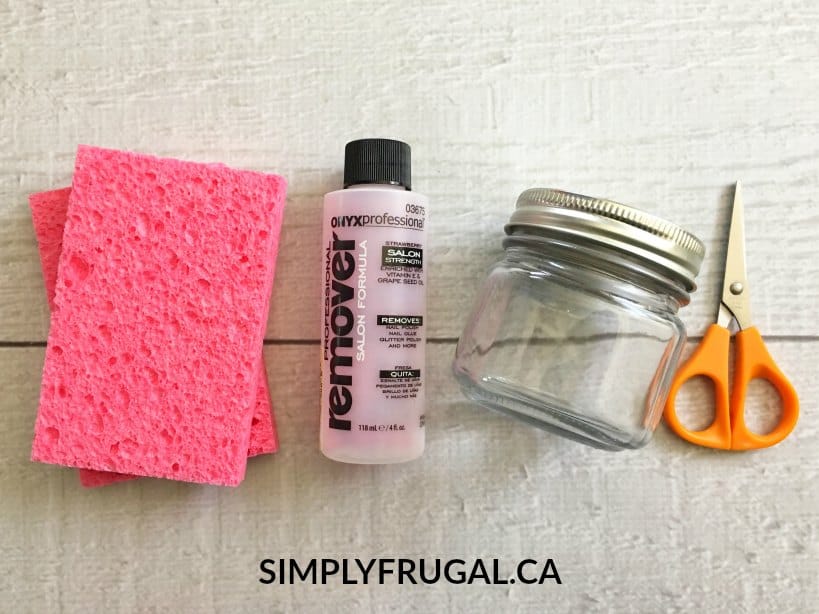
YOU NEED:
- 2 New Household Sponges
- 1 - 8oz Mason Jar with Lid
- Nail Polish Remover
DIRECTIONS:
1. Cut 1/4" off the longest end of your sponges (or more if your Mason jar is shorter)
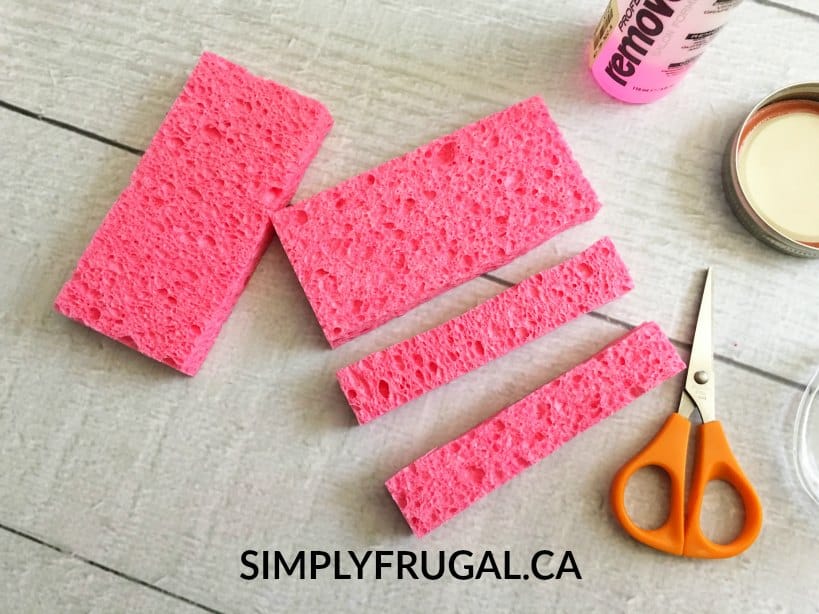
2. Roll your large sponge piece from short side to short side and place that sponge on top of your other large sponge and roll that sponge around your rolled sponge
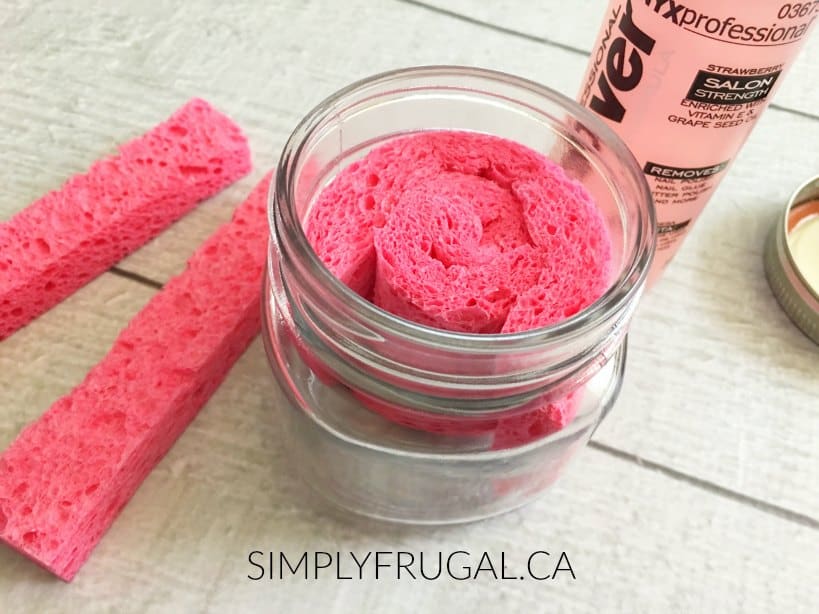
3. Push your rolled sponges into your glass jar with the rolled side facing up
4. Cut your scrub sponges small enough to fit in the empty spaces and place into the jar
5. Fill your jar halfway up with your Nail Polish remover
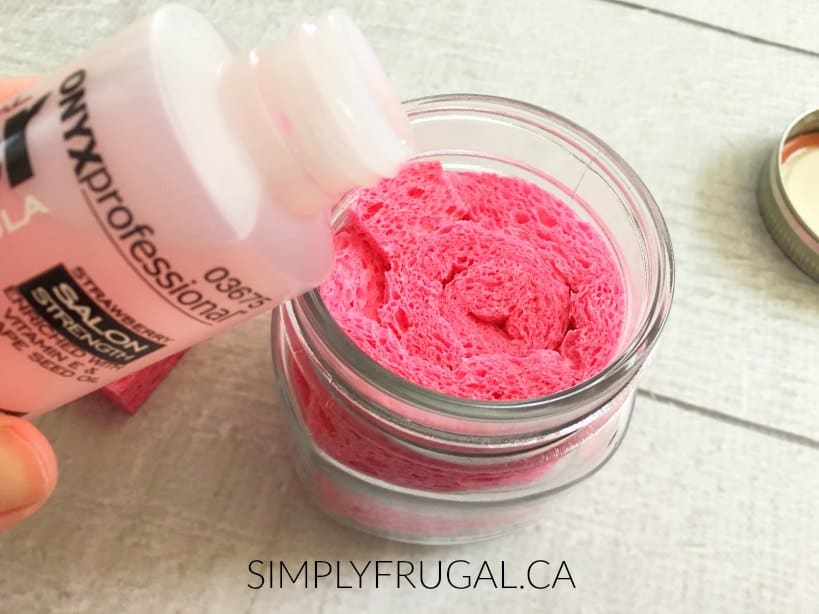
6. When you want use it, shake the jar with the lid on. Take the lid off and stick your polished fingers into the center and twist.
Once you've made one, you'll wonder why you didn't try it sooner! Keep your DIY twist & scrub nail polish remover jar in your bathroom or wherever you usually do your nails, and you'll always have an easy, mess-free way to remove polish when you need it. It's a small DIY that makes one of those everyday tasks just a little bit easier.