Jul 22 | Easy DIY, Recipes

It’s raspberry season, which happens to make me very happy because raspberries are just so tasty! In honour of this seasonal fruit, I have a few posts lined up that feature ways to use raspberries to help you save some money on your grocery bill. After all, DIYing recipes and buying/picking large quantities of seasonal fruit is a smart way to get the most bang for your buck since prices are more reasonable than when they’re out of season.
First up, I’m going to show you How to make raspberry vinegar!
It really can’t be any simpler to make than this. All you do is combine two ingredients, wait a couple of weeks, and you’ll have this beautiful raspberry vinegar to use in salad dressings and other recipes!
Since the end product is a beautiful red colour, homemade raspberry vinegar is great to give as gifts. It even seems gourmet, so any foodie on your gift list would love to receive this, I’m sure!
-
1
cup
of fresh raspberries
-
2
cups
of white wine vinegar
Rinse the raspberries and add them to a jar.
Pour the vinegar into the jar.
Screw on the lid and store in a cool, dark place for two weeks.
Once two weeks have passed, place a strainer over a bowl, then pour the contents of the jar into the strainer.
Finally, pour the raspberry vinegar into little bottles for gift giving or easy pouring for recipes.
Next up, I’ll be featuring my favourite salad dressing using raspberry vinegar!
Day 1:

Jun 17 | Easy DIY

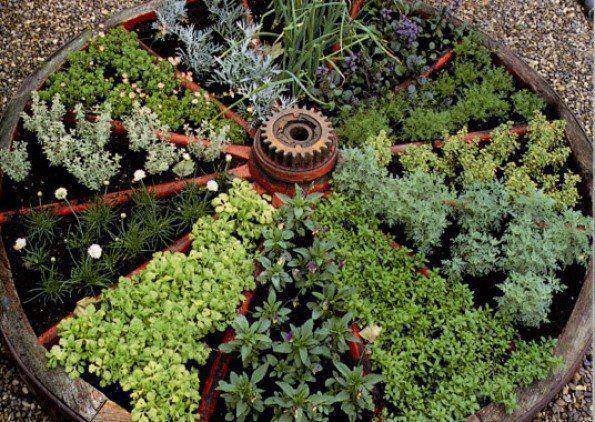
Ann sent along this wonderful repurposing idea! Use an old wagon wheel as your herb garden! I love it!
Unfortunately though, I couldn’t find the original source of this image. If you happen to know where it originated from, please let me know!
Looking for more Gardening ideas? Check them out here.
Jun 13 | Easy DIY

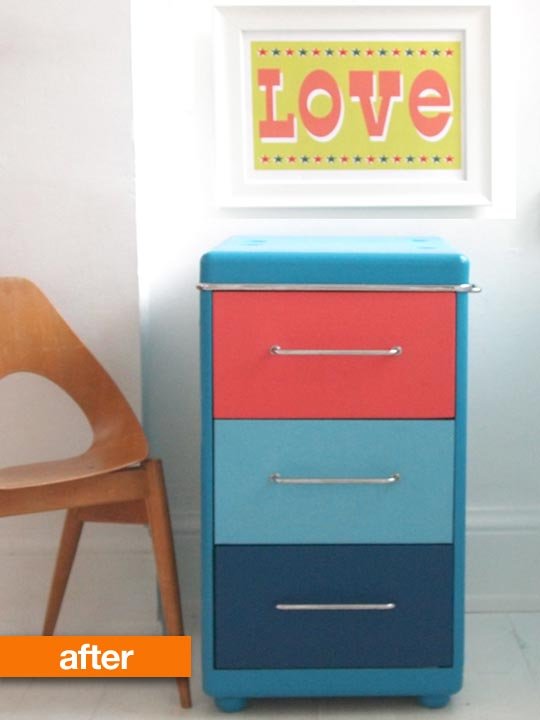
Learn how to transform a rusty filing cabinet into a cheerful, useable filing cabinet for your home over at Apartment Therapy!
Jun 4 | Easy DIY

Visit Happy Home Fairy for several cute photo ideas for Father’s Day that Dad is sure to enjoy!
Thanks, Anita!
Jun 3 | Easy DIY

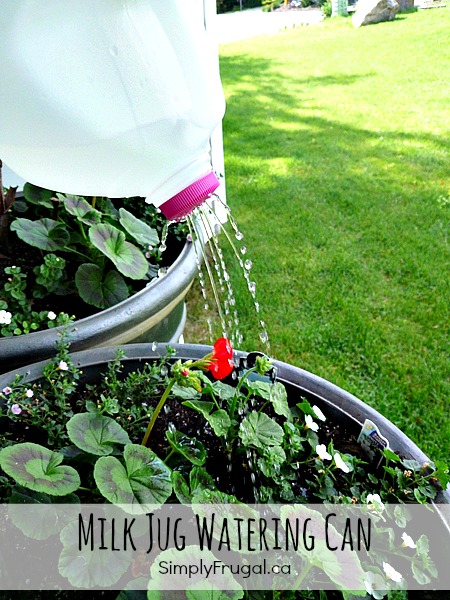
Do you have some eager kids that really want to help out in the garden? I think this milk jug watering can could be the perfect tool for your helpers! It’s even easy enough for kids to make themselves, with a little help! Even if you don’t have little helpers, I think this milk jug watering can is perfect for watering more delicate things. Like freshly planted vegetable seeds that you don’t want washed away.
Here’s how to make a milk jug watering can:
SUPPLIES:
- 4L milk jug (rinsed out)
- Nail
- Hammer
- Cutting board or scrap piece of wood
INSTRUCTIONS:
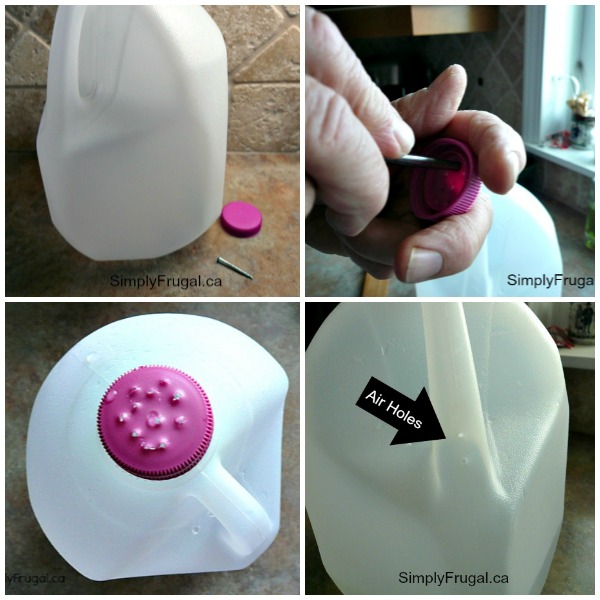
- Use the hammer and nail to punch several holes in the lid of the milk jug. (you’ll want to pound away on the cutting board or scrap piece of wood.)
- Pierce the milk jug handle with 2 – 3 air holes so the water will flow.
- Fill the jug with water.
- Screw on the lid.
- Water away!

May 21 | Easy DIY

Visit A Beautiful Mess to see how you can create some really cute DIY cardboard playhouses! I would have loved any one of these when I was a kid!
Have you got a frugal DIY idea that you’d love to share with others? Submit your idea here!