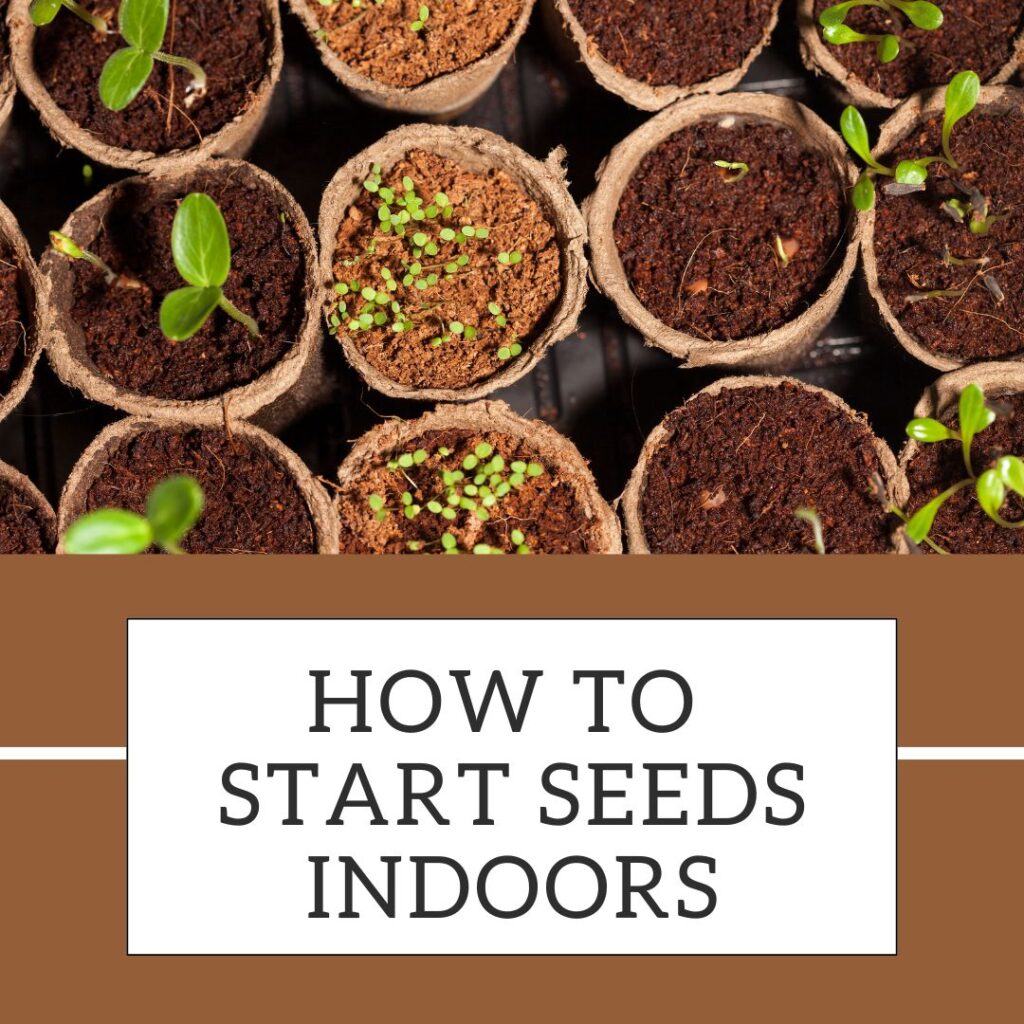
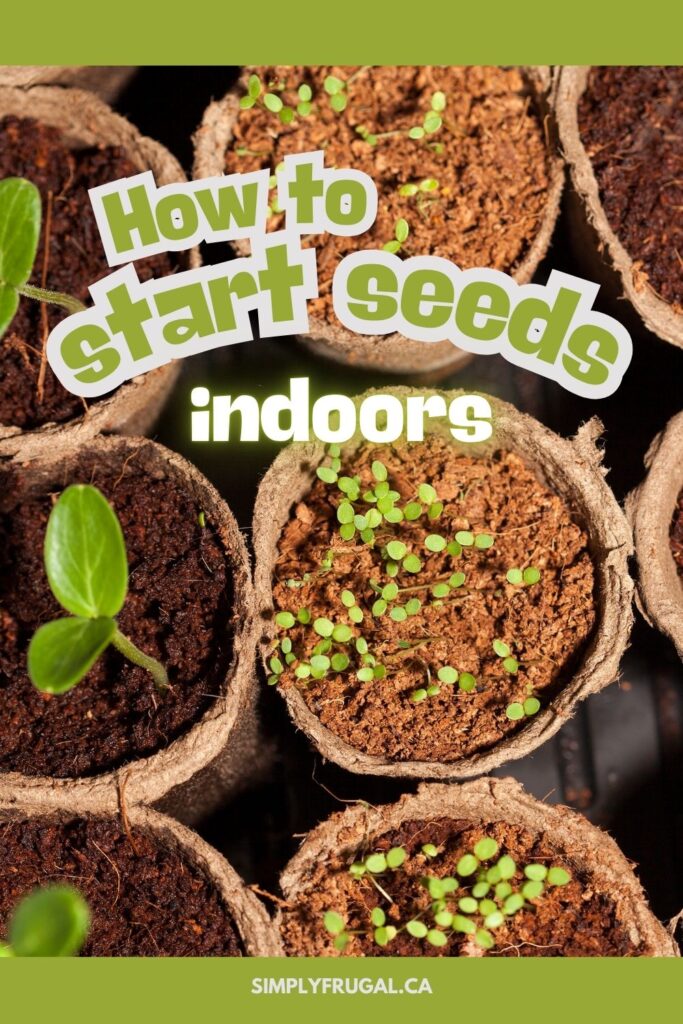
You might be itching to get your garden going, but chances are the outdoor sowing season is still a ways away. Well no worries, here's how to start seeds indoors several weeks before the final frost of the season!
By starting your seeds indoors, you can get a jump on the growing season while saving some money in the process. Here is what you need to know on how to start seeds indoors.
I've linked to some items on Amazon for convenience, but you can gather supplies from anywhere to fit your budget.
A good rule of thumb for when to start your seeds is 4 weeks before the last frost of the season. This will vary depending where you live, so consult The Farmer’s Almanac to find out when the perfect planting time is for you.
DIRECTIONS:
Begin by placing the seed starter cups on the cookie sheet or tray. This way, the surface under the cups is protected and you can easily move them if you need to. Also, make sure the containers you choose have drainage holes.
Fill each cup 3/4 of the way full with nutrient rich potting soil. Seedlings need a light, airy soil mix that drains well. You can buy a seed starting mix at a garden center or make your own by mixing equal parts peat moss, vermiculite, and perlite.
Plant the seeds: Follow the instructions on the seed packet for planting depth and spacing. In general, plant the seeds twice as deep as their diameter.
Cover the seeds with soil and mist the area with your spray bottle. Misting is easier and cleaner than a watering can, plus it will keep you from over watering.
Use the wood craft sticks and marker to make plant markers for the seedlings so you know what they are once they start growing.
Pull a sheet of plastic wrap over the top of the seed starters. This will allow light in but will help the plants retain heat. NOTE: You will need to remove the plastic wrap every few days to mist the soil to keep it moist. Just be sure to return the plastic when you are done.
Place your seed starters in a window where they will get at least 6 hours of sun per day. If you don’t have an area where this is possible, a sun lamp will work.
As soon as you see sprouting, remove the plastic wrap. Continue to water every few days and keep the soil moist at all times.
In just a few weeks, your seeds will be seedlings and soon they will be ready to get transplanted outside. Be sure the threat of frost has passed and you follow package directions when transplanting.
See how simple starting seeds indoors can be? Give these tips a try and get a jump on the growing season now!
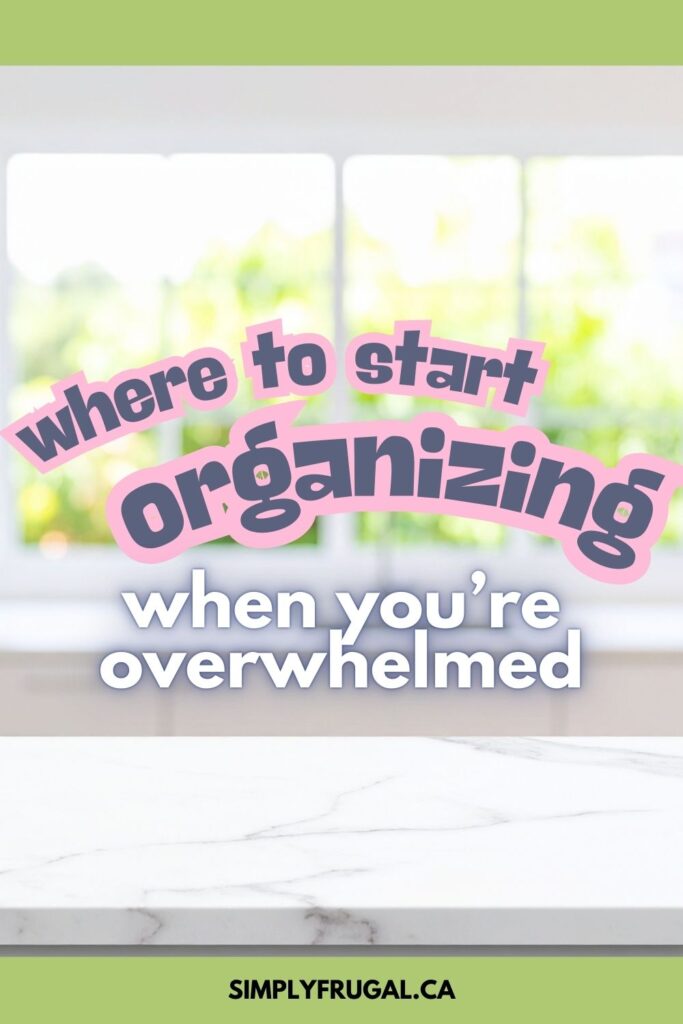
How to Get Started Organizing When You're Overwhelmed
Sometimes, to get started organizing is the hardest part. You want to start, but you feel overwhelmed because you're just not sure where to start!
Today, I want to share some suggestions that may help you to get started organizing!
Make a list
Sit down and make a list of all the areas in your home that you would like to see organized. Seeing everything written down could help you to pick something, whether it be a small task or an area that annoys you! Simply pick one thing, do it, then cross it off!
Start small
For the overwhelmed person, starting with a small project, such as a single drawer, could be just the thing to trigger your resolve to keep going onto the next small project. You'll find yourself moving from one small project to the next, until you've finished each area of your home! Here are some small project ideas to get you started:
A drawer
A shelf
A closet
One surface space
Your spices
One cupboard
Medicine cabinet
Start in the room that requires the least amount of work
It's a possibility, that by starting in an area of your home that requires a lot of organizing hours to complete, could turn you off before you start to see any results. I personally, love to see almost instant results. So, in a continuation of the tip above, when it comes to organizing, starting somewhere that doesn't require a lot of effort will motivate you to carry on.
Start on the area that annoys you the most
Is there an area in your home that annoys you to no end because you can never find what you're looking for? Start there. If tackling an area means it'll make your life more manageable while you're working on organizing other areas, that annoying spot could be a great place to start!
Just start
If you're naturally a planner and you're trying to get things just right in your head before you start, the planning process could actually scare you into doing nothing. Instead, clear your mind and tackle a drawer. Once you see how easy that was then you can move on to another, then another. Take baby steps and don’t overwhelm yourself by looking at the whole room.
Set goals
Set goals that will allow you to look at the big picture. Let's say to want to organize your kitchen. You could leave it at that, but how overwhelming does 'organize kitchen' feel on your to-do list? By imagining how you want your space to feel, setting a timeline and breaking down the areas in your kitchen, you will be way more prepared to succeed! Let's write the kitchen example out:
"I want my kitchen to feel clutter-free with each task area easily accessible so I can get my cooking/baking/cleaning done efficiently.
I will give myself one month to complete my kitchen, by spending 15 minutes a day on one of these areas:
Pantry items
Pots & pans
Cooking utensils
Eating utensils
Cups/mugs
Tupperware
Plates/bowls
Serving ware
Baking ware
Small appliances
Dish towels/cloths
Under sink cabinet
Etc.
I will make time every day between 3pm and 5pm. I will also take before and after photos of each area so I can continue to be inspired."
I hope that example helps you to see how setting goals for each room in your home will help you feel less overwhelmed!
Get motivated
Find yourself some motivation! Here are some ideas:
Read organizing blogs - These blogs are full of useful tips for everyone!
Read décor blogs - Maybe envisioning what your space could look like will motivate you?
Watch an organizing show -Something like The Home Edit could really help light the organizing fire.
Have guests over - Nothing gets your act in gear when you're anticipating company! (or maybe this will only force you to shove things in the closets...)
Lose something - hehe, but seriously, I've gone on organizing rampages when I can't find something of importance!
Set the timer
If you know a project will take you 3 - 4 hours or more, you're likely to put it off. But, if you work at it and organize in small bursts, by setting a timer for 15 - 30 minutes, you're more likely to get your project done! Or how about doing a quick project (sorting the mail) while you're waiting for water to boil or the microwave to finish?
Hopefully these are some ideas to help you get started with organizing your home to make it a place that you love being in!
What I really want to know though, is that I'm not the only person that tries to get as much done as I can while I'm waiting for the microwave to beep? 😉
Where do you start first when you organize? Did these tips help? Share your ideas in the comments below!
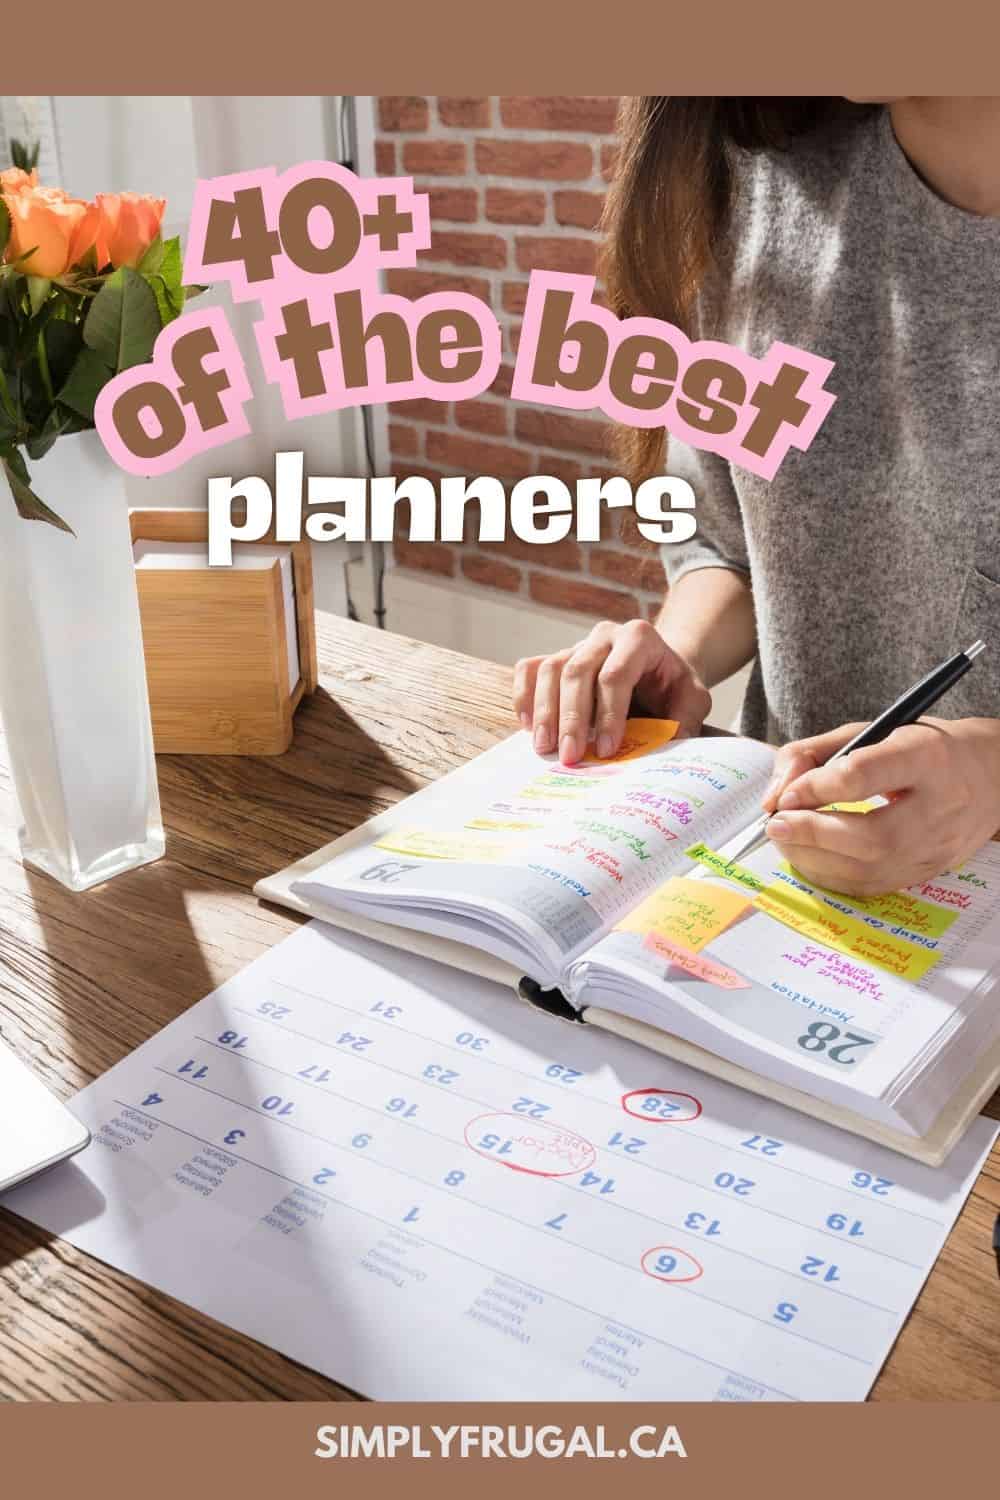
I'm must confess. If I could, I would buy all the pretty planners out there. Just the idea of having all my to-do's and ideas in one place gets practical old me really excited. I'm currently using an academic planner. Meaning it runs until June 2026. This suits my life because our summers are pretty unstructured. I can jot down my to-dos, appointments, reminders, menu plan, shopping list and even my ideas!
If you're after a good planner, but haven't quite found "the one" yet, this round up is sure to help you find one of the best planners that will work for you!
First of all, let's take a look at some things to think about before purchasing a planner:
How to Pick the Best Planner
Purpose: Knowing what you wish to keep track of in your planner is key to finding the right one for your needs. Do you simply want to keep track of appointments? A monthly calendar might be great for you. If you want to keep a to-do list and appointments easily accessible, then a weekly planner could be the right fit. If you intend on keeping a to-do list, appointments, a meal plan, a shopping list and some thoughts or ideas, then a daily planner would be perfect!
Portability: Will you be carrying your planner around with you or will it just be sitting on your desk or counter? If you will be carrying it around, then the size of the planner matters. Make sure the size you choose fits into the bag or purse you will be using. I personally like the 8" by 5" size best.
The Best Monthly Planners:
WSBL Grow Wild 2026 Monthly Pocket Planner- This one is pretty, a great price and includes some extra features like a back pocket, to-do lists, address and phone number pages, and password pages.
5 Year Monthly Planner - Because this is a 5 year planner, I think this would be great to use as a personal notebook, journal, or diary! Or, you can use it to set goals, important dates, or deadlines, as well as jotting down notes and ideas.
Staples 2026 Monthly Planner - This is a smaller 6-7/8" x 8-3/4" basic monthly planner that includes telephone and address pages, dates to remember page and more.
High Note Monthly Planner - I love the vibrant colours of this one! It's even nicely decorated inside. Includes a pocket and monthly goal planning pages.
2026-2028 Monthly Planner - This is a large, three year monthly planner with lots of space to write!
2026 - 2027 Monthly Planner - This monthly planner offers generous monthly boxes without being bulky. Perfect for slipping into bags.
Blue Sky Day Designer 2026 Monthly Planner - If you enjoy seeing everything for the month laid out, this planner looks fantastic! Has some nice extras for goal setting and routine tracking.
The Best Weekly Planners
High Note Weekly Planner - This one is so pretty! It is slightly larger than a typical weekly planner at 9" x 10". It includes some goal setting and project planning pages for every month. Also includes monthly tab dividers, a handy pocket and some stickers.
Lonely Oak 2026 Planner - This planner is the perfect size for bringing everywhere. Includes Monthly Tabs, Elastic Closure, Inner Pocket, Yearly Overview, Contacts Pages as well as My Vision & Mind Map page.
Rozzby 2026 Weekly Planner - This planner includes monthly tabs, elastic closure, lots of writing space and a section for priorities on the weekly pages.
Valome 2026 Weekly Planner - In many weekly planner, Saturdays and Sundays have only half the space weekdays do. But in this planner, they have the same amount of space!
2026 Weekly Planner - With lots of room for planning, this portable sized planner might be perfect for you!
Planberry Weekly Planner - This is a great undated weekly planner if you really want to hit some goals this year. Also unique to this planner, you will find built in budget planner sheets!
Paper Harbour Planner - This undated weekly planner is made and printed in Canada! Space for 12 months, 52 weeks, one bonus week, and lined journal pages.
Moleskine Classic 2026 Weekly Planner - This one is unique in the way that it features an entire week on the left and an entire page for notes on the right. Perfect if you love a lot of room for thoughts and ideas or note taking.
Action Day Weekly Planner - Each day offers hourly scheduling from 7:00 AM to 8:00 PM. Also includes a 12-page teaching tool to see yourself as the person you want to be, what values you want to live by, your goals and actions.
Blue Sky Sophie Weekly Planner - This beautiful simple weekly planner is perfect for a clean look at your week or adding fun doodles or stickers!
At-A-Glance 2026 Floral Weekly Planner - This pretty weekly planner is simple in its design and includes handy tabs to easily flip between months. This is the 8.5"x11" size.
Amy Knapp's Family Organizer - A planner especially for moms! Includes a big space for a weekly to-do list, tear off grocery and menu plans, motivational quotes and stickers!
Passion Planner - This one looks great for goal setting as well as keeping track of your weekly to-dos. Their Instagram page looks like it's full of inspiration on how to use it.
Emily Ley Simplified Weekly Planner - I have used this in past years! I love the colours and simplicity of it. I also like how each day is separated into two parts: My Day and To-Do.
Legend Undated Weekly Planner - This one is great for the working person that wants to track work to-dos and personal to-dos. Looks fantastic for goal setting and creating a better you.
Wordsworth Undated Weekly Planner - This one reminds me of the Simplified planner, but with a heavy dose of goal setting pages that look helpful!
2026 Weekly Planner - This one is just so classic feeling. Linen cover, simple lines inside, tabbed dividers, pen holder, inner pocket, ribbon bookmark!
The Best Daily Planners
Brownline 2026 Daily planner - This is the one I used for years, but then they added the times in 30 minute increments. I am personally not a fan of the times added, but that doesn't mean it's not perfect for you!
2026 Daily Simplified Planner - This is like a Weekly Planner that I have used in the past, but a daily version that includes time slots for each day.
Day Designer Daily Planner - This is a premium planner with a price tag to reflect. However, it has so many features that are laid out nicely! The daily calendar view page contains hourly schedule in 1 hour increments, top 3 priority items, to-do list, notes section and an inspirational quote, as well as a dedicated gratitude section.
To Do List Undated Daily Planner - If you are looking for a way to track your daily to-dos, fitness, meal plan, and top priorities for each day, then this planner is worth looking at!
Clever Fox Daily Planner PRO - This undated planner is unique in the sense that it lasts just 3 months if used consistently. Perhaps a great way to test drive a planner! This planner has everything though: create a vision for your life, define and break down your goals, and incorporate these goals into your schedule. It has a separate page for each day of the week, with an hourly schedule, daily goal, priorities, to-do list, daily reflection, and plenty of space for extra notes.
Blueline NotePro Undated Daily Planner - This planner has an undated daily planner on left side and is ruled with margin on the right side for note taking. Perfect for the working prfessional.
Poprun 2026 Daily Planner - This daily planner presents spacious everyday planning with hourly schedules for your appointments, which makes your busy daily routines organized.
The Best Specialty Planners
The Meal Planner - This printable planner made by me, will help you plan every aspect of your meal planning!
52 Week Meal Planner - This planner contains space to plan a year's worth of meal's and grocery lists.
Weekly Meal Planner- This is like the meal planner above but has dedicated spaces for breakfast and lunch ideas too.
Travel Planner - For every trip, track your budget, list must-see attractions, map out shopping and dining spots, and keep tabs on your itinerary.
Legend Travel Planner - This travel planner looks fabulous! Includes everything you need to help research and plan all essential aspects of your trips, including your travel budget, accommodation, transportation, things to see, packing list, and more.
The Cleaning Planner - This printable, step by step plan will help take the overwhelm out of cleaning.
Monthly Budget Planner - Keep track of your spending, plan monthly budgets and set savings goals with this planner!
The Budget Planner - This printable, easy to follow planner takes the overwhelm out of budgeting.
Teacher's Planner- This planner will help you keep track of weekly lessons, seating plans, attendance, and grades!
CREATE Blog and Editorial Calendar - A planning and editorial system designed for ambitious bloggers and biz owners to create intentional content, grow and nurture an audience, and build a business around their blog
Mega Homeschool Planner - Whether you homeschool 1 child or many, this planner will keep you organized, hold your important records, make planning a breeze, track anything, is portable and conveniently stores away.
Coupon Planner - 52 Weekly (undated) shopping pages to plan which stores to hit, keep track of sales, and organize your coupons to make the trip as smooth as possible.
There you have it, the best planners you can get in Canada. If you use a planner, do you purchase the same one year after year or do you like to switch it up?
Take a peek inside your pantry. Go ahead, I'll wait...
If your pantry is anything like most pantries, you may be looking at mass chaos sitting on those shelves.
If your pantry door is kept closed because it's not suitable for anyone's eyes but yours, it may be time to start organizing that space. The good news? It can be simple to get it done and you will have your kids packing their own lunch in no time flat.
Here are a few must haves for pantry organization that will help you get that jump-start to organizing your pantry.
Do Away with the Packaging
Who says that your food items have to be stored in the boxes or packaging that they came in? Instead, check out these Airtight Clear Storage Containers for your pantry space.
Not only do they come in different sizes, they are clear so it's easy to see what is in them. They also seal tight to keep the air out, keeping food fresher, longer. You can use them to store noodles, cereals, grains, coffee...anything!
Organize your Cans
Cans can take up a ton of space. If you find yourself digging and digging to look through cans to see what you have on hand, you need a change.
Try using a 3-Tier Can Rack Organizer instead. It can hold different sized cans and allows you to place them in a way that they are easily seen. These can save a ton of space!
Use Every Square Inch
Remember that door that we talked about earlier that hides all those things that are lurking in your pantry? Use that space on your door! It's an area that you might as well be utilizing to free up more shelf space.
Look at installing the Door Mount Cabinet Organizer! It hangs on the door to save space, and you can place your spices, plastic wrap, or other items in it for easy access.
End Bakeware Frustration
How much time do you spend digging around for the proper bakeware that you are wanting to use? If your answer was longer than a few seconds, then your current method of storing bakeware isn't working. They should be easy to access and grab when needed.
Give the StoreMore Bakeware Rack a peek to see if it would fit well in your pantry. It has built-in dividers that help you organize your muffin pans, baking sheets, and other bakeware in a nice, neat, organized manner.
See All Your Spices at Once
Quit playing hide and seek with your spice jars. Get them visible, all at the same time! Nothing is more frustrating than when you are cooking and need to find the basil quickly. But where, oh where, did the basil go??
Eliminate the time spent searching by using a Spice Gripper Clip Strip. (Try saying that fast five times!) Not only does this allow all your spices to be seen easily, it keeps them all in one place as well. Sounds like a win to me!
Use a Carousel for Random Items
Don’t let the small random items become your nemesis in your pantry! Instead, find ways to organize it better.
Look at implementing a Lazy Susan Organizerfor your spices, baking supplies, oils, barbeque and picnic supplies, cleaning supplies or other random items. This handy little gadget is a fun carousel that spins for easy access.
Wrangle Food Wraps
Sometimes all those food storage wraps can be annoying to organize. Aluminum foil, plastic wrap, parchment paper, even plastic bags.
These self-adhesive door storage boxes look ideal for wrangling food storage wraps, storage bags or whatever else you think would fit perfectly.
Use Storage Baskets
I think the answer for many organizing conundrums, can be baskets. Specifically plastic storage baskets for the pantry.
I have my pantry cupboard full of baskets that hold snacks for the kids, pastas, grains, chips, canned goods, baking supplies and so much more! I simply pull out the basket with the item I need, grab the item and get on with my day! I like plastic in this situation because they are easy to wipe down.
Your pantry doesn’t have to get the best of you. You can control it, you can organize it! Try a few of the must haves for pantry organization above and see if they help clear that clutter! You may be surprised at how a few easy changes can quickly give your pantry more functionality. Less clutter in your pantry means less clutter in your mind!
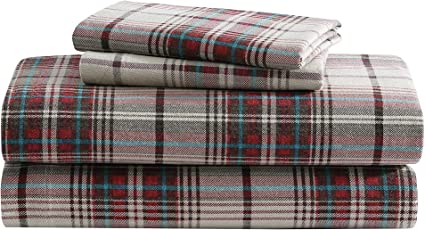
With cold weather nearly upon us, it’s time to start thinking about how you are going to stay cozy and warm in your home. One way to combat the chill is to invest in a set of flannel sheets for all the beds in your home. Flannel sheets are made out of cotton but are heavier, warmer, and softer than your normal cotton bedding.
In this post today, I have rounded up the some of the best affordable flannel sheets to keep you sleeping peacefully until warmer weather arrives again. Because this is Simply Frugal, this list contains affordable, budget-friendly options that will keep your wallet happy too!
One fun thing about flannel is that there are a ton of fun patterns to choose from. Plaids, Christmas themes, winter themes, kid patterns, geometric designs and so many more. Here's a list of some really fun patterns I found on a budget:
Costco also has some great affordable flannel sheet sets, but I am unable to link to them as they are a seasonal item in-store only. Homesense is also worth a look for budget friendly sheets.
Because there are great solid colour flannel sheets too, I've rounded up my favourites below. Solid colours are great to dress up a patterned duvet or to simply add a pop of colour or coziness to any bed.
I hope you enjoyed this selection of cozy affordable flannel sheets! There are so many different designs and price ranges from the sources I found. I'm sure you'll find something that suits you well!
15-Minute Decluttering Tasks: Quick Fixes for a Tidy Space
In our fast-paced world, finding time for long decluttering sessions can be challenging. Luckily, you don’t need hours to make a significant change! With just 15 minutes, you can tackle small but meaningful decluttering tasks that will help keep your home organized. Here’s a guide to quick and effective 15 minute decluttering tasks that you can easily fit into your busy schedule.
1. Sort Through a Single Drawer
Pick one drawer in your home. Maybe the kitchen junk drawer, a desk drawer, or a bathroom drawer. Empty its contents, discard expired or unused items, and neatly organize the remaining essentials. These clear organizers are perfect for drawers! A tidy drawer can not only make a difference in how cluttered your space feels but also make daily tasks way more efficient.
2. Clear Out a Magazine or Book Pile
Books and magazines can quickly accumulate. Spend 15 minutes sorting through a stack, recycling old magazines, or donating books you no longer need. You’ll free up space and make your reading area look more organized.
3. Organize Your Purse or Backpack
Our bags often become catch-alls for random items. Take 15 minutes to empty your bag, discard old receipts or expired coupons, and sort through the remaining items. Use pouches or small organizers like these to keep things tidy.
4. Declutter Your Desk
Your desk can easily become cluttered with papers, pens, and random office supplies. It can feel overwhelming, but spend 15 minutes sorting through these items and you'll see it was not as bad as it seemed! File important documents, discard unnecessary ones, and organize your supplies into drawers or containers.
5. Clean Out the Fridge
The refrigerator is a prime spot for hidden clutter. In just 15 minutes, check for expired food, clean out spills, and reorganize shelves. This quick task not only declutters but also ensures your food stays fresh and your fridge remains sanitary. Try to make it a weekly habit so it takes no time at all!
6. Declutter a Closet Shelf
Choose one shelf in a closet and sort through its contents. Remove items you no longer use or need, and organize what remains. This quick decluttering task can greatly enhance the functionality of your closet.
7. Organize Your Entryway
The entryway is often the first impression of your home and can quickly become cluttered with shoes, coats, and mail. In 15 minutes, tidy up this area by putting away shoes, sorting mail, and hanging up coats. Adding a small basket for keys or other small items can also help keep things in order.
8. Sort Through a Set of Towels
In the bathroom or linen closet, towels can take up a lot of space. Use 15 minutes to sort through your towels, discarding any that are worn out or stained. Fold and organize the remaining towels neatly.
9. Clean Out Your Car
Your car can accumulate clutter just like your home. Spend 15 minutes removing trash, organizing the glove compartment, and clearing out any items you no longer need. If you have a little extra time, give the seats a quick vacuum to get rid of dirt and/or crumbs.
10. Organize Your Kitchen Utensils
Kitchen drawers can become a tangled mess of utensils. Take 15 minutes to sort through them, remove duplicates or items you rarely use, and organize the remaining utensils in a way that makes them easy to access.
11. Declutter Your Digital Space
Your digital life can be just as cluttered as your physical space. Spend 15 minutes cleaning up your desktop, deleting unnecessary files, or organizing your email inbox. This digital decluttering can improve your productivity and reduce stress. Whew!
12. Sort Through a Basket of Laundry
Laundry baskets can become catch-alls for various items. Spend 15 minutes sorting through the contents, returning items to their proper places, and dealing with any laundry that’s been piling up. Listen to an audiobook or podcast to turn it into a "fun" task!
13. Tidy Up Your Coffee Table
Coffee tables can quickly gather clutter such as magazines, remote controls, and random objects. Use 15 minutes to clear off the table, organizing or discarding items as needed. This will help create a more inviting and calm living space.
14. Organize Your Jewelry
Jewelry can easily become tangled and disorganized if you don't take care of it. In 15 minutes, untangle necklaces, sort earrings, and put your jewelry back in its proper place. Using small containers or organizers, helps keep your jewelry accessible and untangled.
15. Purge Old Greeting Cards and Paperwork
Greeting cards and paperwork can accumulate over time. Take 15 minutes to go through these items, keeping only the ones that are truly meaningful and recycling the rest. This task helps keep sentimental clutter to a minimum.
There you have it! What 15 minute decluttering tasks would you add to the list?
By decluttering in manageable 15-minute tasks, you can maintain an organized home without feeling overwhelmed. Consistent small efforts can lead to big improvements, making your living space more enjoyable and functional.