30 Foods You’ll Never Have to Buy Again
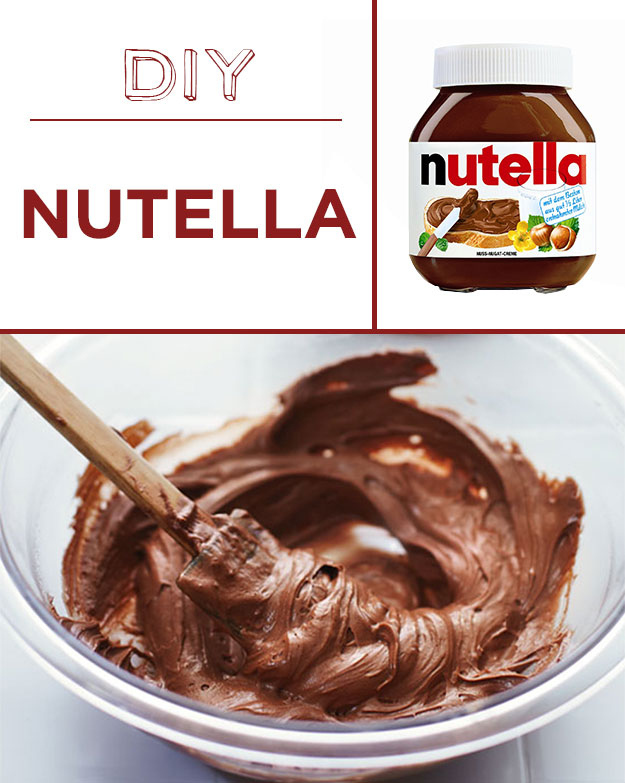
Visit BuzzFeed Food to discover 30 Foods You’ll Never Have to Buy Again, because they can easily be made at home!

Visit BuzzFeed Food to discover 30 Foods You’ll Never Have to Buy Again, because they can easily be made at home!

Get yourself a snack size Iced Frappe from McDonald’s for only $1.00!
Choose between the Coffee Iced Frappe or the Vanilla Chai Tea Iced Frappe. Check out the Iced Frappes now.
Offer ends June 12, 2013.

Did you know you can grow potatoes in a container? It’s true! You can grow potatoes in a container and I’m going to attempt to show you how to do it with the video below. Growing potatoes in a container is ideal if you have limited gardening space like me!
Before you watch the video, I feel as though I should warn you about the lack of “greatness” to the video. I winged it the other night after Sienna had gone to bed. In other words, it’s not scripted, I didn’t fix my hair or get the leftover lasagna off my sleeve :P. And I gave some incorrect details in the video that I’ll write out correctly below the video. 🙂
There are a variety of containers you can use to grow potatoes, but I really like using a big plastic garbage can because it holds a lot. These potato grow bags also look amazing!
Here are the 10 steps to growing potatoes in a container:
Have you ever tried growing potatoes in a container?

Save 20% off all Moleskine products online at Chapters.Indigo.ca! Offer ends June 17, 2013.
In case you’re looking for a new vase, all vases are 50% off until June 10, 2013!
Both offers are available online only.

I wanted a bit of a sweet treat the other day, and I happened to have some graham crackers, marshmallows and chocolate on hand so I thought it was obvious I should make some s’mores! These easy oven s’mores are also great if you are entertaining at home. While a regular milk/dark chocolate bar would work wonderfully, I used some Werther’s milk chocolate caramels I had in the back of the cupboard.
Here’s what you need for Easy Oven S’mores:



Visit Happy Home Fairy for several cute photo ideas for Father’s Day that Dad is sure to enjoy!
Thanks, Anita!
June 7 – 9, buy three, get the fourth free on many items in-store at Chapters, Indigo and Coles!
Offer excludes gift cards, memberships, electronics, tablets and related accessories.
In-store only. Offer ends June 9, 2013.

Art.com has a new coupon code that will save you 20% off your purchase!
Use coupon code: DAD20
Expires: June 30, 2013
The coupon code is in honour of Father’s Day so why not take a look at the selection of art to see if there’s anything that could dress up your Dad’s “man cave”!
Click here to shop online at Art.com.
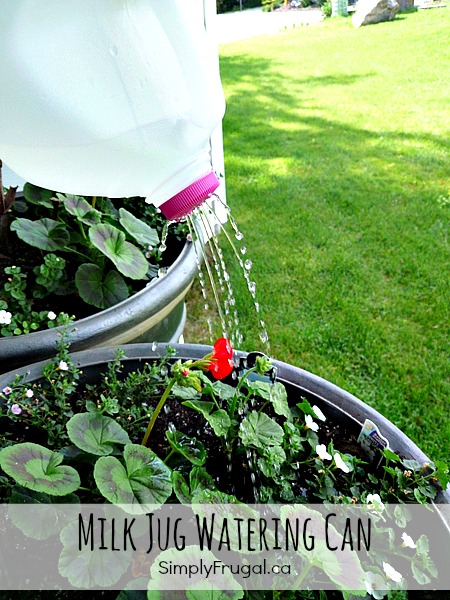
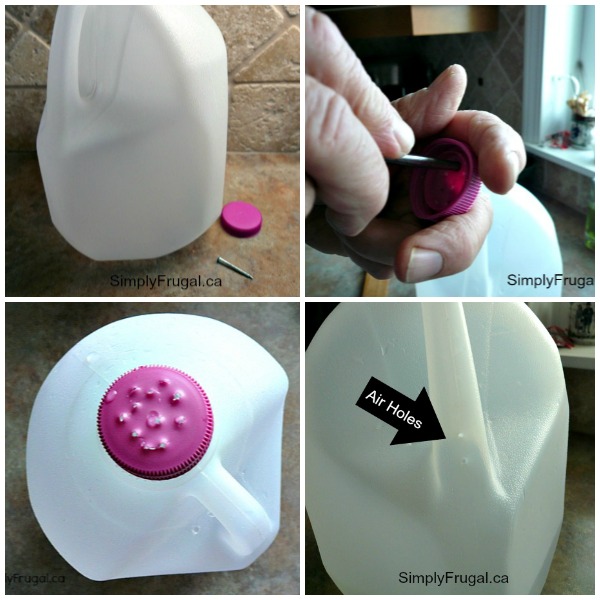
Do you have some eager kids that really want to help out in the garden? I think this milk jug watering can could be the perfect tool for your helpers! It’s even easy enough for kids to make themselves, with a little help! Even if you don’t have little helpers, I think this milk jug watering can is perfect for watering more delicate things. Like freshly planted vegetable seeds that you don’t want washed away.
SUPPLIES:
INSTRUCTIONS:
Here are the interesting links I came across on my travels around the web this week! Enjoy and have a great weekend!
