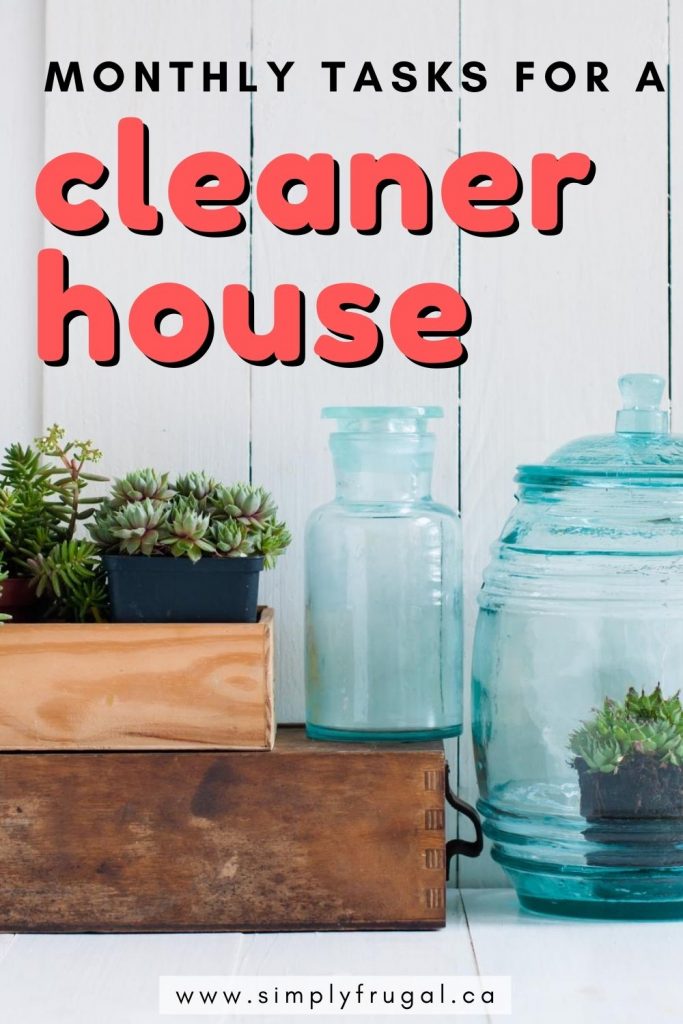
Are you finding yourself surrounded by clutter? Does it seem like you just can’t stay ahead of household cleaning tasks? Keeping a clean house can be a challenge, but it doesn’t have to be a struggle. In fact, there are small steps you can take each month and implement on a regular basis to enjoy a cleaner space. Look at these 12 monthly tasks to help you enjoy a cleaner space and see what a difference they can make.
January: Go paperless.
Now is the time to clear away paper clutter. Go paperless in the New Year. Switch to paperless billing and opt to do online banking. This will help you avoid the paper piles in your home and office.
February: Declutter the kitchen pantry.
How much food are you holding onto that isn’t even fresh anymore? Grab a few trash bags and take an hour to declutter the kitchen pantry. Throw away any items that aren’t good anymore and donate items that are good but you won’t eat.
March: Organize the linens.
Clean out your linen closet and remove anything that doesn’t belong. Take a few hours to thoroughly clean linens and towels. Fold and assemble them in baskets. Find places for each in your linen closet, well labeled and easy to access.
April: Tackle tile.
Take the time to tackle tile this month. Clean away shower tile grime, floor tile grime and tackle kitchen tiles. I love, love a combination of hot water, bleach and powdered Tide. When combined with a scrub brush or old toothbrush, the results are fantastic on grout!
May: Refill your cleaning basket.
Go through your cleaning supplies and re-stock. Remove any old and dirty towels, sponges, or cleaning tools. Replace them with fresh supplies and don’t forget to add in some essential oils to make homemade cleaning productssmell fresher.
June: Call for an extra trash pick up.
Tackle the garage, removing any old and broken items taking up space. Donate toys you no longer use, and schedule an extra trash pick up so broken items can be hauled away and recycled if necessary.
July: Treat all area rugs and carpeting.
Use a deep cleaning machine to clean area rugs and carpeting. This is a great way and great time to remove built up soiling, dirt, and grime.
August: Deep clean the kitchen.
This means emptying cabinets, scrubbing floors, wiping down cabinetry, etc. Dedicate a weekend to cleaning out the kitchen, removing broken or unused items, and replacing cracked dishware.
September: Clean the refrigerator.
Remove all food items and clean out the fridgewell. Scrub away any stains or food spills. Discard any expired food before returning items back to their place.
October: Flip mattresses and tend to bedding.
Vacuum mattress tops well on each side and flip for even wear. Replace pillows if needed and take the time to dust and clean headboards.
November: Clean upholstered items.
Rent a deep cleaning machine and clean all household upholstered items. This will help remove stains and keep fabrics smelling fresh.
December: Declutter holiday decor.
December is a great time to declutter your Christmas decorations. As you decorate your home, place any unwanted items in a bin for donation. Donating items after the holidays is somewhat pointless, as thrift stores have a harder time selling it out of season. Here is a Christmas Decoration Storage Inventory printable that you might find useful too!
Are you ready for a cleaner, more enjoyable home? Tackle these 12 monthly tasks to help you grab clutter by the horns and get your house in shape fast!
Do you want to know my secret for a stress-free Thanksgiving? (or any big family meal for that matter…) Yeah? Okay. Just have your Dad, who loves to cook, prepare all the main dishes and Turkey, then all you have to do is bring along the dessert. 😉
While this is a realistic scenario for our Thanksgiving and special occasions, (my dad is the best!) I’m sure it’s not for most families. We can get away with this because we usually have a maximum of 8 people to serve.
Since I know big family meals can be hectic (I’ve experienced many of my husband’s extended family get-togethers), I thought creating a checklist would be really helpful to those of you that want to cut back on some chaos.
This checklist doesn’t tell you what to cook (I trust you have your family favourites) but I’m hoping it will give you a guideline for when things can be completed. While I called this a Thanksgiving checklist, I think this checklist can be used for any holiday dinner.
How to Get a More Organized Kitchen in Just 15 Minutes
The kitchen is one of the easiest spaces to allow clutter to pile up. Since it is one of the busiest rooms in the house and there’s lots of counter space for stuff, it can quickly become overrun. So how do you enjoy a more organized kitchen without investing a ton of time? Luckily, there are a few tasks you can do each day in 15 minutes or less to help you keep a clutter free kitchen. Look at these tips on how to get a more organized kitchen in just 15 minutes and see what a difference they can make.
1. Assemble baskets for mail and paper work.
Kitchen counters can be a catch all for mail and school papers. Instead, place basketson the counter for these items to go in. Then, check in with these baskets daily so you can read letters, discard junk mail, and sort through papers as needed.
2. Remove all non-kitchen essentials.
So many non kitchen items end up in the kitchen throughout the day. Take a few minutes each day to remove these items that have crept in. Have everyone in the household help you return these items to where they belong. Toys, clothing, books, and other items that aren’t used in the kitchen can all be removed.
3. Choose one drawer a day and organize it.
Trying to tackle every drawer at once can be exhausting. Instead, choose one drawer a day and go through it, tossing what you no longer use or need. Use simple drawer baskets to keep the remaining items organized and easy to grab. Once you make your way through the drawers, take on one cabinet at a time and do the same thing.
4. Comb through Tupperware and organize tops and bottoms.
Storage containers tend to make a mess of kitchen cabinets. Take a few minutes to go through the storage containers and match up the tops and bottoms. Discard any pieces that don’t have a match or have been overused and showing a great deal of wear.
5. Arrange spices and cooking ingredients by alphabet.
Make your cooking ingredients easier to navigate when you organize them alphabetically. Organize your spices and dry goods by alphabet and line them up neatly so the next time you need them, you aren’t playing a game of hide and seek. I use a spice organizer like this in one of my cupboards and I love that it’s expandable.
6. Clear counters as much as possible, utilizing drawers and cabinets.
Remove all non essentials from the counter and place these items in drawers and cabinets. Keep your counters as open and clear as possible. Any item that isn’t used daily can be stashed away where it is out of sight and won’t take up a ton of room.
Are you ready for a more organized space? Consider these tips on how to get a more organized kitchen in just 15 minutes and see how simple getting organized can be!
What’s one area of your kitchen that drives you nuts? What are you going to tackle first?
It’s no secret that I’m a huge fan of meal planning (and think you should be too 😉 ). It puts deciding what to cook on autopilot all week long. No more last minute trips through the drive thru or slapping together a so-so meal that everyone will complain about anyways.
Jotting down your list of meals in a plain notebook or a scrap of paper is great, but did you know you can totally up your meal planning game? How? Well, with these 7 free printable weekly meal planners that will knock your socks off. I found some pretty amazing printables! All different kinds so there should be something to suit your specific needs.
Check them out and let me know which one is your favourite.
Now, this is a great idea! Use a dry erase marker to write out your menu for the whole week with this planner. Then, once the week is over, wipe it clear and start fresh for next week.
This one is from yours truly! Once you sign up, the free meal planner will be sent to the email you provided. I think it’s fun and I love that there is space to jot down meals, your shopping list AND any prep work that needs to be completed! (Like remembering to take meat out of the freezer to thaw!)
Whether you’re new to meal planning or you’re just wanting to liven up the way you’re doing it, any one of these free printable meal planners will do the job perfectly.
Let me know what you think of these great free printable weekly meal planners!
PS: Looking for even more meal planning help? Check out this gorgeous MEAL PLANNERSET– with monthly, weekly + daily meal planning worksheets, brainstorming sheets, food inventory sheets, grocery lists, price matching sheets and more!
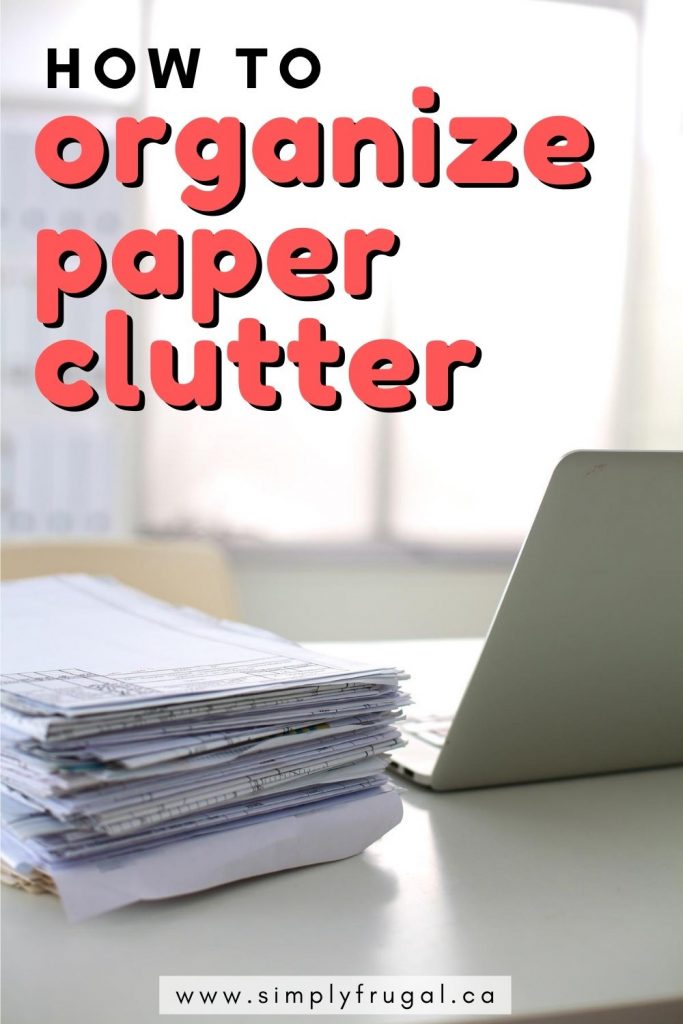
Nothing can make a room look messier than piles of paper. Somehow dining room tables, desks, kitchen counter tops, and dressers become magnets to all things paper in a family’s home! Bills, magazines, children’s artwork, and product manuals just pile up, creating “organized confusion” even for those of us who swear we have a system. It’s not only messy-looking; paper collects dust and can attract bugs. It’s not exactly environmentally friendly, either. So what’s the solution? Here are a few tips for how to organize paper clutter.
Create paper-free zones.
Regardless of what fantastic method you put into place, you’re bound to drop a piece of paper somewhere when you’re in a hurry. Tell yourself right off the bat that there are certain areas this is simply not allowed to happen. In the past, my dining room table often became a drop zone, making my otherwise (semi) clean home look disheveled. My new rule is no paper clutter on the table or in the living room. At least this way, I always feel ready for company and always have room to eat and play with my kids.
Deal with it right away.
Put paper clutter in its proper place as soon as it enters your home. Open the mail, recycle what you can, shred what you can’t, and file bills, receipts and children’s paperwork away immediately. Rip out the articles or recipes from magazines you are saving and put them into plastic sleeves in a binder. Drop your collection of magazines and catalogues off at the hair salon, gym, doctor’s office or schools. Whether you hang it on the fridge, utilize an inbox, or stick it in your planner, get into the habit of sorting incoming paper right away.
Go digital.
Opt for e-billing statements and invoices when you can. Minimize the flow of paper that comes in to begin with by opting out of all mailings you have control over. Save documents as PDF’s instead of printing them. Take digital photos of your children’s two-dimensional art projects, and recycle the originals. (Admit it: not everything is worth saving, and no, they will not want it when they’re adults…unless it’s hilarious!)
Make a filing box or cabinet your best friend.
For the remaining paper you absolutely have to keep, purchase a filing cabinet or box, depending on how much you have. A single person can often get away with a simple, file box. These days, you can find a lot of Pinterest tutorials on how to give the larger, metal, filing cabinets some personality. You can even get colorful folders for inside. (Do whatever you have to do to encourage yourself to use this thing once you’ve got it!) Create specific categories for the folders, such as yearly tax folders versus a single folder, overflowing with general tax documents. Designate a folder for each child and pet in your home. Separate everyone’s medical records and school papers. Don’t forget to go through periodically and shred outdated documents. Toss product warranties and instruction manuals for items you no longer have.
I’d love to know, how do you keep your paper clutter under control? Let us know in the comments below!
Is your garage stacked to the ceiling with stuff? If so, it might be time to give it a good cleaning. Cleaning out your garage can not only give you more space in your home, but can also net you some cash in your pocket! Want to know more? Take a look below at these 5 ways to make money by cleaning out your garage, I’m sure you’ll find something you can sell!
5 Ways to Make Money By Cleaning Out Your Garage:
1. Sell your old/unused tools.
Are you a tool hoarder? Tools have excellent resale value. Sell your usable power tools Kijiji, Craigslist, Facebook Buy & Sell groups or place an ad in the local paper. Older tools might be valuable to collectors, so do your research on them and see if they might be worth anything. You typically need just one of each tool, so part with any extras to make some quick cash.
2. Scrap that metal.
Is your garage full of metal pieces? If so, you can scrap them for cash. Old appliances, fencing, old copper, brass, or even aluminum are all worth cash at a local metal recycling center. You don’t even need to clean the pieces, just haul them to the center, have them weighed, and collect your cash.
3. Sell your old bikes.
Bikes both old and new can find a new home on Kijiji, Craigslist, ebay, or your local paper/garage sale site. Collectors are always looking for bike parts and will be willing to take the old bikes off your hands, while college students are always looking for used bikes they can snag for a song. If you have any bikes either old or new, broken or functional, sell them for cash.
4. Hold an odds and ends garage sale.
Get rid of the random clutter with a garage or yard sale. Advertise your sale for free in Facebook Buy & Sell groups as well as sites like Kijiji or Craigslist. Price your items to sell, create a neat and organized display, and you are sure to not only pull in some cash but create some extra space in your garage as well. Just haul out those items, give them a good dusting, and stick a tag on them. It’s that easy!
5. Donate for a tax write off.
Remember, you can get a tax deduction for any donations you make to not for profit agencies. If you have functional items such as toys, hoses, lawn tools, appliances, bikes, wagons, etc. then why not donate them? You will get a receipt for your donation and you will be able to write the amount off on next year’s taxes. That’s like cash in the pocket!
Don’t deal with that cluttered garage any longer. Instead, give these tips for finding money in your own garage a try and you will not only make space, but make some money as well.
Have you found any treasures hidden in your garage lately? Let me know in the comments.