Easy DIY: The Smells of the Season

I’m so excited to give this recipe a try! Make your own stove top potpourri using oranges, cranberries, cinnamon, cloves and nutmeg to make you home smell delicious!
Thanks, Anita!

I’m so excited to give this recipe a try! Make your own stove top potpourri using oranges, cranberries, cinnamon, cloves and nutmeg to make you home smell delicious!
Thanks, Anita!

(Note: The links in this post may be affiliate links. Read the disclosure policy here.)
We love foaming hand soap at our house. I find it lasts quite a long time and washes off hands easily. Which is great for my daughters, who love to wash their hands, but don't always take the time to rinse all the soap off of their hands.
However, purchasing foaming soap refills can get quite expensive. But if you know how to mix up your own DIY foaming hand soap refill, you can save a ton! Especially if you go through lots of soap like we do at our house. 🙂
All you need to make your own DIY Foaming Hand Soap refill is four things:
SUPPLIES:
DIRECTIONS:
This will be a huge money saver for you and it's so easy to change the scent for different seasons!


Learn how to make your own Bird Nest necklaces with this tutorial from Sarah Ortega!
I think they’re pretty so I’ll be marking this down on my “to make for Christmas gifts” list!
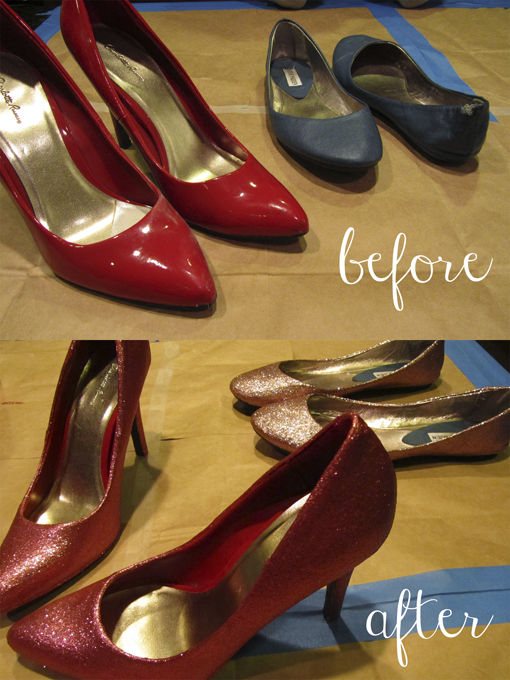
I think that creating these DIY Glitter Shoes is a wonderful and fun way to transform an old pair of shoes!
See the full instructions over at Simply Whisked!
Have you got a frugal DIY idea that you’d love to share with others? Submit your idea here!
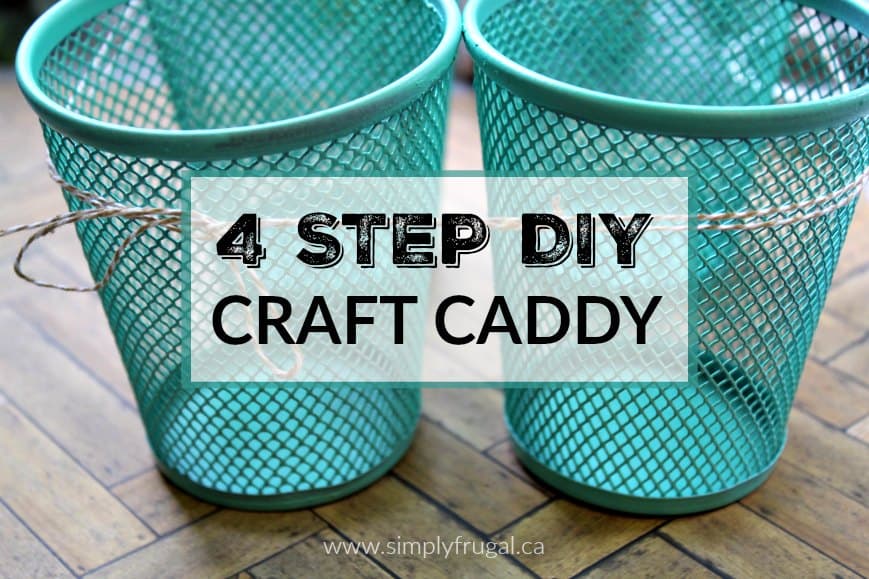
I love this dollar store craft caddy and it’s such an easy project to put together! You could buy one that will set you back about $10 or you could have fun and whip one up in no time and paint it in any color to suit your taste! Not only is it good for organizing craft supplies, I think it would be very handy for BBQ’s, picnics and outdoor entertaining events to hold cutlery! You could even put the caddy to use organizing stationary supplies on a desk, in the shed for small tools and for holding makeup brushes. Really, the uses are endless!

SUPPLIES:

DIRECTIONS:
1. Begin by placing the wire pencil holders on a piece of newspaper. Spray on 2 coats of spray paint in your choice of color or finish. Allow to dry for one hour.
2. Cluster the four pencil holders in a group. Press them close together so they touch. Wrap a length of twine or ribbon around the holders.
3. Add some hot glue where the holders touch. Just a small dab will do and will help keep the foursome together. You can also add a dab or two under your length of ribbon.
4. Tie the ribbon or twine in a knot securely.
5. You can now add your crafting supplies to each cup and display for use.
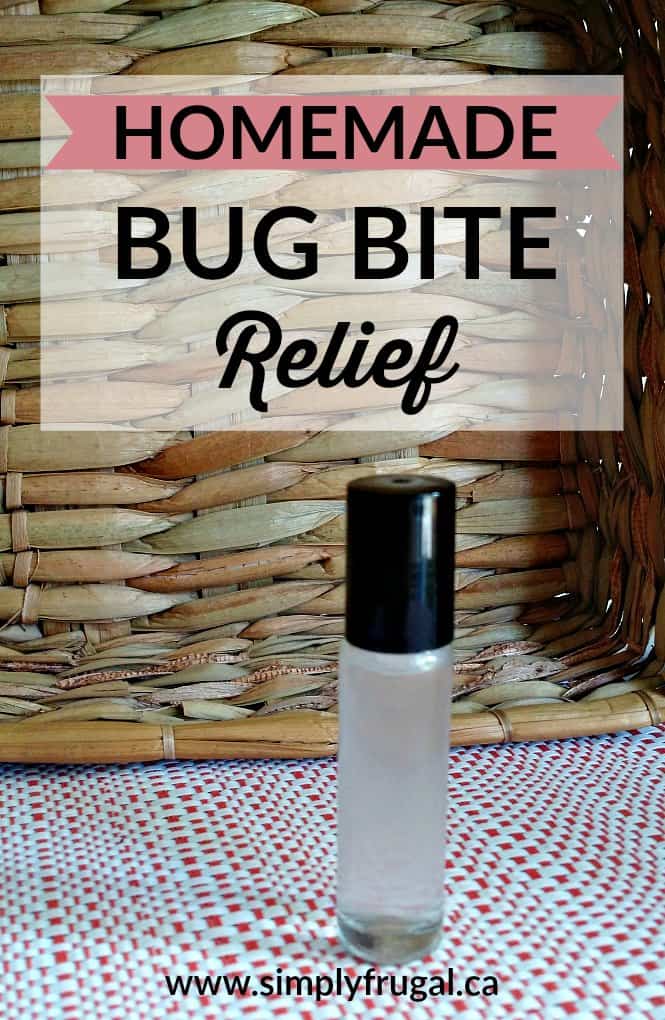
This three ingredient homemade Bug Bite Relief is perfect for calming and cooling pesky bug bites. Give this a try next time you or your kids are scratching those bites like crazy.
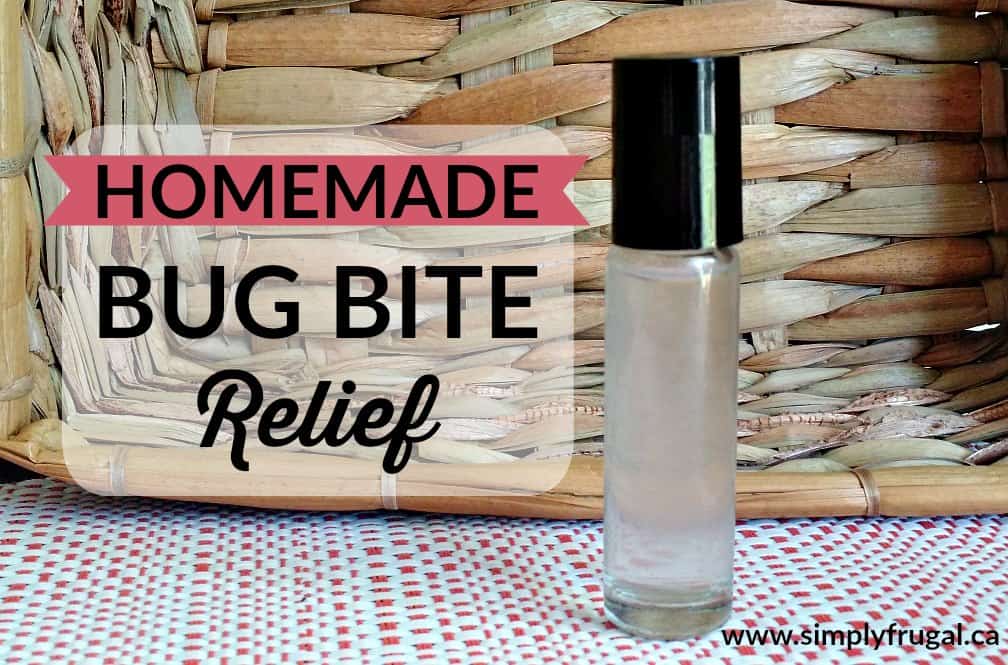
I decided to try my hand at making some homemade bug bite relief after my daughter was bitten several times and could not stop itching! You guys, this was so fun and easy to make! I enjoyed the entire process. Ordering the cute little bottles. Digging out my essential oils. Then finally putting it all together in the kitchen with my daughter's help. (She's a great bottle holder!)
This Bug Bite relief roll-on is perfect for sticking in your purse, diaper bag , pocket or backpack. You never know when you’ll get attacked by mosquitoes, flies, or other annoying pests! If you're tired of being eaten alive by mosquitoes, you'll definitely want to have this on hand. It works well for cooling itchiness, but I also like to roll it on in a zig zag motion on my arms and legs to help ward off the pests in the first place.
SUPPLIES
INSTRUCTIONS
ABOUT THE INGREDIENTS:
Witch Hazel: Good for soothing dry skin, itching, acne, diaper rash
Tea Tree oil: Good for healing acne, bacterial infections, chickenpox, cold sores, athlete's foot and more
Lavender oil: Good for healing burns, wounds, eczema, improves sleep, reduces anxiety