I’m finally back after a seemingly long hiatus from the Summer Bucket of FUN! It’s been a bit chaotic around these parts since we’ve been having fun with visiting family and daily swimming lessons now that they’ve gone back home!
Today’s Handprint Octopus Craft is a great activity for documenting hand size. It’s always fun to look back to see how big we’ve grown!
We were wandering the dollar store a while back to buy supplies for our Summer Bucket of Fun, when I came across a cute kid’s watering can that I thought would be fun for some sort of craft!
This Watering Can Succulents Planter is what I came up with! I think it’s pretty darn cute! One day I hope to replace the faux succulents with real succulents but for now, my daughter is enjoying having this on display in her bedroom. 🙂 She also enjoyed the process of watching me spray paint the can and helping me stuff the succulents. So I’d call this project pretty kid friendly.
How to Make a Watering Can Succulents Planter:
SUPPLIES NEEDED:
Small, plastic kid’s watering can (found in the toy section at Dollar Tree)
Spray paint in your choice of color and finish
Assorted succulents, either fresh or faux
Hammer and nail (optional)
DIRECTIONS:
1. Begin by spraying two coats of spray paint on the water can. Allow it to dry for one hour so you can be sure the paint has set.
2. Once the paint has dried, you can start adding your succulents. This can be done two ways. The first way is to poke holes in the bottom of the watering can with a hammer and nail. This will provide drainage if you wish to use real plants. Then, add a layer of pebbles, then your soil. You can then add your succulents as you would any other seedling.
3. The second way, should you wish to use faux succulents (we actually found the ones used here at Dollar Tree as well) you can simply snip down the stems so they fit and aren’t as heavy. You can then just press them into the container as you wish.
4. Your watering can planter can now be displayed.
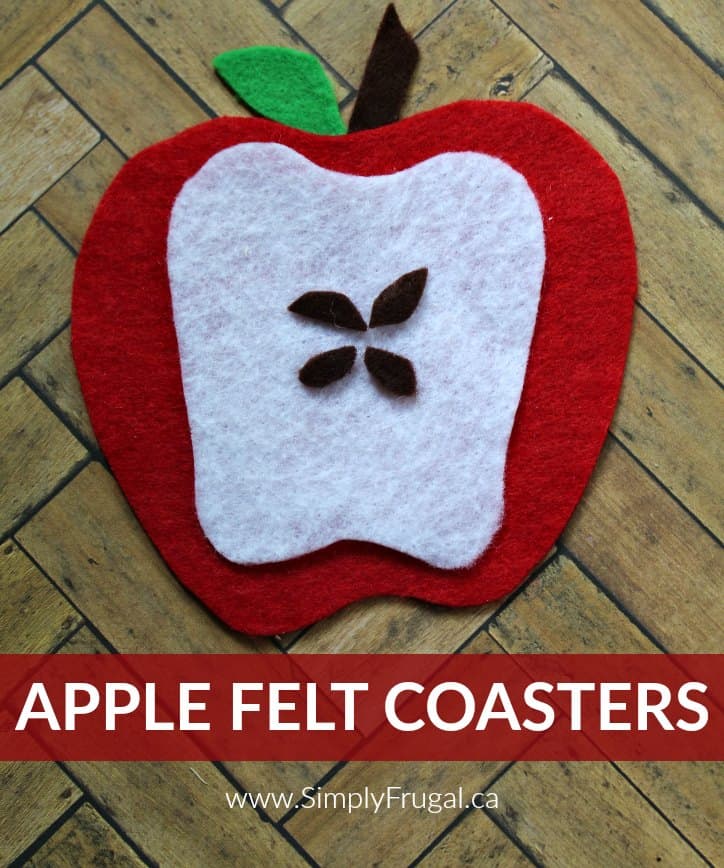
I’m popping in today with a super cute and simple DIY project! Apple Felt Coasters! Protect your surfaces from water stains with these cute, but practical coasters. You could have so much fun creating different designs. I’m thinking lemons, watermelon slices, donuts, leaves and even foot prints would be fun to make.
Here’s how to make Apple Felt Coasters
SUPPLIES NEEDED:
Red, white, green, and brown craft felt
Hot glue
Glue gun
INSTRUCTIONS:
1. Begin by cutting out the base of your apple. It is easiest to cut out a red circle, and then use your scissors to make gentle curves to give it an apple shape. Set aside.
2. Cut out a white piece of felt that is similar in shape to the red piece you just cut, but make it smaller in size. You want it to fit inside of the red felt piece while still showing red on the edges.
3. Cut out 4 small ovals from the brown felt. These will be your seeds. You can also snip out a small brown strip to use for an apple stem.
4. Finish by cutting out an oval from the green felt to use as a leaf.
5. You can now assemble the apple using your felt cuttings and hot glue. Layer the pieces on top of each other as shown. Your apple will quickly take shape.
6. Once the glue is dry, you can use the felt apple as a drink coaster. It’s soft on surfaces and absorbent so you don’t have to worry about liquids leaking through.
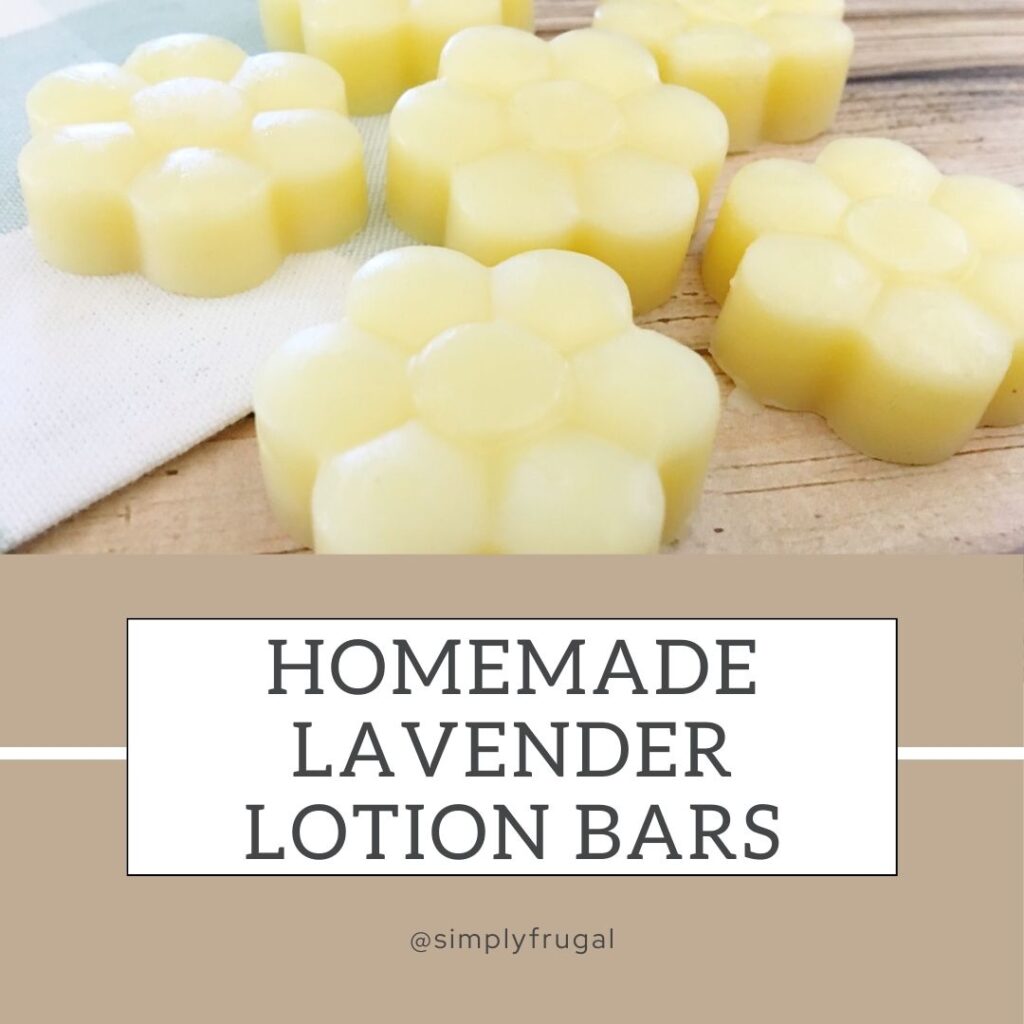
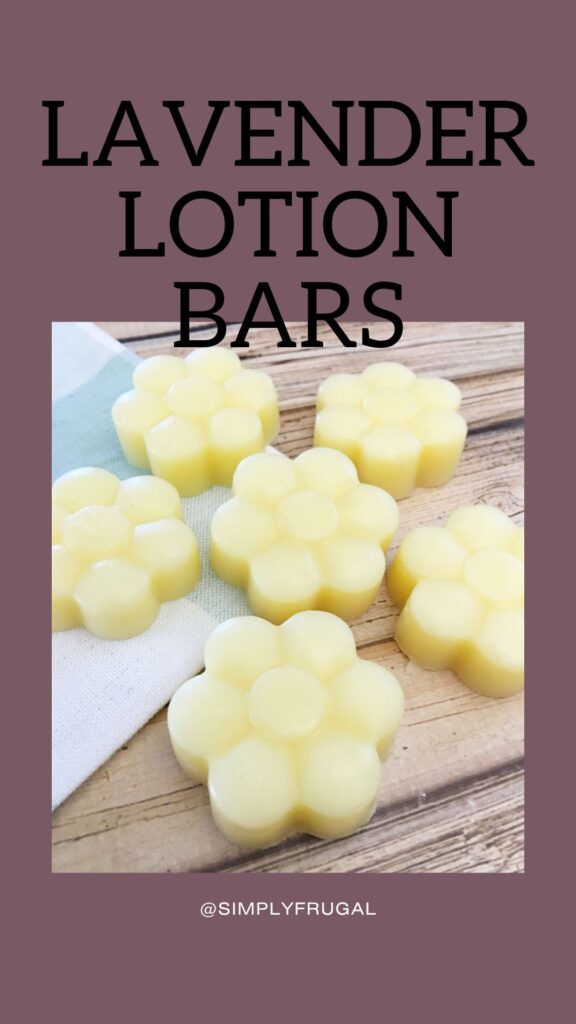
I love how soft my skin feels after using these Lavender Lotion Bars. Whether for yourself or as a gift, you're going to want to put these Homemade Lavender Lotion Bars on your to-do list today!
Okay guys. These homemade lotion bars are fantastic. (Even my husband likes them! sshhh!) I especially like them because they are small and easily fit in my bag (versus a large tube of something). I was also contemplating a trip to visit my brother and I realized that I could probably get through airport security with one because it’s not a liquid!
This recipe is really easy and you can make a ton of these lotion bars and give them as gifts, or just to keep on hand. Here are the supplies you will need to make these lotion bars:
1. Use a cheese grater to grate 2 tablespoons of shea butter. 2. Combine your shea butter, beeswax, and coconut oil in your glass measuring jar 3. Heat in the microwave for 90 seconds, stirring halfway through (or until contents are melted) 4. Now stir in your vitamin E oil and lavender oil 5. Pour into your silicone flower molds 6. Let harden for about 5 minutes on the counter then transfer to the freezer for another 15 minutes 7. To pop them out, carefully push up on the center of each mold
I hope you enjoy these as much as we do! Also, if lavender isn't your favorite scent, feel free to replace the lavender essential oil with one you prefer!
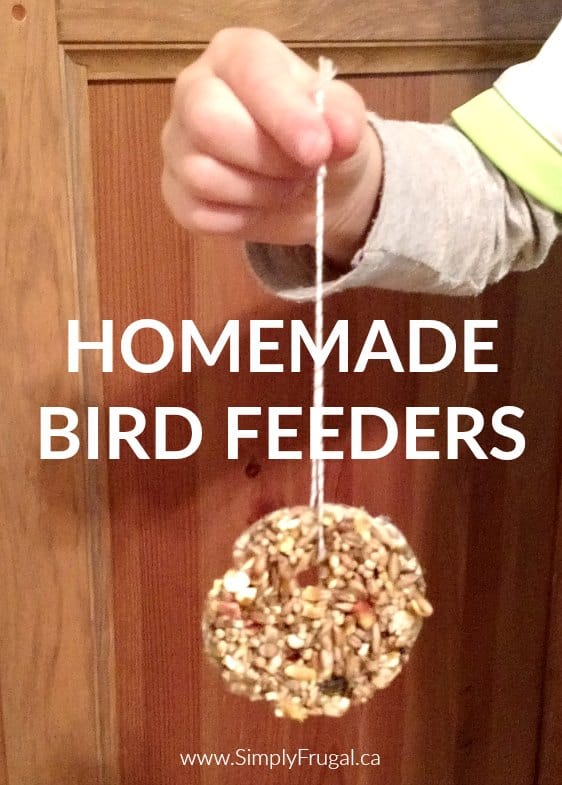
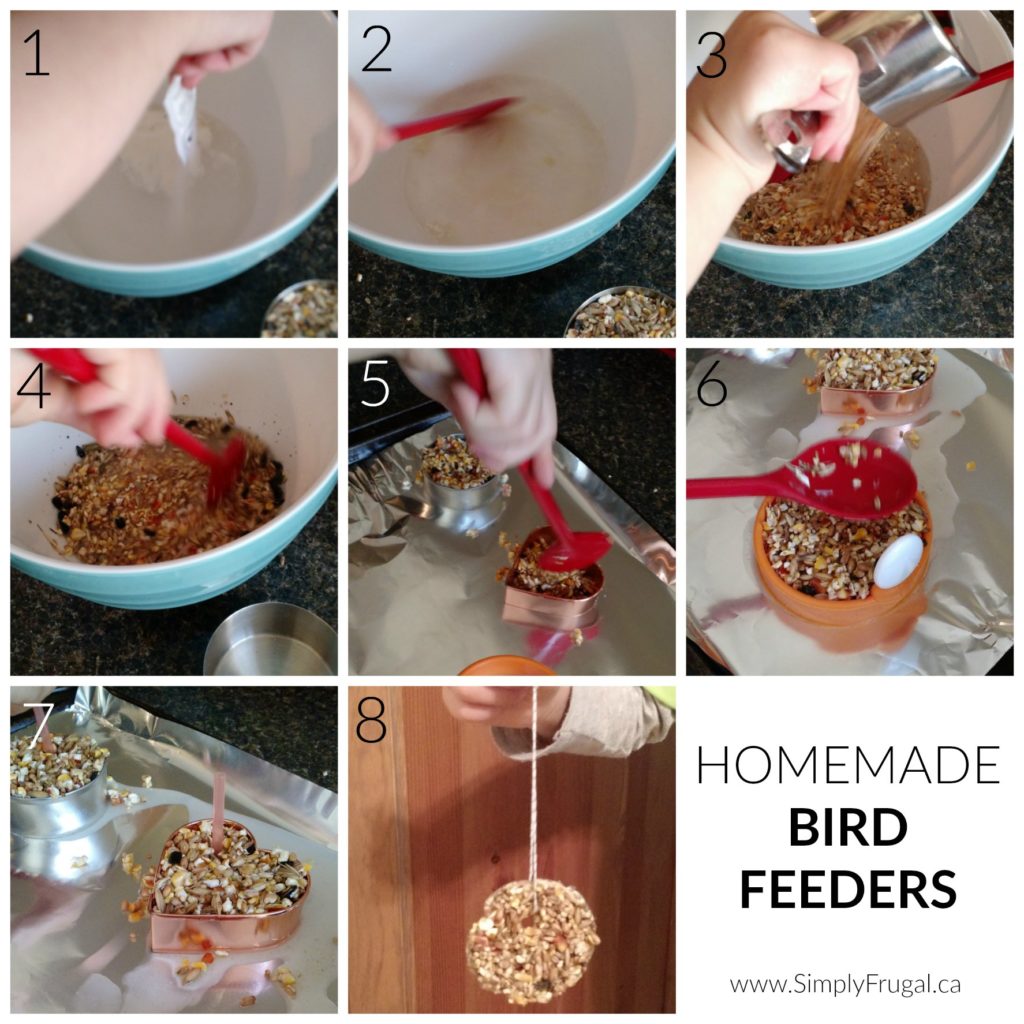
As part of the Summer Bucket of FUN that I put together for my daughter, one of the activities was to make homemade bird feeders. We had so much fun making these!
My daughter (age 4) was able to do most of the steps on her own while I stood beside her (taking pictures!). Now that they’re done, she’s having a lot of fun watching the birds eat the seeds.
Here’s how we made Homemade Bird Feeders:
SUPPLIES:
1 cup of Bird seed (+ a bit more as needed)
1 pack of Gelatin
1 cup Hot water
Mixing bowl with spoon
Cookie cutters
Tray with foil
Ribbon
Straw
INSTRUCTIONS:
Pour hot water into a bowl and sprinkle 1 pack of gelatin into the hot water.
Stir until all the gelatin has dissolved.
Slowly pour the bird seed into the liquid (adding a little bit at a time) and give it a stir to make sure all the seeds are coated.
Put some cookie cutters on a tray covered in foil and fill the cookie cutters with the bird seed mixture. (Don’t make them too thick, they will take a long time to solidify.)
Use the back of a spoon to make sure the mixture is packed into the cookie cutter tightly.
Push a cut up straw through the mixture to make a hole ready for hanging your bird feeder.
Put the bird feeders in the fridge for a few hours and then leave them to dry overnight.
Carefully and slowly push the bird feeders out of the cutters.
Remove the straws and thread the ribbon through the hole to hang.
It doesn't matter what time of year it is, there always seems to be gifts to wrap for one occasion or another! I know that I happen to enjoy when I'm given a gift and I can tell the gift giver spent a little bit of time making the wrapped gift look beautiful. Interesting wrap does two things:
It gives the recipient of a gift the feeling that the giver went the extra mile.
Even though wrapping paper generally gets ripped to shreds, it add more suspense to the surprise.
So when it comes to your loved ones, friends, or even business associates on any special occasion throughout the year, think twice before you settle for some cheap wrap from the dollar store. Think outside the box!
The truth is, there are plenty of recyclable materials around that make crafting your own wrap easy with barely any cost. Wrapping can even become great projects for kids. Take a look at these recyclable ways to wrap gifts:
Flowers or flower petals. How awesome and sweet smelling would this be!
Old family photos you don't want anymore.
Photos printed out from a digital camera.
Old posters are great for wrapping.
Leaves. New or just fallen there’s no cost, no problem finding them (depending on the time of year), and they are biodegradable.
Old mail: Most of it goes into the recycling bin but there could be some great pieces to cover a gift. For example, make an envelope for a check out of old bills!
A collage from newspapers and magazines.
Cereal boxes: remember the prize in the box when you were a kid!
Old fabrics, cloths or clothes the recipient of the gift can reuse or donate.
Toilet and paper towel rolls. Cut up and paint them creating an unusual texture with their cylindrical shape.
Tea bag wrappers. Tape them over the box of a new kettle.
Carpet samples or leftovers from an installation make a furrier presentation.
Old cassettes: stack and glue them together making a box for a gift.
Reuse old greeting cards.
Egg cartons. Need I say more? Paint them, glitter them, just go wild with them.
Old sheet music for a musical surprise. You could even write out a song as part of the gift.
Paper bags can go a long way when wrapping.
Milk or juice cartons: wash out, decorate and use them as a gift box.
Maps. These can be great for travel related gifts like a new bike helmet or backpack.
Scraps from a wood shop, metal shop, or printing company. There’s usually a lot of waste at these venues that can easily be converted into something useful like wrapping up a gift.
While some items listed above are simple to use as the main wrapping material others may need some help being attached. If you’ve chosen one of the latter here’s a suggestion:
First use newsprint or other recyclable material to encase a gift. Older used wrapping paper will also do and it’s the perfect time to recycle it.
Apply the chosen material such as flower petals, leaves, or photos with, glue, tape, or string, as you see fit.
Good luck gifting, wrapping, and making others happy! Do you have any other creative wrapping ideas to share?