First up in my Fill The Freezer February task, is these delicious Chicken Pesto Stuffed Shells! (I sincerely hope my photography skills only improve with each meal I make…my apologies.) These are so delicious and are actually quite simple to put together! They were a hit with everyone in my family and I need to make another batch because I planned to make two for the freezer, but only one made it there! I served these with a caesar salad and some carrot sticks.
I also love my KitchenAid mixer so I try to do as much as I can with it in the kitchen and these proved that I can create the whole “stuffing” part with the mixer. Including shredding the chicken! That is a win in my books, especially when I’m working with a stiffer food thing. (Saves my wrists.)
These Chicken Pesto Stuffed Shells could be quite versatile. I think they’d be great with spinach added, as much pesto as you’d like and I’m sure most variety of cheeses would be wonderful. You could even try adding a bit of tomato sauce.
Here’s how to make freezer friendly Chicken Pesto Stuffed Shells:
Did you know that you can make the most amazing, 2-ingredient, vanilla extract right at home? It’s quite a bit cheaper than store bought and it makes a fantastic, thoughtful gift!
I finally made some homemade vanilla extract!! I had been meaning to make it last year for gifts, but...it never got done. It's sooo easy too! I'm not sure why I waited so long!
All you need is some vodka and good quality vanilla beans. I used cheap vodka and Madagascar vanilla beans. While this only takes minutes to put together, you will need at least 8 weeks for the vanilla beans to work their magic.
If you use a lot of vanilla, learning how to make homemade vanilla extract will save you a bundle in the long run. Homemade vanilla extract also makes for a fantastic gift idea for teachers, neighbors, party hosts, and, well, pretty much anyone!
What you need for homemade vanilla extract:
Vanilla beans - Grade A or grade B. You can find whole vanilla beans at most grocery stores in the spice aisle. However, they are considerably cheaper if you buy them online. These vanilla beans are a great choice.
Vodka - You can buy a cheap bottle for this recipe, 70 - 90 proof.
Vanilla beans may seem expensive, but when just a few of them make a whole cup worth of delicious vanilla, you'll quickly see the cost savings of making homemade. Plus, you can actually reuse the vanilla beans by adding more vodka to the bottle!
How to make homemade vanilla extract:
Using a sharp knife, slit 6 vanilla beans down the middle lengthwise so the beans are exposed. If the length of the vanilla beans don’t fit into your bottle or jar, cut the vanilla beans into smaller pieces. Place beans into bottle or jar.
Pour enough vodka over top to cover the vanilla beans and fill your jar, using a funnel. Shake a few times with the lid on.
Let sit in a cool dark place for as least 8 weeks. The longer it sits, the stronger it gets. Shake once a week.
Also to note:
As you use your vanilla, you can refill with a little vodka each time. Give it a shake after you refill and give it a shake before each use too.
If you are gifting the vanilla extract, remove the beans before you give it away. (But only once it has fully aged.) Reuse those beans in a new bottle.
In recipes, use the same amount of homemade vanilla extract as you would store-bought vanilla.
For those of you that would like to make some Homemade Vanilla extract, I made some super simple labels that you're welcome to download and print for your bottles or jars! (click on the picture to print the PDF)
If you have extra vanilla beans, you might want to try making some vanilla sugar! Vanilla sugar is a great addition to coffee, tea or baking!
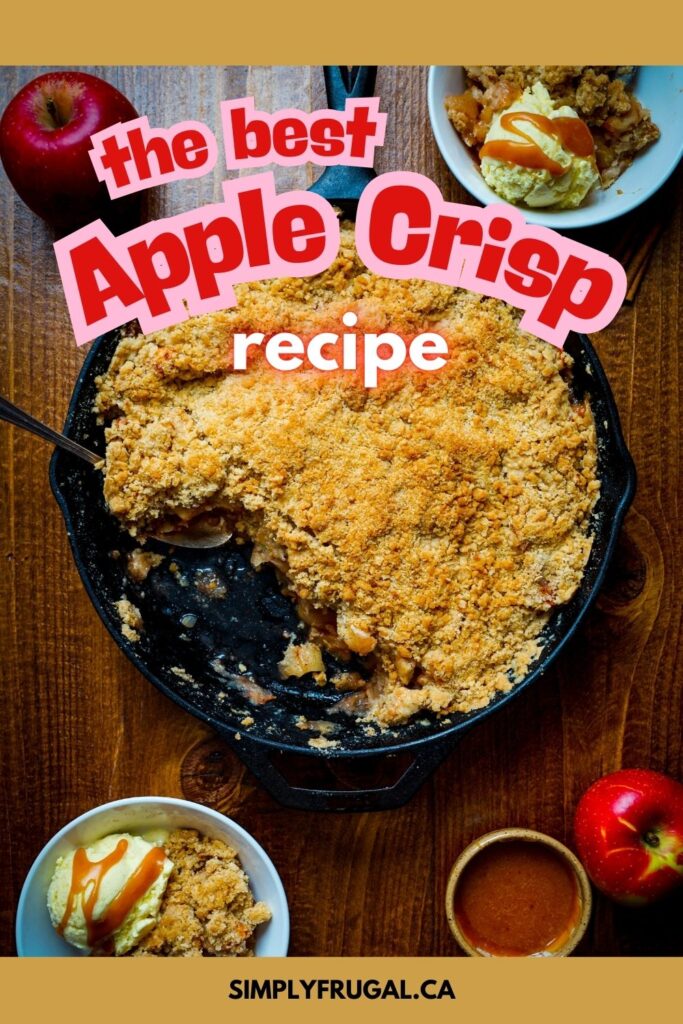
This Old Fashioned Apple Crisp recipe will make for a great family dessert this fall. Apples topped with an oat streusel topping then baked, pure deliciousness. Since this dish requires only a few ingredients, it comes together quite quickly.
Every time Fall rolls around, I get really excited about all the orchard fresh apples that will be available. The apples around these parts are delicious this time of year. 😉 Apples on their own are delicious, of course, but apple desserts are pretty tasty as well! Like my Caramel Apple Dip and today's Old Fashioned Apple Crisp recipe that I'm going to share!
This apple crisp is one of those simple recipes that can be put together and tossed in the oven in only a few minutes. The wonderful apple and cinnamon layer will have the house smelling scrumptious in no time. While the crunchy streusel makes for the perfect topping.
INGREDIENTS
6 Apples (I like tart apples best for this)
1 cup Brown Sugar
1 tsp Vanilla
3/4 cup uncooked Old Fashioned Oats
1/2 cup Flour
1 tsp Cinnamon
1/2 cup Butter, cold
DIRECTIONS
Peel, core and slice apples.
Preheat oven to 375.
Layer apples into baking dish.
Mix together flour, brown sugar, oats and cinnamon in a bowl.
Add in vanilla and cut in butter with a pastry blender or fork.
Work until mixture forms large crumbs.
Sprinkle over apples.
Bake 30-35 minutes or until topping is browned and apples are soft.
Do you have a favorite fall dessert that you make often? With or without apples?
Apple season is nearly here! Nothing beats the taste and crunch of fresh local apples. 🙂 This in year in anticipation of all the delicious apple varieties, we’re going to head to a local orchard to grab as many varieties as possible to do a taste test! I think my daughter will have fun choosing her favourite apple. It will be a fun learning experience and a great tradition we will surely love.
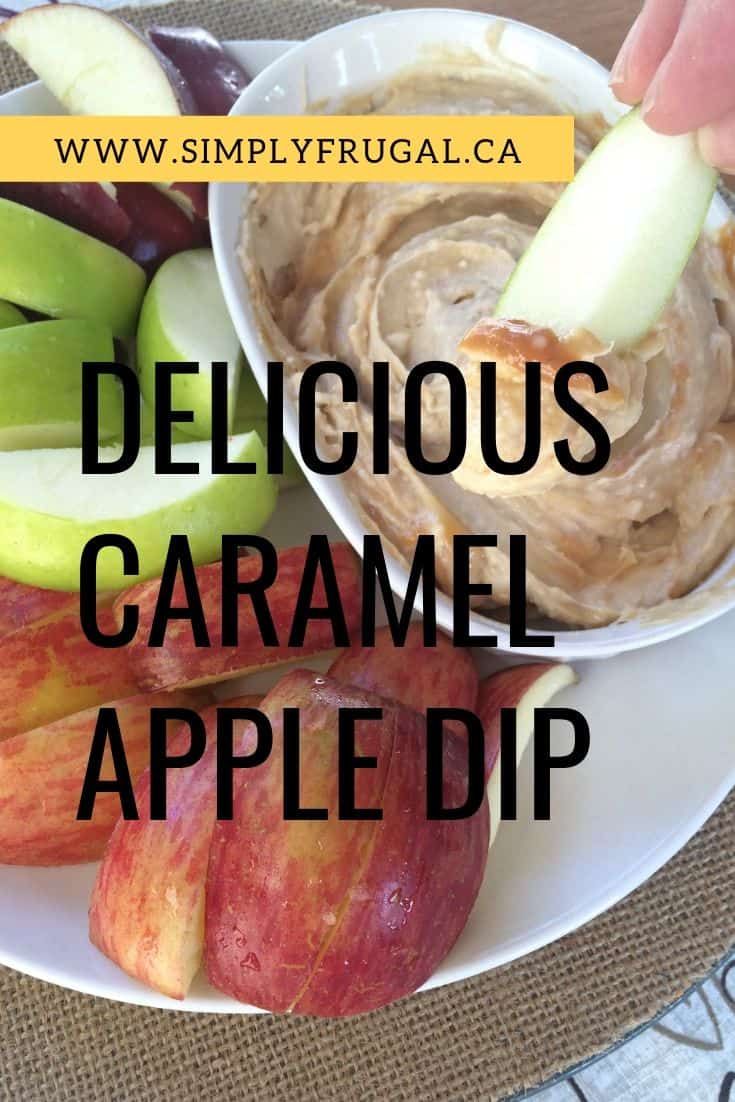
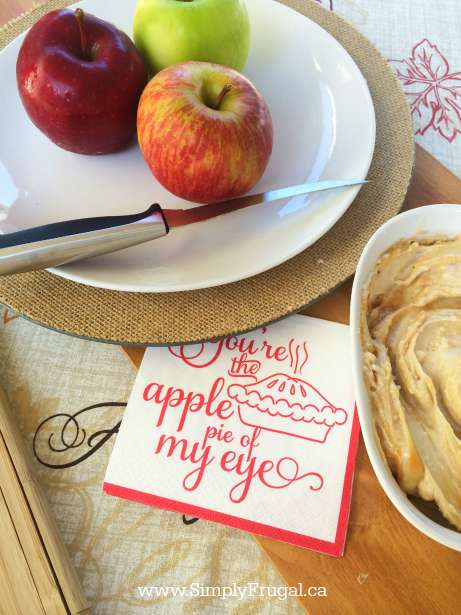
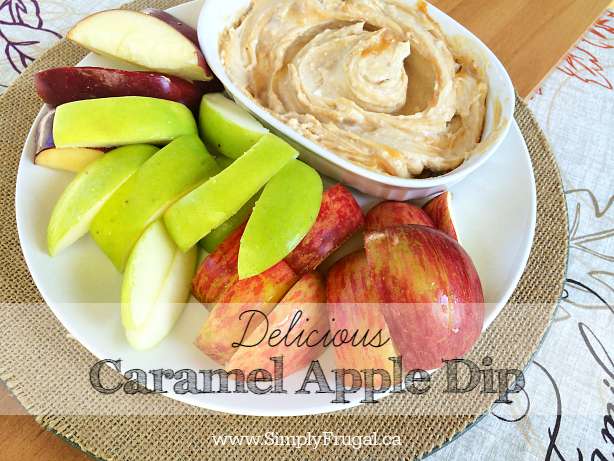
Not that fresh local apples need anything to make them taste better, but this year I’ll be making a batch of this delicious Caramel Apple Dip to go with our apple slices. This dip is seriously amazing! The sweetness of this dip is just perfect paired with apples (or a spoon… ;)).
Caramel apple dip
INGREDIENTS
For Caramel
15-20 unwrapped caramels (depending how rich you want your dip)
1/4 cup milk
For Dip
8oz package cream cheese
1/2 cup brown sugar
1 Tablespoon vanilla
1/2 cup of vanilla Greek yogurt
DIRECTIONS
1. Cream together cream cheese, yogurt, brown sugar, and vanilla until mixed well
2. On medium heat, combine caramels and 1/4 cup of milk stirring occasionally until it hits a boil
3. Pour caramel over your cream cheese dip and mix together gently ( don’t mix in all the way, you want to be able to see the caramel)
4. Serve with a mix of your favorite apples
I want to know, what is your favorite apple variety?
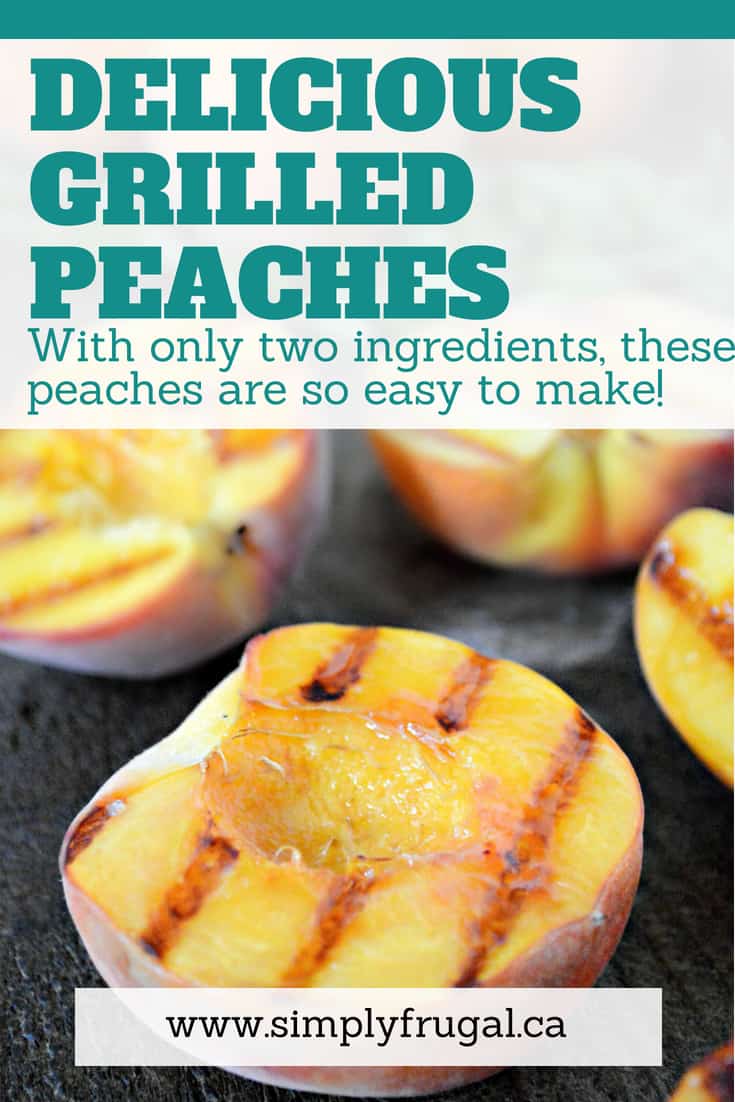
You’ve got to try these Grilled Peaches. They’re delicious and ridiculously easy to make!
I’ve got a ridiculously easy, but super delicious recipe for you today! It’s Grilled Peaches! Perfect for the summer peach season to finish off a tasty BBQ. I particularly like these grilled peaches because they feel like a treat without having any really unhealthy ingredients.
Like I said, these are so simple… All you need are:
INGREDIENTS:
Peaches – cut in half
Coconut sugar (optional), you can use honey or maple syrup too
DIRECTIONS:
Once the peaches are cut in half, sprinkle a tsp of sugar on top of each one and allow to sit for a minute.
Coat the grill with PAM spray and grill the peaches face down, until you can hear them sizzle ( between 2 to 4 minutes)
Check on them at that time to see if they have the grill marks. If so, they’re done!
If you’d like, you can serve these with ice cream or whipped cream. We prefer them just like this, as it’s naturally sweet and then there are no extra calories! 🙂 Enjoy!
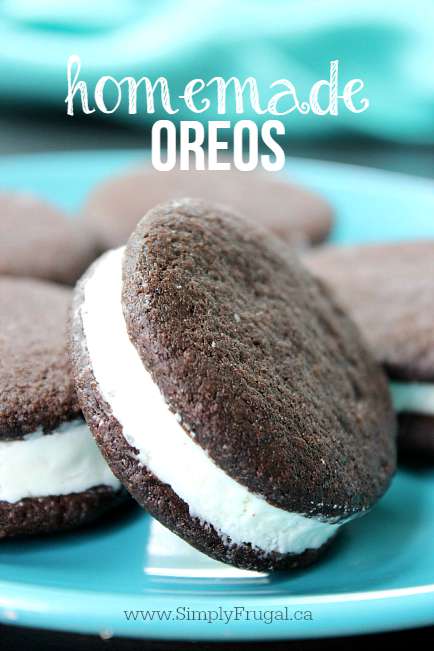
If you are fan of the famous Oreo cookie, you will love this Homemade Oreo Cookie recipe. The filling is the to die for! No need to buy store bought, you can save some money and make these at home.
Homemade Oreos
We’re big fans of the Oreo cookie in this house. I personally love the chocolate ones while my daughter and husband prefer the vanilla ones. (but will eat any available flavor!) They’re even called “Grandpa cookies” at my parent’s house and Sienna requests a “Grandpa cookie” when we’re there for Sunday dinner each week. I think it’s the cutest.
Just like the real Oreos, these cookies are fun to twist apart so you can lick the filling. As I prefer to do. My daughter just takes tiny bites of the entire cookie. I’m pretty sure my husband just throws the whole cookie in his mouth…
I’m pretty pleased with how close these resemble the taste of the real thing. You’re gonna love them!
INGREDIENTS
Cookies:
1 1/4 cup Flour
1 cup Sugar
1/2 cup Cocoa Powder
1 tsp Baking Soda
1/4 tsp Baking Powder
1/4 tsp Salt
1/2 cup softened Butter
1 Egg
Filling:
1/4 cup softened Butter
1/4 cup Shortening
2 cups Powdered Sugar
2 tsp Vanilla extract
DIRECTIONS
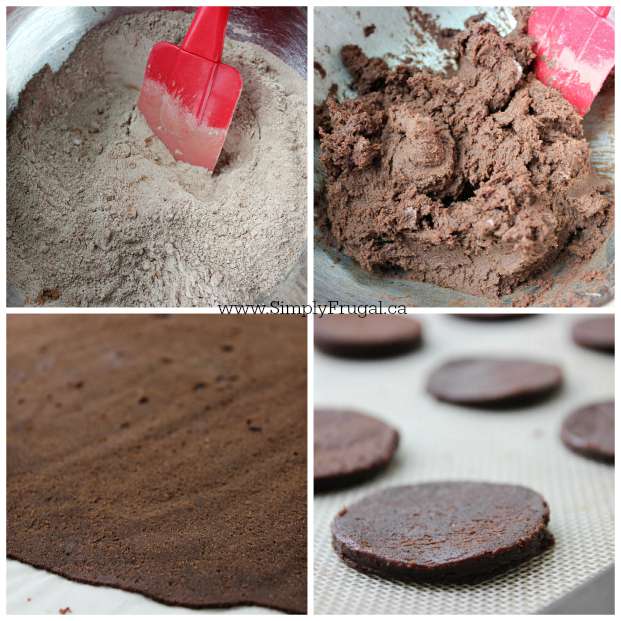
Whisk together flour, cocoa, baking soda, baking powder, salt and sugar.
Beat in the butter and egg until dough comes together.
Place between 2 sheets of parchment paper and roll out to betwwen 1/8 and 1/4 inch thick.
Place in freezer for 15 minutes.
Preheat oven to 375.
Use a 2″ circle cookie cutter to make cookies.
Place on parchment lined cookie sheet.
Bake for 9 minutes.
Allow to cool completely.
Cream together butter, vanilla and sugar.
Gradually beat in the sugar.
Continue beating until fluffy.
Transfer filling to a piping bag with a round tip.
Pipe filling onto a cookie to nearly cover.
Place another cookie on top of the filling and lightly press.









 DIRECTIONS


