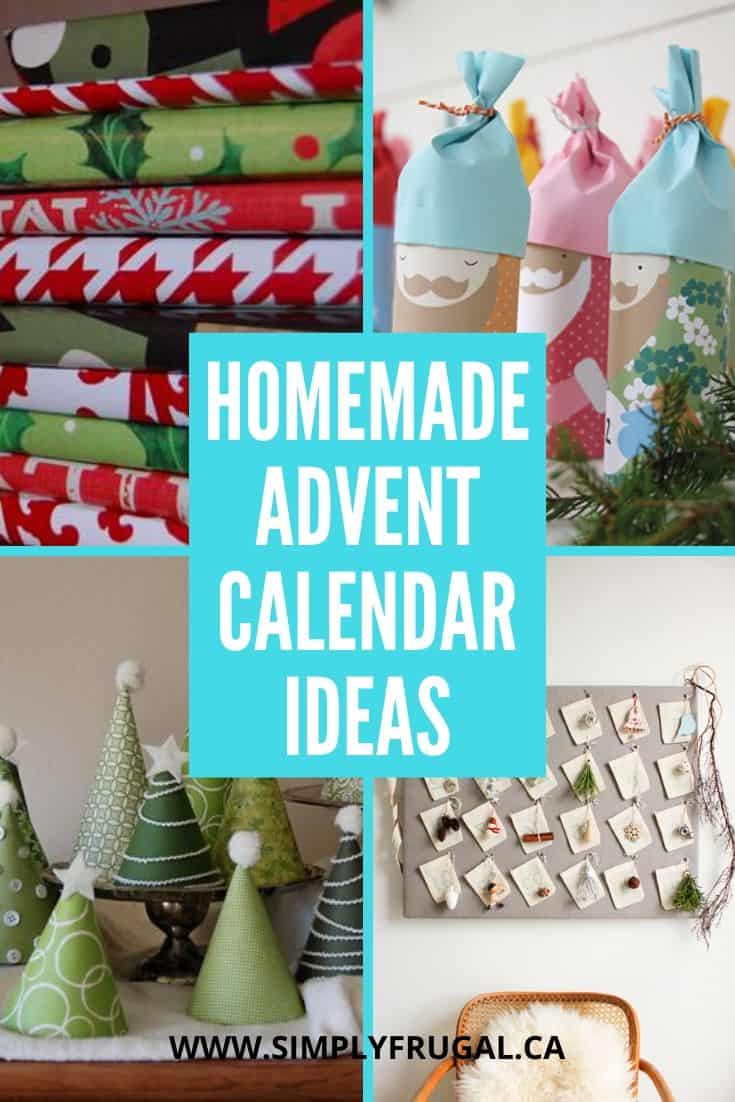
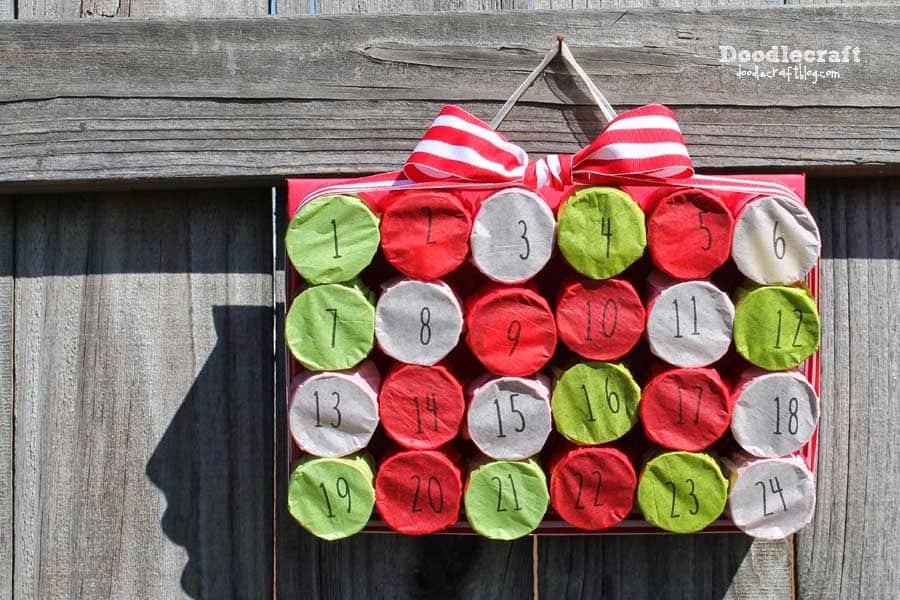
If you’ve got some empty toilet paper rolls, this advent calendar idea is for you! Doodle Craft shows you how to create a tp advent calendar.
Giving Up on Perfect gives 25 Christmas book suggestions that you can wrap up year after year. Unwrap a book each night leading up to Christmas for story time!
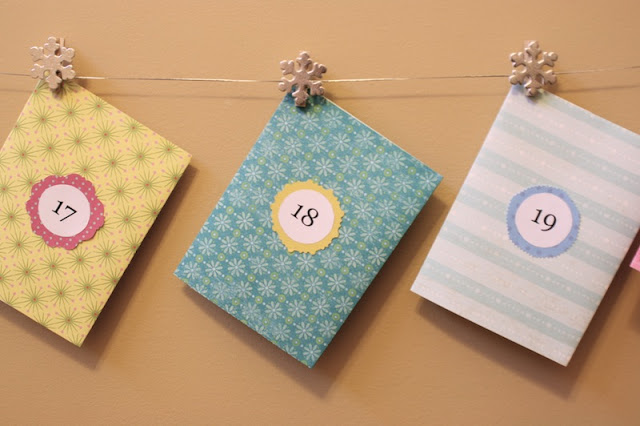
If your family likes to do certain activities each December, you may like this envelope advent calendar idea from All Things Beautiful.
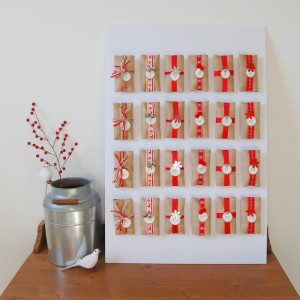
Unwrap a simple Christmas ornament everyday in December with this advent calendar idea from The Marion House Book!
Make this super cute Santa advent calendar using toilet paper rolls and the template provided at pysselbolaget!
For those of you not into the more costly option of creating and ordering photo cards from a company such as Vistaprint, Shutterfly or even Costco, I have a solution for you! You can create custom, cute photo cards for any occasion using PicMonkey! I’ll even let you in on a secret I know about how to get some printed absolutely free!
First things first, I’m going to do a step by step tutorial, with pictures, so you can be on your way creating your own beautiful cards in no time. PicMonkey is really quite easy to use! Here’s how to make photo cards using PicMonkey:
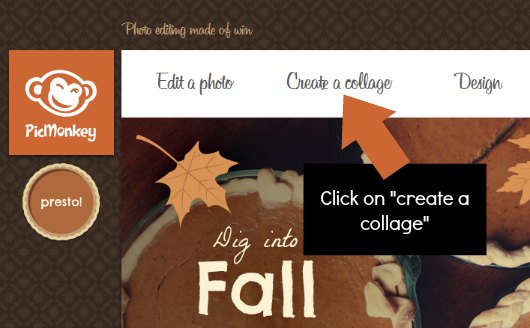
Step 1: Head over to PicMonkeyand click on “Create a collage”.
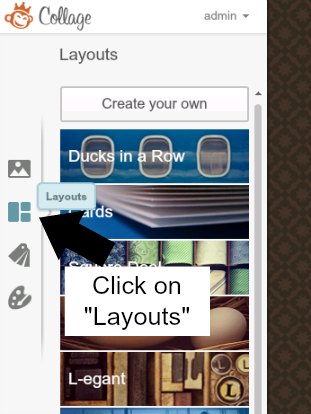
Step 2: Click on Layouts on the left side of the page.
Step 3: Choose a layout from “cards” . I recommend 5×7 for the cheapest option when it comes to getting your cards printed.
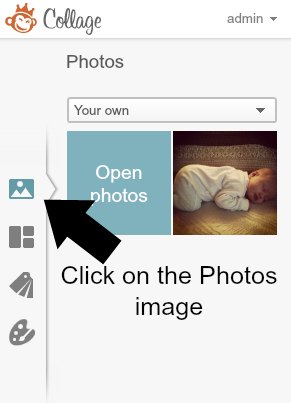
Step 4: Once you’ve chosen the layout you like most, click on the Photos image as shown in the picture below. Click on Open Photos to choose the picture(s) you want to use for your card. I chose only one image for my example.
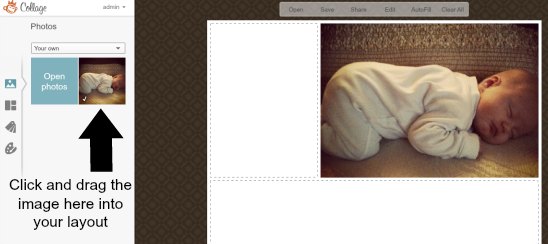
Step 5: Click and drag your picture(s) into the layout where you think it would work best.
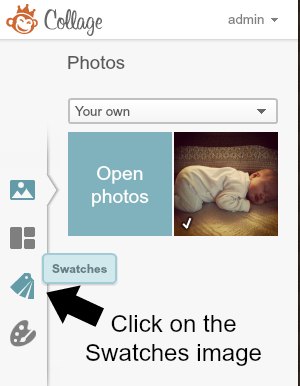
Step 6: Click on the Swatches image to choose some patterns to match your photo(s).
Step 7: Drag and drop the swatches you like best with your photo into the remaining spots in the layout.
Step 8: Next, click on Edit at the top of the page to add text to your layout.
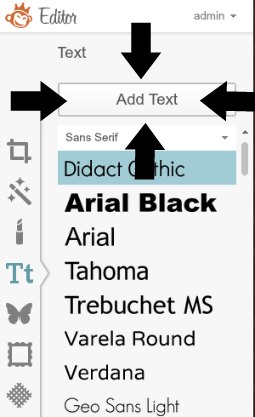
Step 9: Click on the Add Text button as shown above.
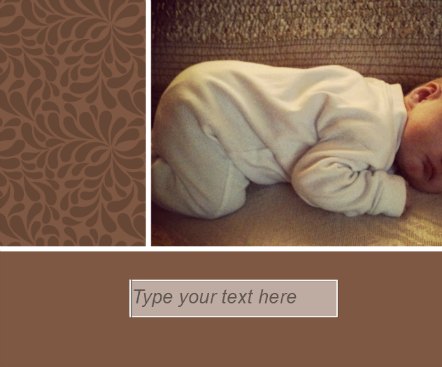
Step 10: Place the text box where you want the text to appear. Add in your details and play with the font type until you find something you love.
Finally, you have a finished photo collage:
Don’t forget to save it as a JPEG on your computer!
Here’s the secret to getting FREE photo cards:
Shutterfly offers 50 Free prints to new customers as well as Snapfish who offers 20 Free prints to new members! Simply upload the JPEG of the collage you created in PicMonkey to your desired retailer. Order the 4×6 size (because they’re free) or the 5×7 if you want a larger size (but not free).
Let's make Homemade Vanilla Bath Bombs! These are so simple and fun to make. They make fantastic gifts too! Recently we attended a birthday party for a new four year old and she loved that she could use them in her bath that evening. 🙂 The other thing I love about this DIY is that you can customize the scent to the person you're gifting it to. Maybe the recipient would prefer peppermint or lavender or even eucalyptus scented bath bombs. Simply replace the vanilla essential oil with the oil of your choice.
*If you have a manicure, wear gloves, or use a fork during the mixing process.
In a mixing bowl combine citric acid and baking soda, being sure to remove all lumps.
Add in melted butter and vanilla essential oil and continue to mix.
Using your spray bottle of Witch Hazel, spray the mixture 2-3 times and mix, slowly adding more witch hazel until the mixture holds it shaped when pressed together.
Pour into silicone molds, making sure to compact them tightly.
Allow to dry in silicone molds for 12 hours. Once 12 hours is up, remove from molds, and allow to dry an additional 24 hours for a nice hard bath bomb.
TO USE:
Break bath bomb under running water for a nice fizzing and relaxing bath.
Although the tutorial shows you how to cover a purchased picture frame mat, I think re-purposing a cereal box would work just as well! Check out Delightful Distractions for instructions on how to cover a picture frame mat in fabric to add some flavour to your pictures!
Have you got a frugal DIY idea that you’d love to share with others? Submit your idea here!
Repurposing glass light replacement globes into inexpensive but long-lasting Jack O’Lanterns can be a great way to dress up your home for the holidays without killing your family budget. Simple, easy to make, and inexpensive. Brilliant!