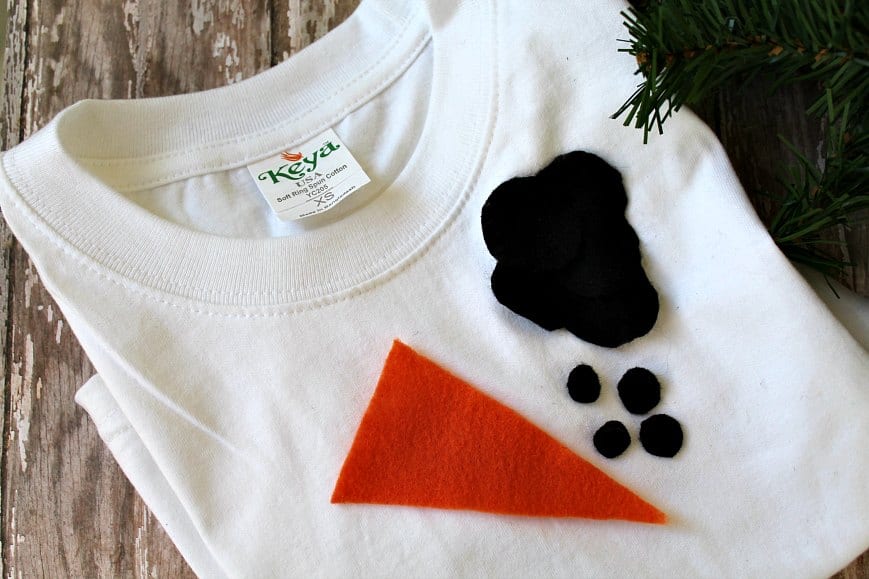
I have got the cutest DIY project for you today. It's festive, ridiculously easy to put together and the kids are sure to love it. A No Sew Snowman shirt! Look how amazing it is:
How fun would this shirt be to pull out of the Christmas boxes every year? I've got a shirt for my oldest, now I've got to make one for my youngest!
Here's how you can put together the No Sew Snowman Shirt:
1. Begin by ironing out your shirt as well as the felt sheets. This step is optional, but it may help you apply your snowman face. If you choose to iron, just use a low heat and no steam.
2. Cut out the shapes you will need to create the snowman face. I cut out a large triangle for a nose using the orange felt. Then, I cut out a few large circles from the black fabric to use as the eyes and buttons. For the mouth, I cut out smaller but uniform black circles.
3. Add a small dab of fabric glue (it will help the felt adhere better than hot glue, plus it will keep the pieces together in the washing machine) to the back of the felt pieces. Assemble the face of your snowman. Press the two large circles for eyes first, then the carrot nose, then the coal mouth. Finish by adding a few large buttons under the mouth.
4. Hold the felt pieces in place until secure. Try hanging your shirt on a hanger so it has plenty of space to dry and not be bothered.
5. Once dry, your shirt can be worn and enjoyed! Wash on a gentle cycle and never machine dry. Turn inside out before washing and your shirt should last for seasons to come!
We Make It Beautiful shows you how she recreated a Pillow Mattress for under $20 that she saw online but was selling for way more than $20! I think this would be a fantastic gift for kids!
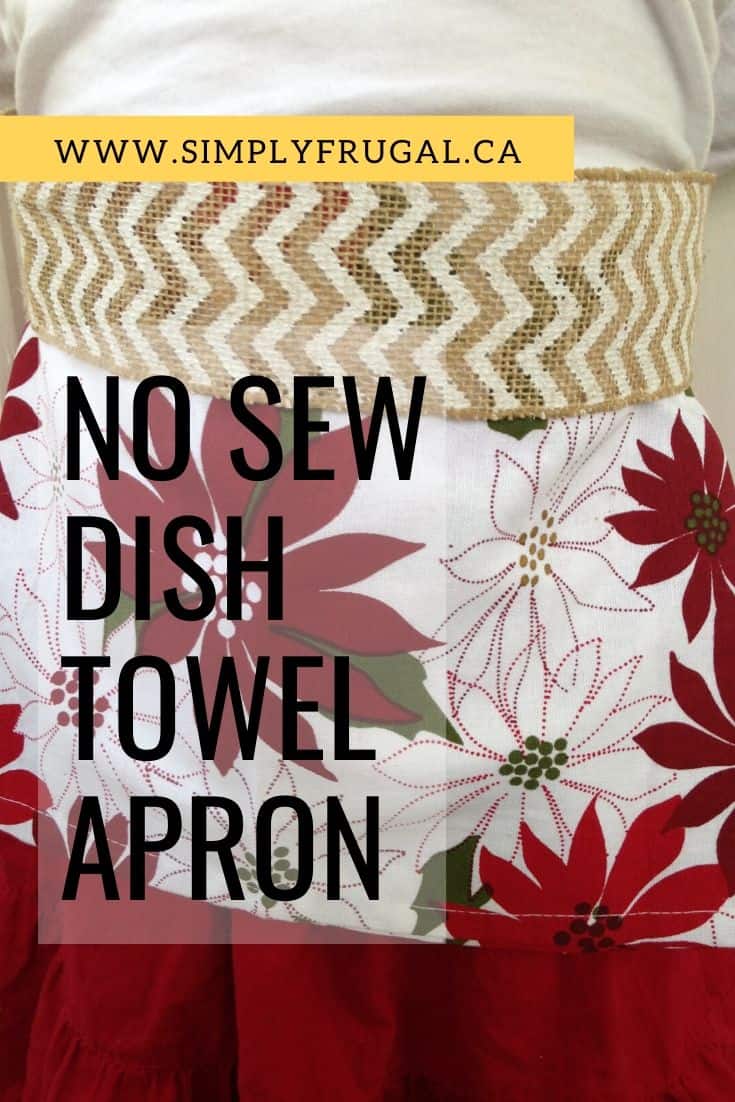
Today’s homemade gift idea can’t get much simpler. So, I happen to think it would make a perfect last-minute gift! Simply head to your nearest dollar store, pick up a fancy dish towel and some ribbon and get started!
Here’s how to create a No Sew Dish Towel Apron that any chef would love to receive:
Begin by folding your towel into the size of apron you want. You can fold it down to about 8 inches by 8 inches square for a child, or simply fold the towel in half for an adult. If you wish for a longer apron, manipulate the fabric to get the shape you wish. For the sample you see here, I folded the towel once in half, then folded each end in about 2 inches.
Apply a strip of iron on fabric tape OR fabric adhesive to the inside of your folded seams. Press and iron the towel if needed. The idea is to use the tape or adhesive to secure the shape of the towel.
Apply a length of adhesive tape or glue to the top of your towel. Press the length of ribbon into it. Press and iron if needed. The ribbon should now be adhered to the towel, leaving you two lengths on each side for tying.
Once your adhesive is dry or ironed in place, your towel can be used. Simply use the excess ribbon as ties, tying them behind your back to hold the apron in place.
This year, I'm on a mission. Not only to have my own organized Christmas season, but I'm hoping I can help you as well!
Introducing... 8 Weeks to a More Organized Christmas!
Behind the scenes, I'm working on getting the Simply Frugal Holiday Gift Guides up and running, which I hope will help make your shopping easier and more frugal. But, I'm also hoping this series, 8 Weeks to a More Organized Christmas, will help you be more organized and spend less this Christmas season.
My goal with the series is to help guide you in making your Christmas season more manageable by providing you with a weekly task to help you get everything in order. I also find, the more organized I am, the less money I spend because I'm being more intentional!
There will be a ton of printables, checklists, articles full of tips and inspiring ideas to help you.
Since it's called 8 Weeks to a More Organized Christmas, we'll be getting started on Friday, October 30, because Christmas is then only 8 weeks away! I'll have the first post up with your first task. Every following Friday, there will be a new post with a new task for you to focus on.
How does that sound? Are you in? Do you want a more organized Christmas? What do you struggle with the most each Christmas season?
You'll have to excuse the old photo above. I am not on top of family photos this year so you get a photo of us from last year sometime after Christmas day! We generally look the same this year... 😉
Anyways, I'm popping in because our family wants to wish you all a very Merry Christmas! We hope you have a very blessed, peaceful and happy one! We also want to thank you all for stopping in every day here at Simply Frugal, we truly appreciate each and every one of you!
I’ll be back late Tuesday evening to post some Boxing Day deals in the upcoming epic Boxing Day post, but other than that, I’ll be enjoying some much needed family time until the New Year.