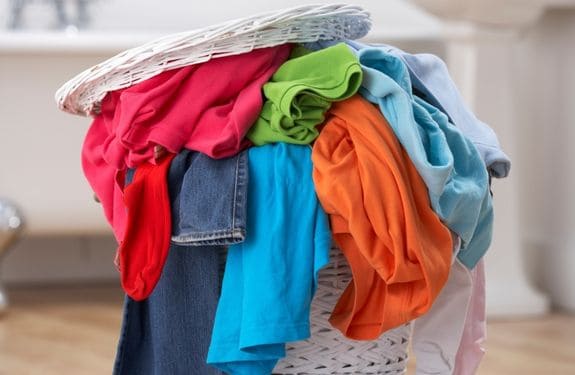
Stain Removal Guide: 7 Common Stains and How to Remove Them
The threat of stains is everywhere. Every time we eat, go outdoors, do a DIY project, or even do office work we encounter things that can ruin our clothing in a flash.
Because money can be tight and no one wants to have to toss away clothing, it’s important to know how to approach these stains and effectively treat them.
Take a look below at 7 common stains and how to remove them so you’ll be ready to tackle stains in the future and make sure they don’t get the chance to set in!
Use this stain removal guide to learn how to treat common stains:
1. Grass.
Pretreat the stain using an oxygenated cleaner. (I love Baby OxiClean. It seems to work better than the regular OxiClean!) It will help cut through the grass stain immediately. You’ll then want to use a color safe bleach to wash the stain away, using the hottest water setting in the process. For grass stains, you may need to treat the stain twice to fully remove it.
2. Blood.
One of the best ways to treat blood stains is to pre-treat it with cold water. Soak the garment in cold water to help release the stain. You can then treat with a color safe bleach to help remove what remains of the stain.
3. Grease.
A tried and true way to treat grease stains is the use a grease fighting soap such as Dawn as a pre-treatment. Fill the sink with warm water and grease fighting dish soap and allow for the garment to soak. When you launder, use hot water and an oxygenating cleaner.
4. Chocolate.
Did you get melted chocolate on your clothing? No problem. For chocolate stains you will use a hot/cold method. First you can harden the chocolate with ice, then scrape off what you can. Soak the garment in cold water, but wash the item in hot water using an oxygenated cleanser.
5. Wine.
Immediately blot the stain with a soft cloth soaked in club soda. You want to then soak the garment in cold water. Pretreat the stain with an oxygenated cleaner and then use a color safe bleach when you launder the item. Bleach based stain sticks can help treat the item a second time if the stain persists.
6. Ink.
Have you ever heard that hair spray can help release ink from your clothing? It’s true! Take basic hair spray and spray it onto the ink stain. It will help release the ink. Blot the ink with a paper towel and launder as usual. If you don’t have hair spray, you can use rubbing alcohol.
7. Gum.
When gum becomes stuck to clothing it can become a gooey and sticky mess quickly. The best way to remove gum from clothing is to hold an ice cube to it. The ice will harden the gum, making it easier to pull away from the clothing. Hold an ice cube for a few minutes to the gum, peel it off, and wash as usual.
The next time you encounter a stain, you’ll be prepared when you use this stain removal guide! Keep these tips in mind for removing common stains so when a stain hits, you don’t need to worry about throwing that clothing item into the trash.
Do you have any secrets to share for this stain removal guide? Let us know in the comments below!
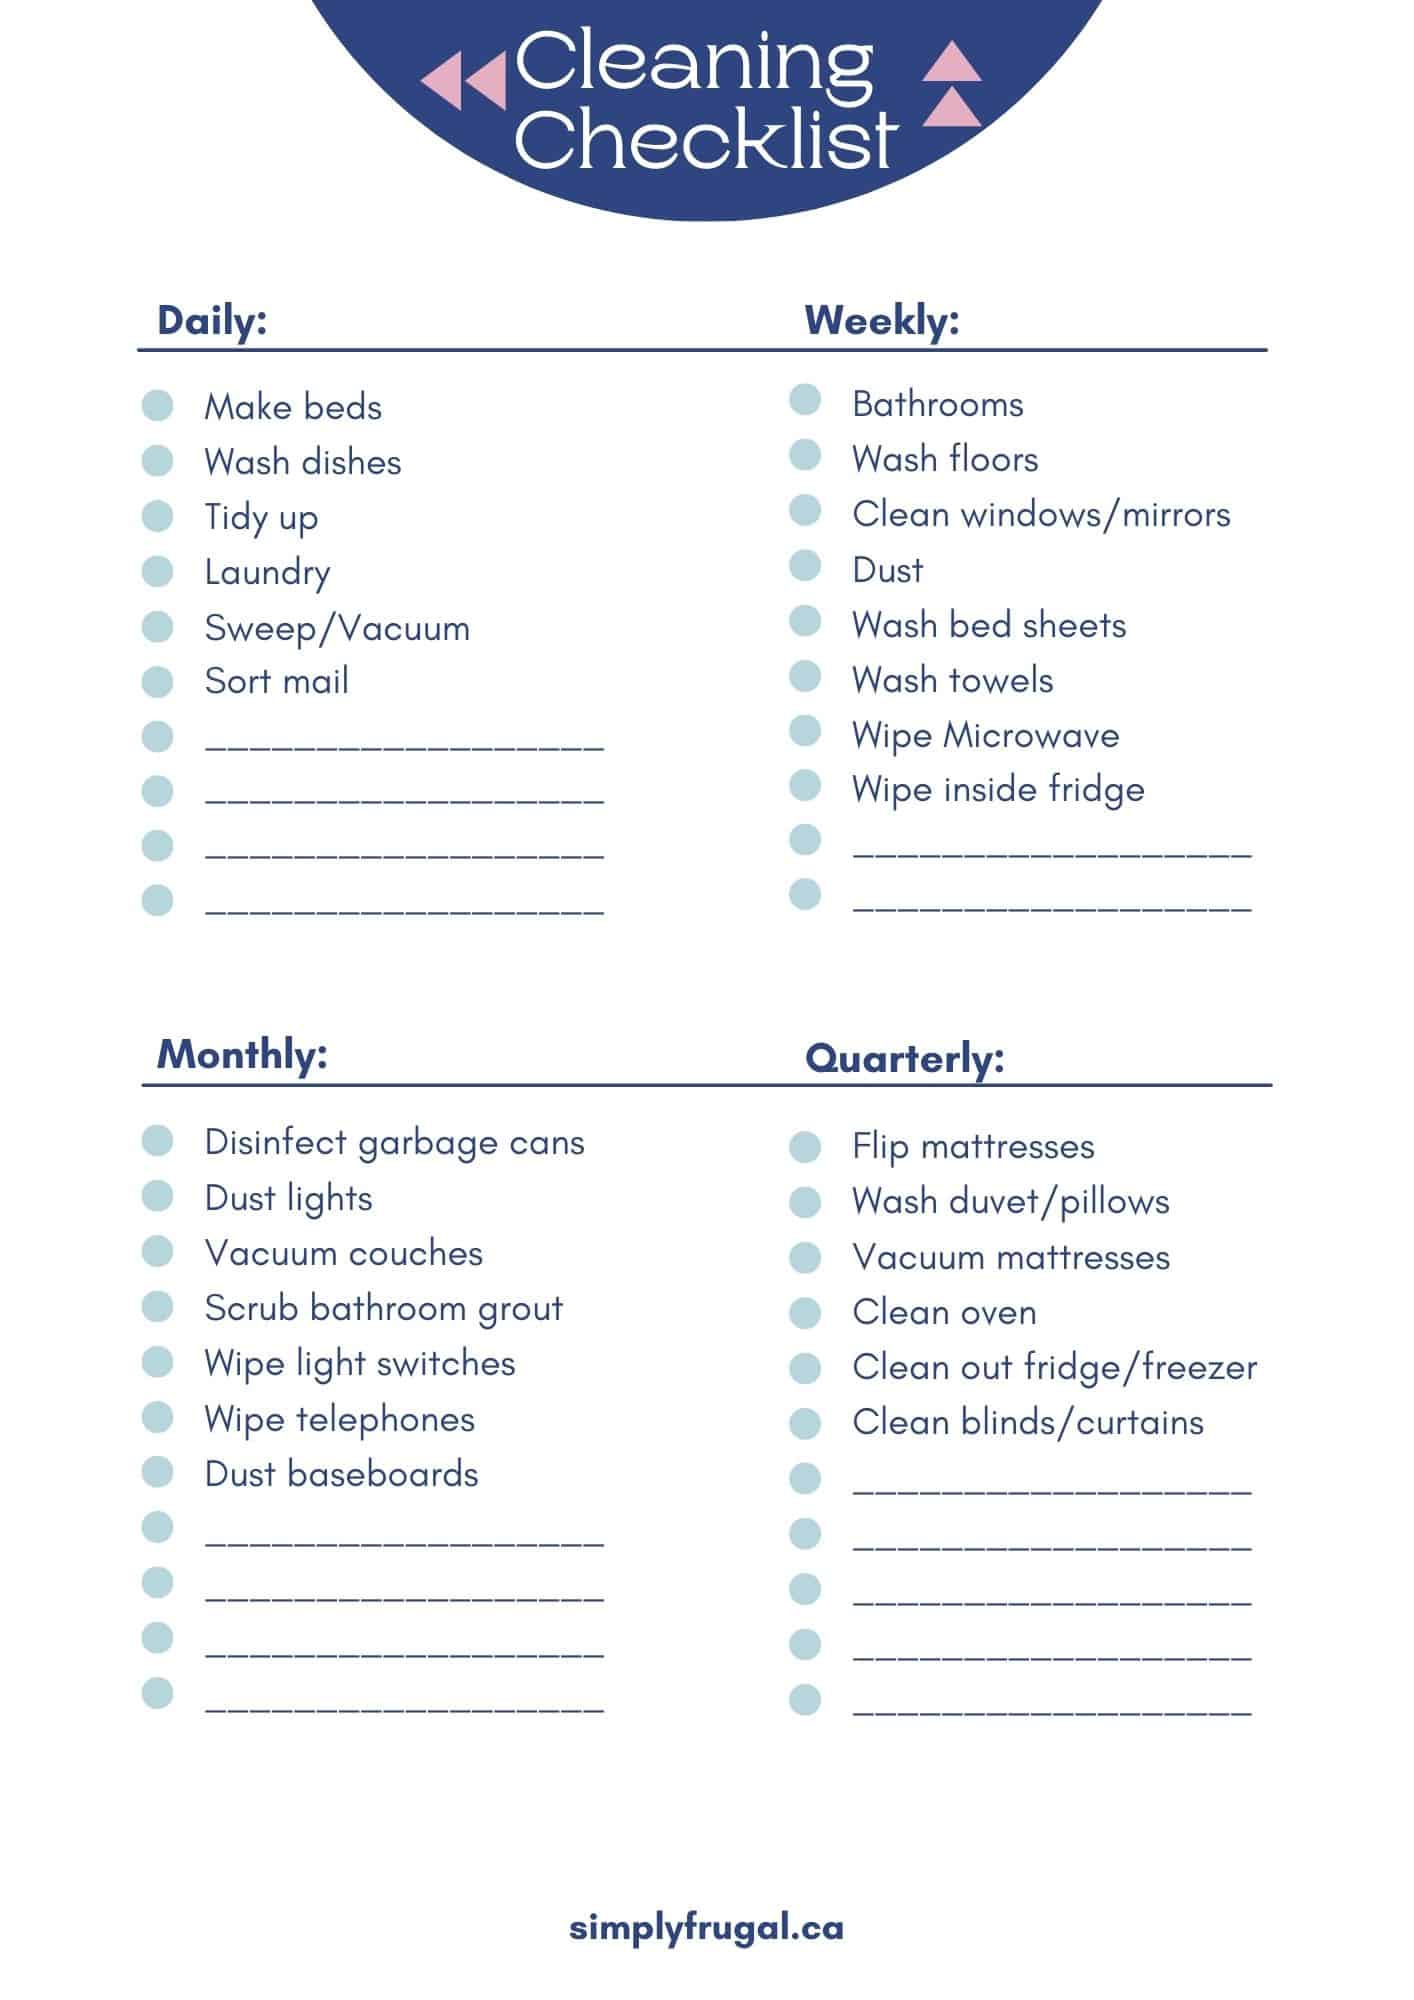
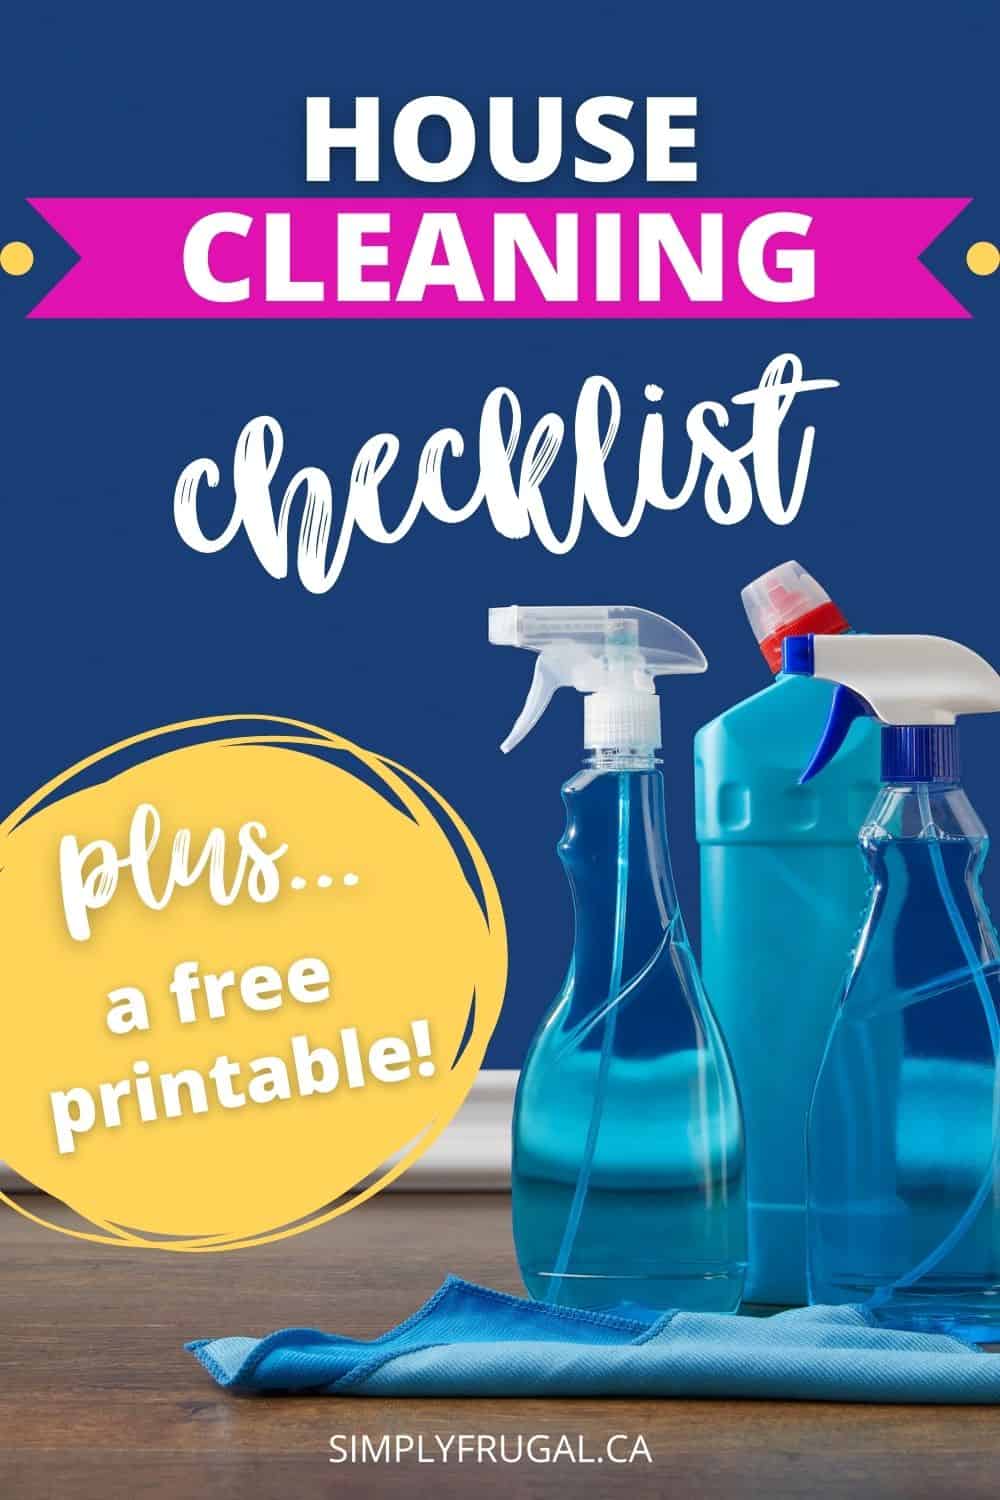
I’m a weirdo, but I actually enjoy cleaning. It’s a nice way to “take a break” from working or loud kids. Now, this doesn’t mean I have a perfectly clean house. Not at all. I did mention I have kids… Regardless, a clean home makes me feel happier when our family can make it happen.
Perhaps you’re like me. You enjoy a clean house, but maybe you struggle with knowing how to get it done. Luckily, there’s an easy way to keep your home neat and tidy without cleaning all day long.
I had fun creating a Printable House Cleaning Checklist that I thought you might enjoy! The printable house cleaning checklist includes daily, weekly, monthly and quarterly cleaning suggestions to help you take the guess work out of keeping your home clean.
Looking for even more help especially as life gets busy? Check out this gorgeous HOME CLEANING PLANNER – with room by room checklists, daily + weekly task lists, and seasonal cleaning checklists to make sure it all gets DONE!
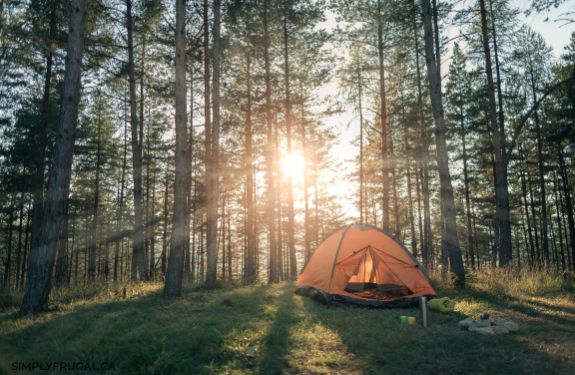
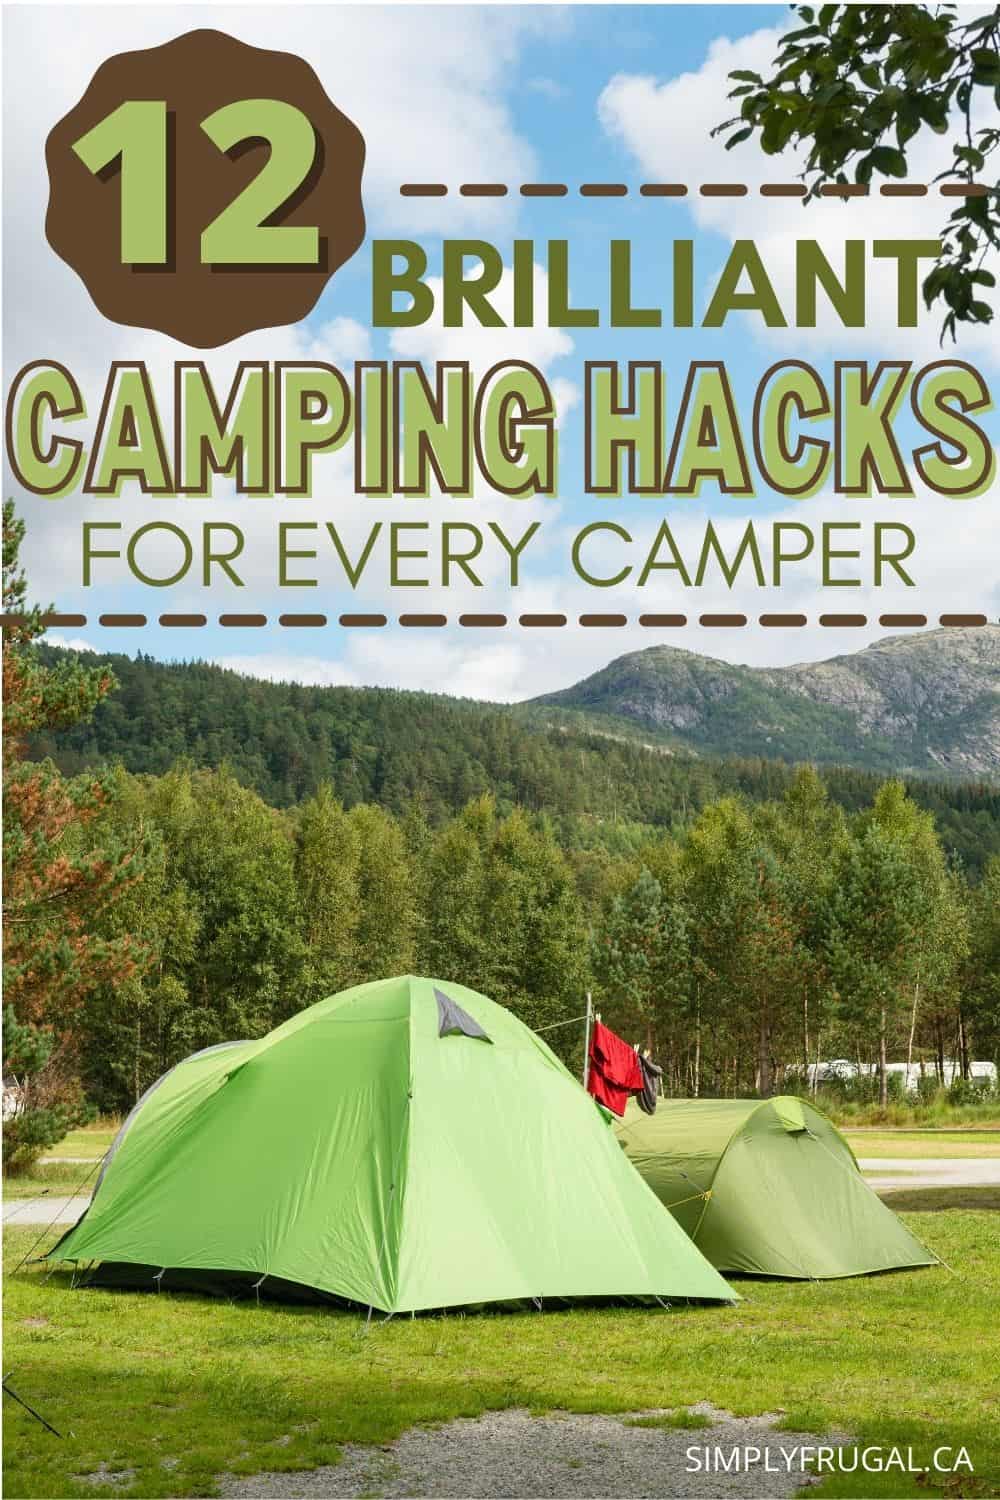
If you love to go camping, or even if you have never been camping before, here are 12 camping hacks that are definitely worth a try!
These camping hacks can make your camping experience an easier one, and even help you to be a little more comfortable while you are out enjoying the beautiful outdoors.
Take a look at these 12 camping hacks for every camper and see if they will be helpful on your next camp out!
1. Pack the big plastic baggies.
Take a package of big plastic baggies on your next camping trip to see how helpful they can be. You can mix ingredients in them while cooking, you can use them to keep toilet paper dry, and you can even store wet bathing suits and other damp items in them.
2. Make your own fire starters.
One of the easiest fire starters to make is to use empty toilet paper rolls filled with dryer lint. Then all you need to do is set them on top of some kindling and light them. Your fire will take off in no time. When waiting to use your fire starters just store them in a plastic baggie as mentioned above.
3. Try some lavender.
Lavender oil when dabbed in the skin can repel bugs. You can even burn fresh lavender on your fire to keep bugs at bay. Add a drop or two to your skin lotion for all over protection that smells great.
4. Make tin foil meals.
Place some chopped carrots, potatoes, and raw hamburger on a piece of tin foil. Add a little butter and salt and pepper. Wrap the foil up around the food tightly and grill for 15-20 minutes or until cooked through. When you open it up you will have a ready to eat feast.
5. Get creative with dessert.
Try the same concept above but instead add sweets to the inside of a waffle cone. Try chocolate chips, peanuts, marshmallows, and other sweet treats. Wrap the cone in tin foil and bake on the flames for just a few minutes. When you unwrap it you will have a tasty mess!
6. Try pool inflatables.
Your basic pool inflatables can make sleeping a little more cozy. Kids especially will enjoy sleeping on pool mat as opposed to the hard floor. This is also a more budget friendly option as opposed to buying a blow up mattress.
7. Pre-make French toast at home
Make up a loaf of French toast and place it in freezer bags in the freezer. When you’re ready to leave for your camping trip, pop them into your cooler. All you have to do to enjoy a delicious breakfast is heat the French toast on a stove or campfire!
8. Freeze gallon jugs or water bottles and place them in your cooler
They will keep your food cold, and you will have plenty of water to drink for later!
9. Mason jar matchbox
Keep your matches dry and ready to use at a moments notice by creating a simple DIY mason jar matchbox!
10. Store scrambled eggs in a bottle
Try this if you are only making scrambled eggs on your camping trip! Avoid the mess of cracked eggs by prepping the eggs at home and storing the egg mixture in a lidded plastic bottle. Use a permanent marker to label the bottle to show the number of eggs in hash marks.
11. Make face cloth soap holders
How smart is this idea? Make face cloth soap holders for each member of your family to make washing up a breeze! All you need is a bar of soap, a face cloth and basic sewing skills!
12. Don’t forget the microfiber cloths.
Microfiber cloths are awesome for cleaning up picnic tables, drying hair after a swim, and even for washing dishes. They can literally do any job and wear well, even in the rugged outdoors.
Are you ready to give these camping hacks a try? Keep these hacks in mind for your next camping trip and see how much easier they can make things for your entire family.
Do you have any tried & true camping hacks? Please share in the comments!
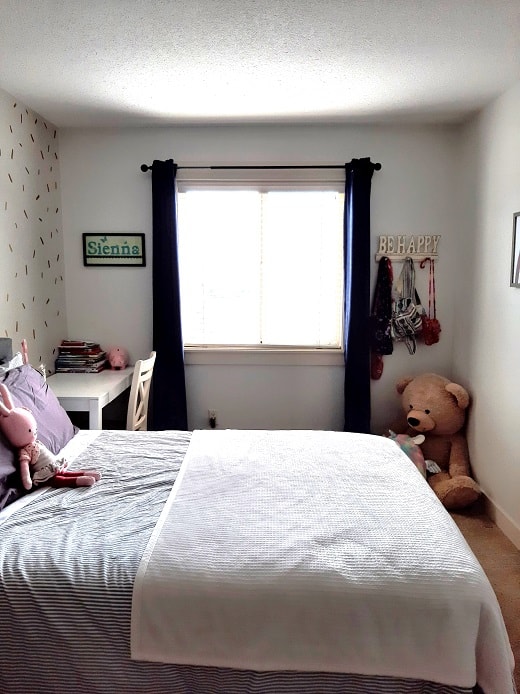
My daughter tuned 10 (!!!) this year and really wanted a more grown up bedroom. One where she could just hang out on her own or with friends comfortably.
BeforeAfter
It was a project that took so long just to get started, but once we actually did start, it only took about a week to finish.
She knew she wanted to change her pink walls to gray walls. Her favourite colour is purple so I suggested doing her back wall a deep purple of some sort, but she was adamant that all her walls had to be gray.
So I headed to Pinterest to find inspiration. I was trying to find a warm gray that she loved and we finally settled on Classic Gray by Benjamin Moore. Her back wall is actually a darker gray, Revere Pewter by Benjamin Moore.
While I used colours from Benjamin Moore, I always buy any paint for a project from The Home Depot. I like their paint and I find it less expensive than Benjamin Moore paint.
I sort of wish the back wall was darker, but she loves it. Especially with the sprinkle decals that we bought.
Originally, I thought doing that feature wall in a fun peel and stick wallpaper would be a great way to add character to her room. But then I priced it out… Going that route was not in the budget. LOL. So I eventually thought to check out Etsy for wall decals. I found the fun sprinkle decals that she loved in gold. Waaay more budget friendly. (I’ll give links and cost below for everything.)
The most expensive part of her room was her new bed. Everything is new there. The frame, mattress and bedding. We felt it was important to give her something that could last her for a very long time. (But I still got the deals!)
As for the other furniture, her dresser is a family antique that we’ve had forever. Her desk was a present for her birthday from her Oma and Grandpa, as was the nightstand.
I wanted to replace her curtains with some deep purple ones, but apparently she has an attachment to her navy ones. Haha. I’m, okay with that! This is a room made for her and not the design books!
In between the artwork, I am going to hang her ukulele once I get a hook.
Cost Breakdown and Sources:
Paint: $100 for 2 gallons from The Home Depot Paint colours: Benjamin Moore Classic Grey and Revere Pewter Gold Sprinkle Decals: $25 for 279 decals Desk: Ikea desk bought second hand for $50 Desk chair: Free, it’s one we had around the house already Nightstand: Made by a family member years ago, but gold knob was added. (It was a gift for my daughter so I’m not sure how much the knob was.) Bed Frame: $303.31 for full size. (Not on sale anymore, but this is a solid bed!) Mattress: $289.99 Duvet Cover Set: $64.99 Purple Pillow Cases: $16.99 Sheets: $24.99 for full size white sheets Mattress Protector: $27.99 Art work: All bought years ago from Homesense so I can’t link it unfortunately.
Grand total: $903.26I still need to buy her a lamp and maybe something for over her bed, but that will happen one day.
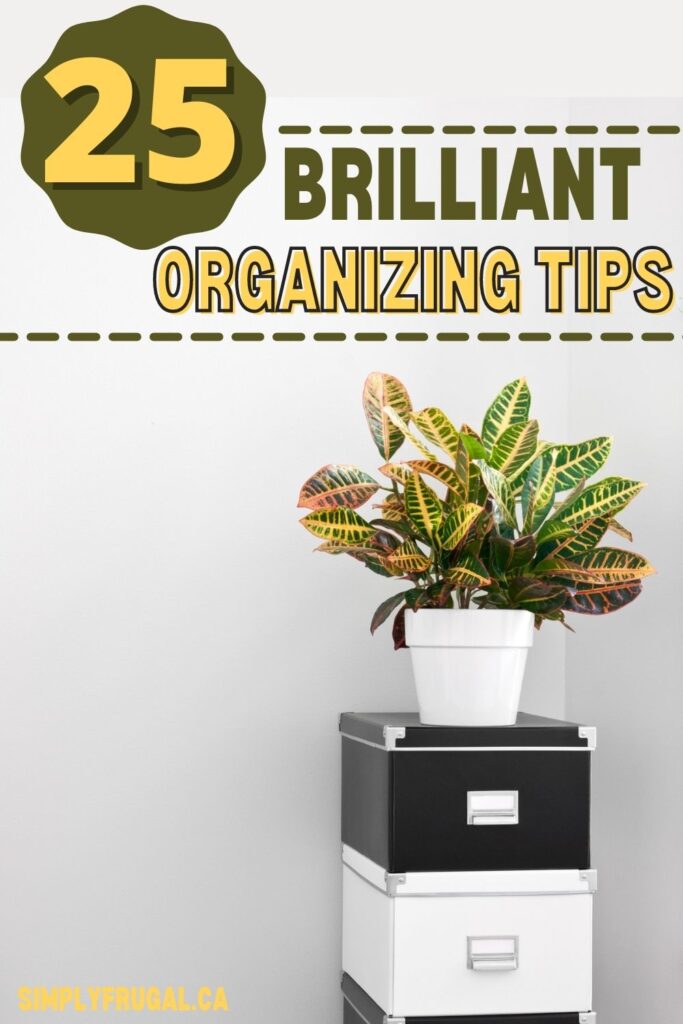
Isn’t it time to get a little more organized? You keep putting it off, but now is the time to buckle down and really get to it. These 25 organizing tips will help you get organized in no time, on a budget.
#1. Use old snack containers – If you’re strapped for cash, then using old containers is an excellent way to get a little more organized in your junk drawers or in your computer desk.
#2. Use a chalkboard – Do you often forget to use your calendar? Try writing your important to-dos on a chalkboard or a white board instead. Place it somewhere you can see on a daily basis. I like this magnetic white board for the fridge!
#3. Keep like items in one spot – Instead of storing like items in various spots around the house, keep them all in one spot. Finding magazines everywhere? Store them all in a magazine file on a shelf.
#4. Create a charging station – Don’t play the “find your charger” game. Create your very own charging station within your home. I like this DIY Charging Station from Four Generations One Roof. If DIY isn’t your thing, or you want something with a smaller footprint, a charging station like this is genius.
#5. Use a Magnetic strip – Place magnetic strips throughout your home to hang items like: knives, spice jars, and even nail clippers.
#6. Use old suitcases for storage – Using old suitcases as home décor will give you a vintage feel, but you can still store items within the suitcase. Double purpose!
#7. Use ice cube trays to store small items – Whether you have smaller toys or office supplies, consider using ice cube trays to store these items in.
#8. Use wine boxes to store your shoes – Maybe this organizational idea isn’t so conventional, but it sure is brilliant. Here’s a picture for your reference.
#9. Leave reminders on or in your fridge – One place you know you’re heading today is to the fridge, so leave your most important reminders there.
#10. Use an organizer for the shower – Instead of having items fall everywhere as you use the shower, buy a shower organizer. I recently picked one up for $3.50 from Dollarama!
#11. Start recycling – If you’re trying to clear out some of the trash, you can get a little more organized by recycling some of your items.
#12. Clear out the clutter daily – Some people only clear out clutter once a year, stay organized by getting rid of clutter on a daily basis.
#13. Only keep a couple of your kids papers – School papers can really add up. Keep just a few of your child’s papers and put them on display on a cork board or a mini clothesline.
#14. Utilize hidden storage – Put your items into a hidden storage bench in the mud room, living room, and even outside.
#15. Put a grocery bag in your car for garbage – If you are tired of having garbage in your vehicle, then keep a grocery bag in there to collect garbage as you finish with it. Or an empty disinfectant wipe container would also be great!
#16. Organize by color – Make your house a little more fun by organizing everything by color. You might take your family and guests by surprise!
#17. Use mesh bags around your home – Instead of trying to put socks and undergarments in the laundry basket, have your family put them in mesh bags. If they’re all together in a mesh bag, there’s less chance to losing some.
#18. Use a shoe organizer for multiple purposes in your home – A shoe organizer can be used for bathroom items, little kid’s clothing, or even crafting items. Let your imagination run wild with this one.
#19. Organize your priorities – Everyone says organize your time a little better, but organizing your priorities makes more time for the things that matter.
#20. Ban clutter in your house – If you are tired of seeing clutter all over the house, then make a rule that no one can bring clutter into the house. If you bring something in, you have to get rid of something else.
#21. Sell your unwanted items – As you declutter, put the items of value up for sale so you can earn a bit of cash for your savings account. Donate all the other items if they are in good condition.
#22. Utilize under the bed space – A lot of storage can be found underneath beds. You can buy bed risers to raise your bed if you need more room underneath it.
#23. Donate your magazines – You may have a lot of magazines lying around the house. Instead of throwing them away, keep the pages you want and donate the rest.
#24. Utilize hallway space – If you have a long hallway in your entryway; utilize the wall space as much as you can. Try baskets for mail, slim shoe racks, storage shelf with hooks underneath.
#25. Use one basket per person for laundry – Mixing everyone’s laundry together can make more work for you. Make it easier on yourself using one basket per person.
I hope these brilliant organizing tips help you get a little more organized this year. What tips would you add to this list?
I love decluttering. Not only do I love the feeling of having more breathing space in my home, but I always find decluttering to be a wake up call to my spending habits. It helps me realize just how much money I’m “throwing away” on things I end up not using or liking in the end. Ugh!
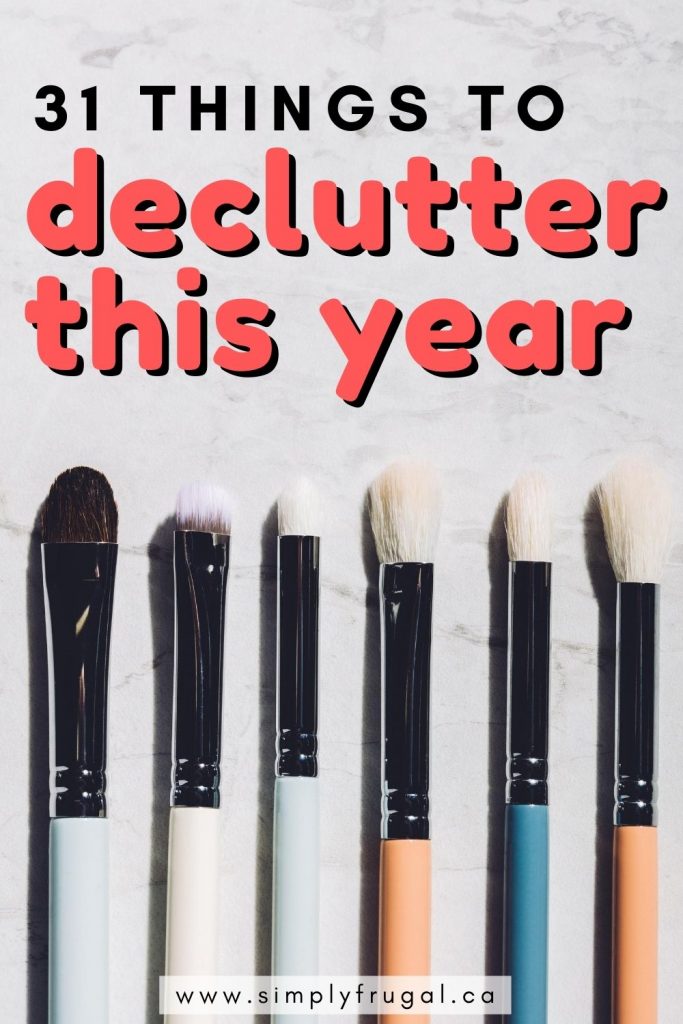
If you want to enjoy a more peaceful home and keep more money in your pocket (because you’ve realized how much you’re wasting!), then I’ve got the perfect list for you! 31 things you can declutter this year. Choose a few or choose all 31 and get to work! Maybe in the end, your list will hold more than these 31 items with all the momentum you’re getting!
Even if you choose just a few things off this list it will feel so good to lighten up! Most of these things are items none of us need but we hang onto “just in case” and feel panicked at the thought of letting them go. In my experience, it’s not often that I have needed something I decluttered. These days, it is so easy to reacquire that needed item by borrowing or repurchasing.
31 things to declutter:
Out of date makeup– It’s just unsafe for your skin and eyes. Toss it out and treat yourself to a new lipstick or eyeshadow!
VHS tapes– If you are still clinging to VHS it’s time to let it go, it’s not coming back.
Old cell phones– Many electronics stores or phone companies have boxes for recycling cell phones and batteries.
Non working electronics– If you haven’t dropped off the stereo or DVD player to be fixed and have no immediate plans to do so, just get rid of it.
Old stretched out bras– Keep those comfy old jogging pants but stretched out bras are not doing you any favors.
Plastic bags– While it is handy saving your grocery store bags for other uses, we all wind up with an excess of them that we just don’t need. Toss them in the recycling.
Ragged towels and washcloths– If they can be upcycled for cleaning rags, cut them up into small pieces and find a new home for them. Otherwise get them out of there.
Clothes that don’t fit– Clothes more than one size too small/too big should be donated or sold.
Unused or duplicate kitchen utensils– 6 wooden spoons? 3 meat mallets? Unopened egg poacher? Clean it all out of those drawers!
Books– If you have read it and won’t read it again or you didn’t like it then it’s time to clean off your shelves and nightstand.
Single Earrings– If it has been in the jewelry box for a year with no mate, chances are it will always be a single, go ahead and set it free.
Single Socks– When you are all caught up on your laundry go through your odd sock basket and match up, get rid of any without mates.
Unloved toys– Donate or toss toys as needed. After the holidays kids have an excess and this is a great time to declutter.
Unused sports equipment– Ice skates from lessons two years ago that have never been picked up again? Donate them. Too small hockey gear? Sell it!
Items that don’t belong to you– If you have a spot that houses casserole dishes, borrowed books, etc. waiting to be returned to friends and family that you borrowed from, go ahead and return it all asap!
Paperwork– Junk mail, old bills, or other out of date filing. Grab an inexpensive paper shredder or toss them in the fire.
Odd storage containers– You know that cabinet with plastic bowls that have no lids or lids that have no bottoms? Get in there and toss out mismatched pieces.
Old linens– While towels may be cut down and used for rags in the garage, other items like sheets that either don’t fit or won’t be used on current beds, excess comforters (keep one spare) etc., can be decluttered.
Blurry photos– If you have a box full of family photos through the years remove and toss the really bad ones, if that is the only one you have for an event you might keep it but otherwise just keep the best of the best.
Ink Cartridges– If you have a stockpile of old empty ink cartridges you can find somewhere local to recycle or many places like Staples let you use them for credit towards new ones.
Freezer items– Freezer burnt, well past their date, inedible or unappealing food should be tossed!
Dried up pens– Take 5 minutes to go through your various pens, test them all on paper quick and throw out the ones that are dried up or leaking.
Manuals– I used to be one that kept every single manual/instruction book for every piece of equipment i owned, I had a drawer full of them and rarely ever needed to look at them. Then I realized that I could find them on the manufacturer’s website should I ever need them and I tossed those suckers out!
Spare change– Unless you are saving up for something really big, It’s time to grab that change jar, clean out couch cushions, get that pile on the dryer and turn it all in. Treat yourself to a mani/pedi or add the cash to your savings account!
Craft supplies– Take an afternoon to go through them and donate items you won’t use in the next couple of months to a Children’s program or somewhere else that could use them.
Paint– Do you have a garage shelf full of paint that you keep just in case? If it’s just for touch ups pour some into a small mason jar with a lid to make it last. Otherwise dispose of it properly.
Personal care items– Old perfumes, lotions, and shampoo bottles with 1/2” left in the bottom-get them out of the bathroom for good.
Cards– Open your wallet or purse and declutter customer loyalty, rewards cards, empty gift cards and the like.
Pet toys– Toys that are shredded, dirty, and unplayed with should be tossed, just like kids toys they need to be decluttered and occasionally replaced.
Boxes– Do you have a big collection of boxes somewhere, either packaging or packing boxes for another just in case? Clear them out and make room.
Any other things to declutter that you would add to the list? Did you get any good ideas for a starting place?