One of my favourite ways to ensure we get a decent lunch with veggies and protein is to make up a week’s worth of Salad in a Jar! When these layered salads are layered correctly, you can enjoy fresh, crisp salad all week long!
Because these are made in a jar with a lid, all you have to do is give the jar a shake to distribute the dressing, then enjoy with a fork!
Salads in a Jar are great for:
Picnics
Quick at home lunches
School lunches
Work lunches
These salads are highly customizable, so usually I end up using what I already have on hand. I like to use a combination of fresh vegetables, fruit (I only add fruit if they “go” with the other ingredients I’m using), beans, nuts, seeds cheese and of course, lettuce and dressing. Cooked chicken, diced ham, grains and even lentils would be a nice addition! Just add what would make you happiest! I would probably avoid using ingredients that emit a strong odour such as eggs, stinky cheeses, or raw onions. (You could bring them along in a separate container if you must have them.) If you’re looking for a tasty homemade salad dressing, I recommend this DIY Ranch Mix!
Here are a some tips for creating a week’s worth of salads that will last:
Be sure to use a clean wide-mouth jar that is 100% dry.
Always put the dressing at the very bottom of the jar.
Keep the lettuce wilt-free by adding it at the very end to avoid coming in contact with the dressing.
Lorraine has once again sent along one of her delicious gluten-free recipes! This time it’s for a gluten-free basic muffin mix! While I, myself, haven’t tried this recipe, it appears as though it’s quite flexible in regards to the ingredients you can add.
Here is the Gluten-Free Basic Muffin Mix recipe exactly the way Lorraine enjoys it:
8cupsof flourI use 1 cup of quinoa, 1 cup buckwheat, 2 cups amaranth flour, 1 cup of chick pea flour, 1 cup coconut flour and 2 cups of arrowroot flour
13tspof gluten free baking powder
10tspof cinnamonI love cinnamon, so you could reduce the amount to taste
5cupsof liquidI use vanilla rice beverage or almond beverage
1 1/3cupoil
4eggs
Optional: Carob chipsshredded vegetables (carrots, zucchini, sweet potato), orange or lemon peel, unsweetened shredded coconut, nuts or seeds.
Instructions
Preheat oven to 375 degrees F.
Mix all ingredients together.
Bake in unbleached, chlorine free large baking cups for 20 – 25 minutes.
Check for doneness by inserting a toothpick into the batter. If the toothpick is dry when you withdraw it from the muffin mix, the muffins are done.
Let stand until cooled off and store either in freezer containers or storage bags.
These Hot Cocoa Cupcakes make the most perfect winter treat! Delicious chocolate flavoured cupcakes topped with a delicious marshmallow frosting…what could be any better? Whip up a batch and snuggle up to a movie and your favourite hot beverage. You won’t regret it!
Since Valentine’s Day is quickly approaching, I also think these would be a perfect treat for the family, your date, or for a school treat! Minus the candy cane, of course. 🙂
Sienna and I have been enjoying kale chips on a regular basis for the past month or so. She loves them so much, she puts my kale chip eating to shame! But really, it's the crunch. The crunchiness of the chips is so addicting. The flavour is just as good!
The thought of making salt and vinegar kale chips had my mouth watering, so when I decided to try Balsamic vinegar, oh man...that was a good decision. They are so good!
Also, did you know that kale is:
High in Iron
Full of Antioxidants
Low in Calories
High in Fiber
High in Calcium
High in Vitamins A, C and K
Helps keep your liver healthy
Because kale is so good for you, I'm perfectly okay with Sienna indulging in so many! It also doesn't hurt that I'm benefiting from the nutrients!
Here's how to make Salt and Balsamic Vinegar Kale Chips:
Tear the kale into bite size pieces. Wash and dry the kale thoroughly. (I like to tear it up and place the pieces in my salad spinner to rinse and dry)
Put the kale pieces into a large bowl.
Drizzle with olive oil and balsamic vinegar. Oil a baking sheet.
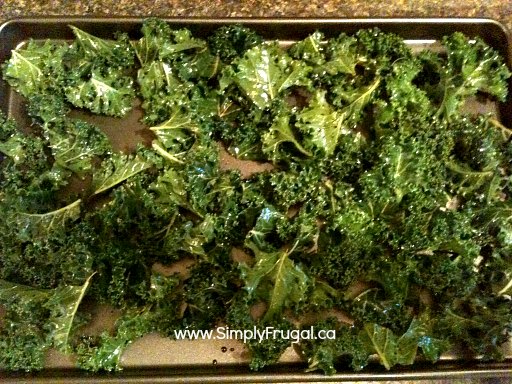
Place the kale in a single layer on the baking sheet.
Sprinkle with salt to taste.
Bake for about 10 minutes, then stir and turn the kale and bake for 8-10 minutes longer.
Remove any crisp pieces as they get done to prevent burning and to allow the remaining kale chips to get even heat.
Here's a step by step in picture form:
Preheat oven to 350 degrees. Take a bunch of kale and tear it into bite size pieces.
Wash and dry the kale in a salad spinner.
Drizzle the olive oil and balsamic vinegar over top. Toss well.
Place the coated kale pieces in a single layer on an oiled baking sheet.
Bake for 10 minutes, then remove to stir and turn the kale. Bake for 8 - 10 minutes longer, making sure to remove crisp pieces as they get done to avoid burning.
Here are the kale pieces when they are half way done:
I know peanut butter cookies don’t exactly scream Christmas, but they’re my husband’s favourite and I wanted to share my recipe! Included with this post is a free “Send Joy” printable to help make your gift giving more festive!
While I think the printable tag looks cute with cookies, I think it would also look great with a loaf! Maybe banana bread? If you’re not too keen on peanut butter cookies, you might want to consider these holiday favorites of ours:
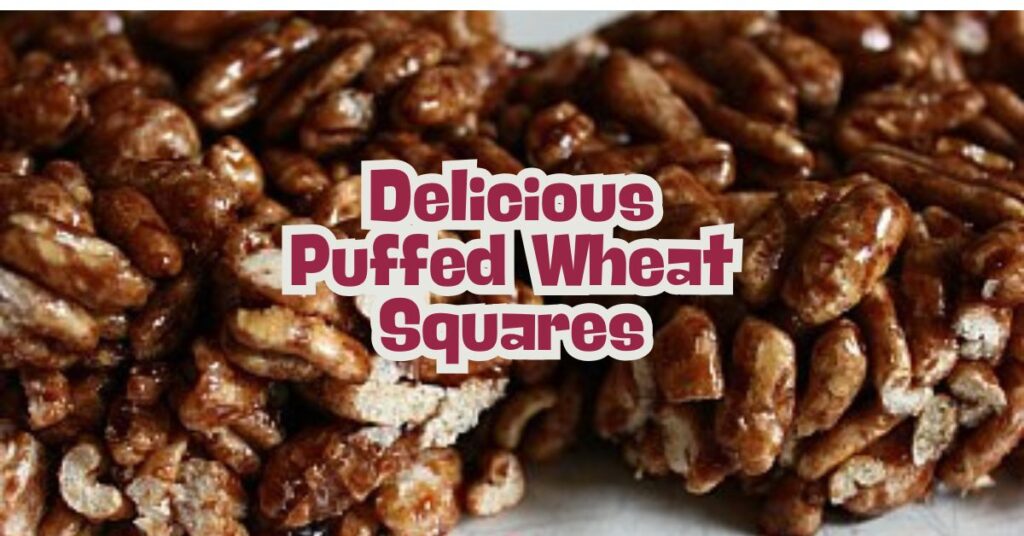
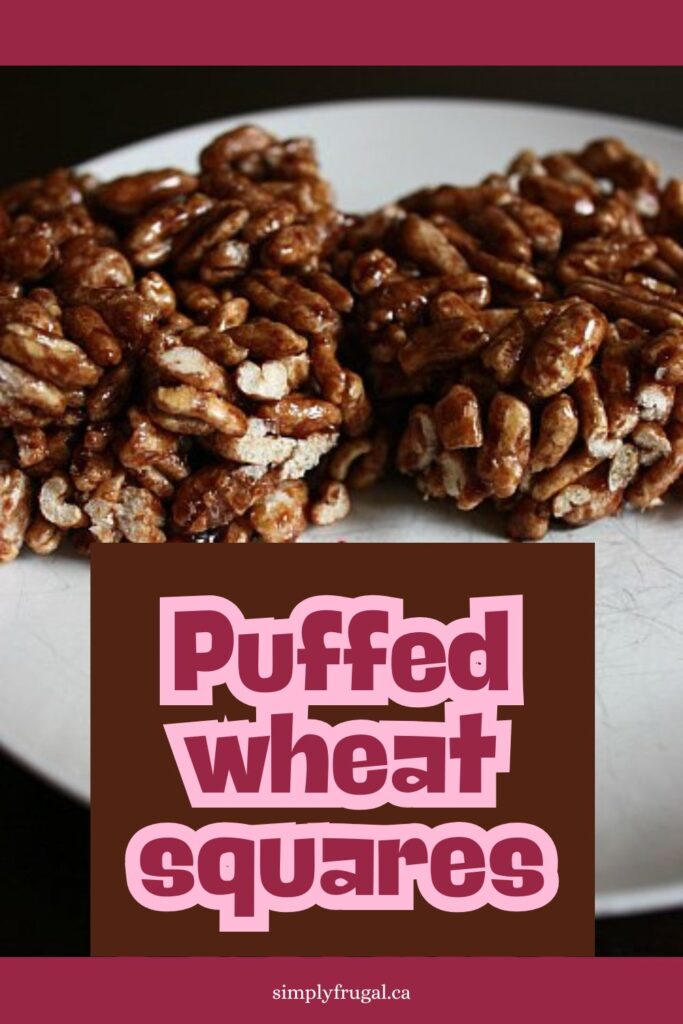
I wanted to share this Puffed Wheat Squares recipe with you because it was a childhood favourite of mine! My Mom used to make it for my brother and I fairly often. While it's next exactly a "healthy" treat, it is a delicious one!
They are similar to Rice Krispy squares in their preparation, but the gooey coating that holds them all together is chocolate flavoured, and the cereal is puffed wheat rather than rice crisps.
I've also been doing a bit of reading about Puffed Wheat Squares, and it appears as though they are quite well known in Canada, but are relatively unknown in other parts of the world. Huh!
Anyways, I hope you enjoy these Puffed Wheat Squares as much as I do!








 Wash and dry the kale in a salad spinner.